Last summer I had posted a recipe for Ukrainian dumplings called Varenyky. These are delicate flour pillows with sweet or savory fillings, my favorite being a potato and mushroom filling. Typically these are boiled and served with pan fried onions, and sour cream. The preparation for this delicious treat is well worth the effort, and you can make a big batch and freeze some for later. However, I often find myself longing for varenyky with none left in the freezer and not enough time on hand to make them. That's when I turn to a much simpler version - the lazy varenyky. No, I’m not making up the name. I found some recipes (even written in Ukrainian - so they must be authentic) that call thisлінивий вареники(pronounced: linyvyy varenyky - meaning: lazy dumplings). These are very similar to gnocchi, but do not contain any eggs and lack the sophistication of shaping each one nicely as gnocchi typically are. Several varenyky recipes also call for eggs in the dough, but I find the dough without eggs to be lighter. So, I decided to make my lazy version also without eggs.
Ingredients:
3 medium size potatoes
2-4 oz mushrooms, finely chopped (I like the taste a lot so I used about 4 oz, but if you’re not a big fan, reduce the amount or eliminate altogether)
1 tsp oil
¾ - 1 cup flour + more for dusting
Topping:
~1/2 cup chopped onion
~1-2 tbsp oil
~1 tsp flour
Sour cream
Parsley, chopped
Boil the potatoes; peel and mash them until very soft. Fry chopped mushroom in oil until they have released most of their moisture & reduced to half the original volume. Mix the mushrooms with the mashed potatoes. Season with salt and pepper to taste.
While the potatoes are boiling, prepare the onion topping. This should be ready before the varenyky are cooked so you can coat them with the topping while they’re still hot. Fry the onions in oil over medium heat until golden brown. Add the flour and continue to fry for another minute before taking the pan off the heat.
To make the dough, add ½ cup of flour to the potatoes and mushroom mixture and knead into a soft dough. Keep adding a couple tablespoonfuls of flour until the mixture is no longer very sticky (it should still be soft). I ended up using just under 1 cup of flour to make the dough. Do not add extra salt to the dough because it will be boiled in salted water later.
Divide the dough into smaller portions and using your hands roll them out into long cylinders about 1” in diameter. Using a sharp knife cut pieces about ¾-1” in diameter. The size really doesn’t matter as long as you keep it consistent, otherwise they won’t cook at the same speed.
Heat water in a large pot over high heat. Add salt to the water just like you would for cooking pasta. Once the water comes to a rolling boil, add some of the lazy varenyky. The number will depend on your pot - just make sure you don’t crowd them too much. These literally take a couple minutes to cook, so keep a close eye on them and take them out when you see them floating at the top. It can be hard to see them floating when the water is boiling, so I take the pot off the heat and let the water simmer down for a few seconds so I can see whether the varenyky are still below the water surface or floating at the top.
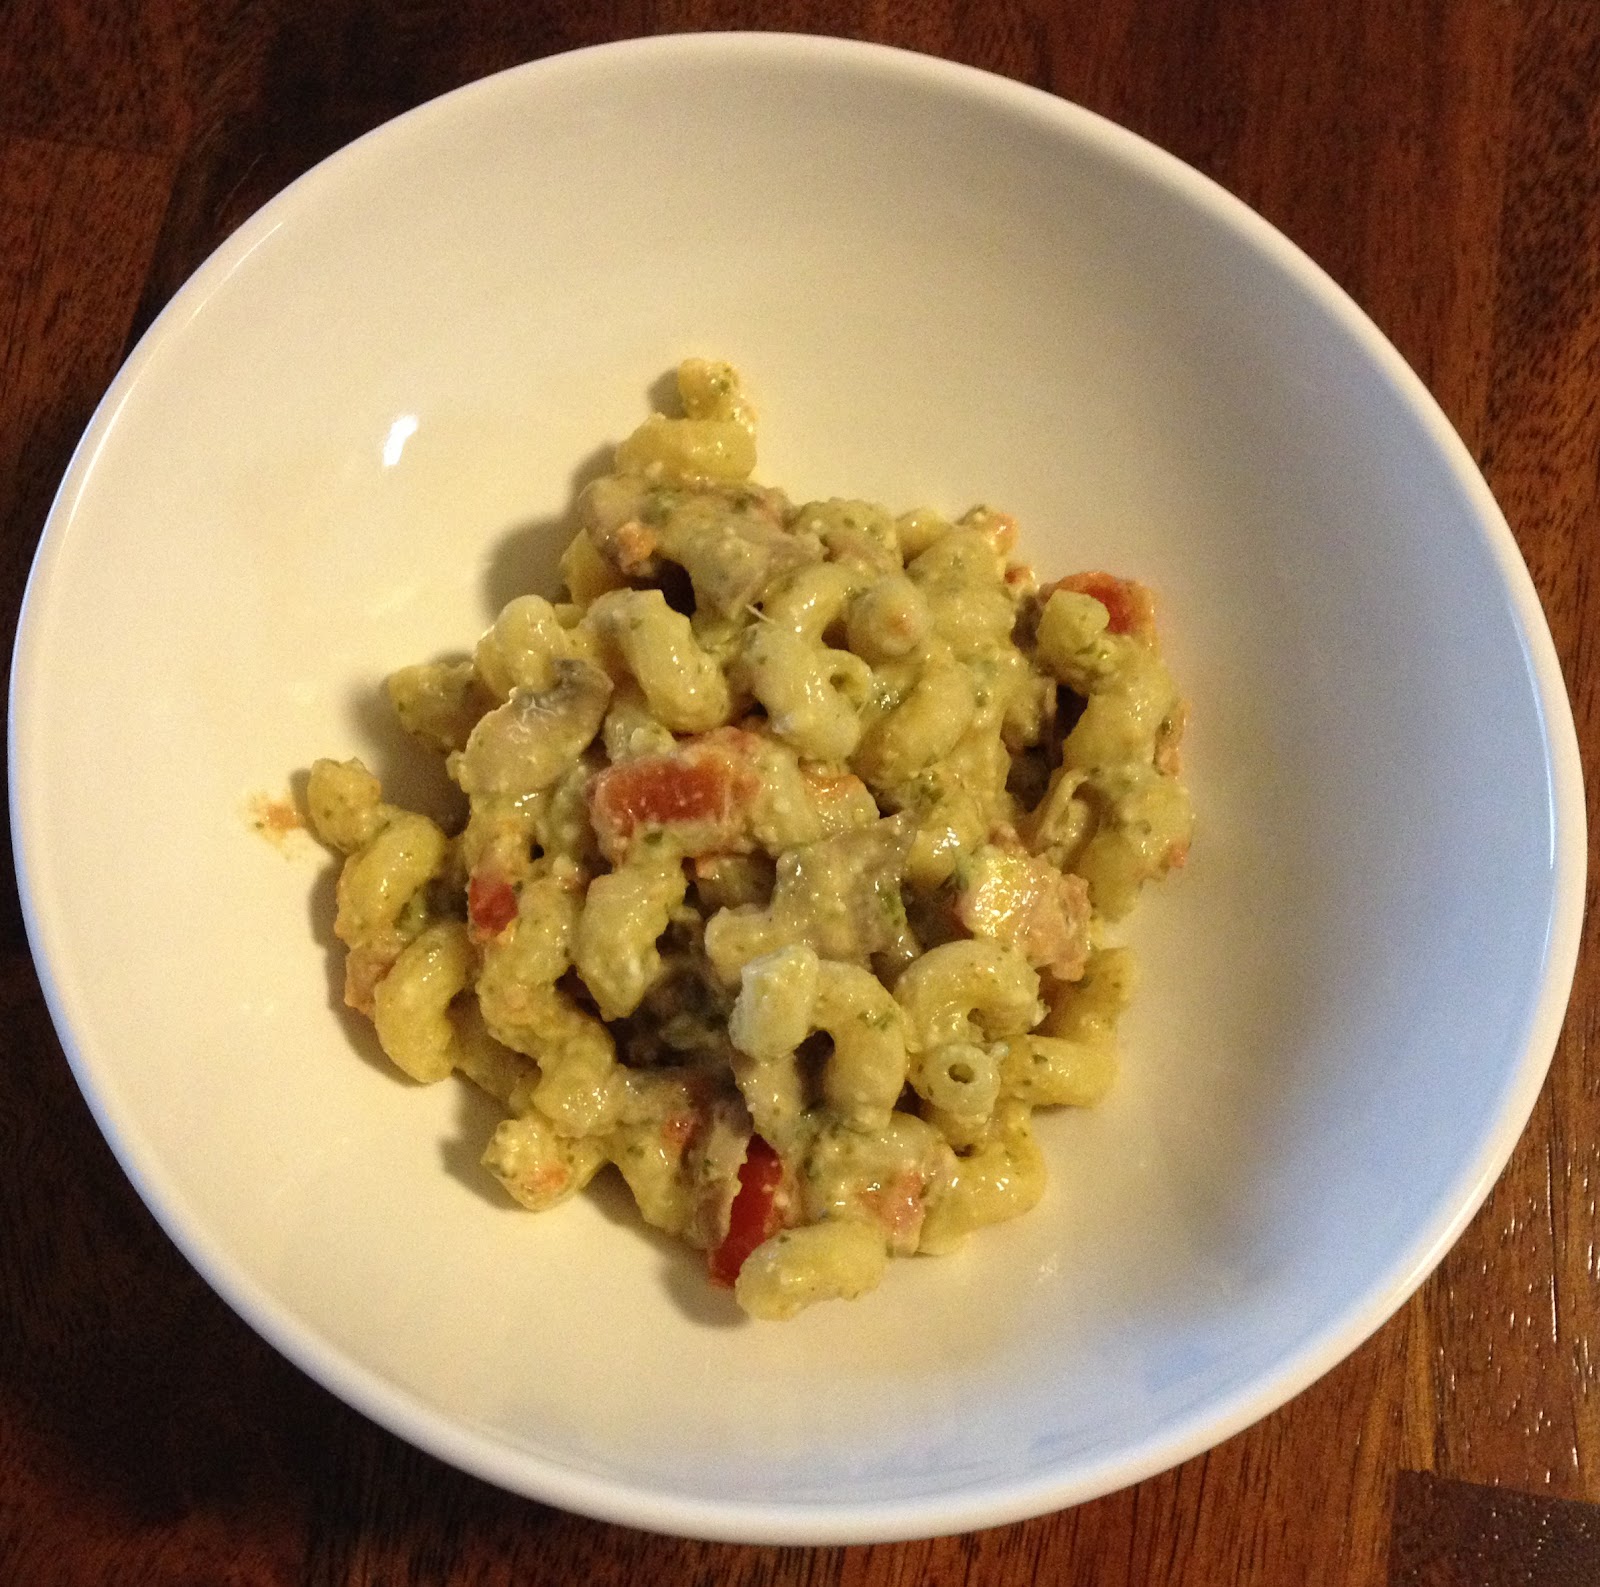
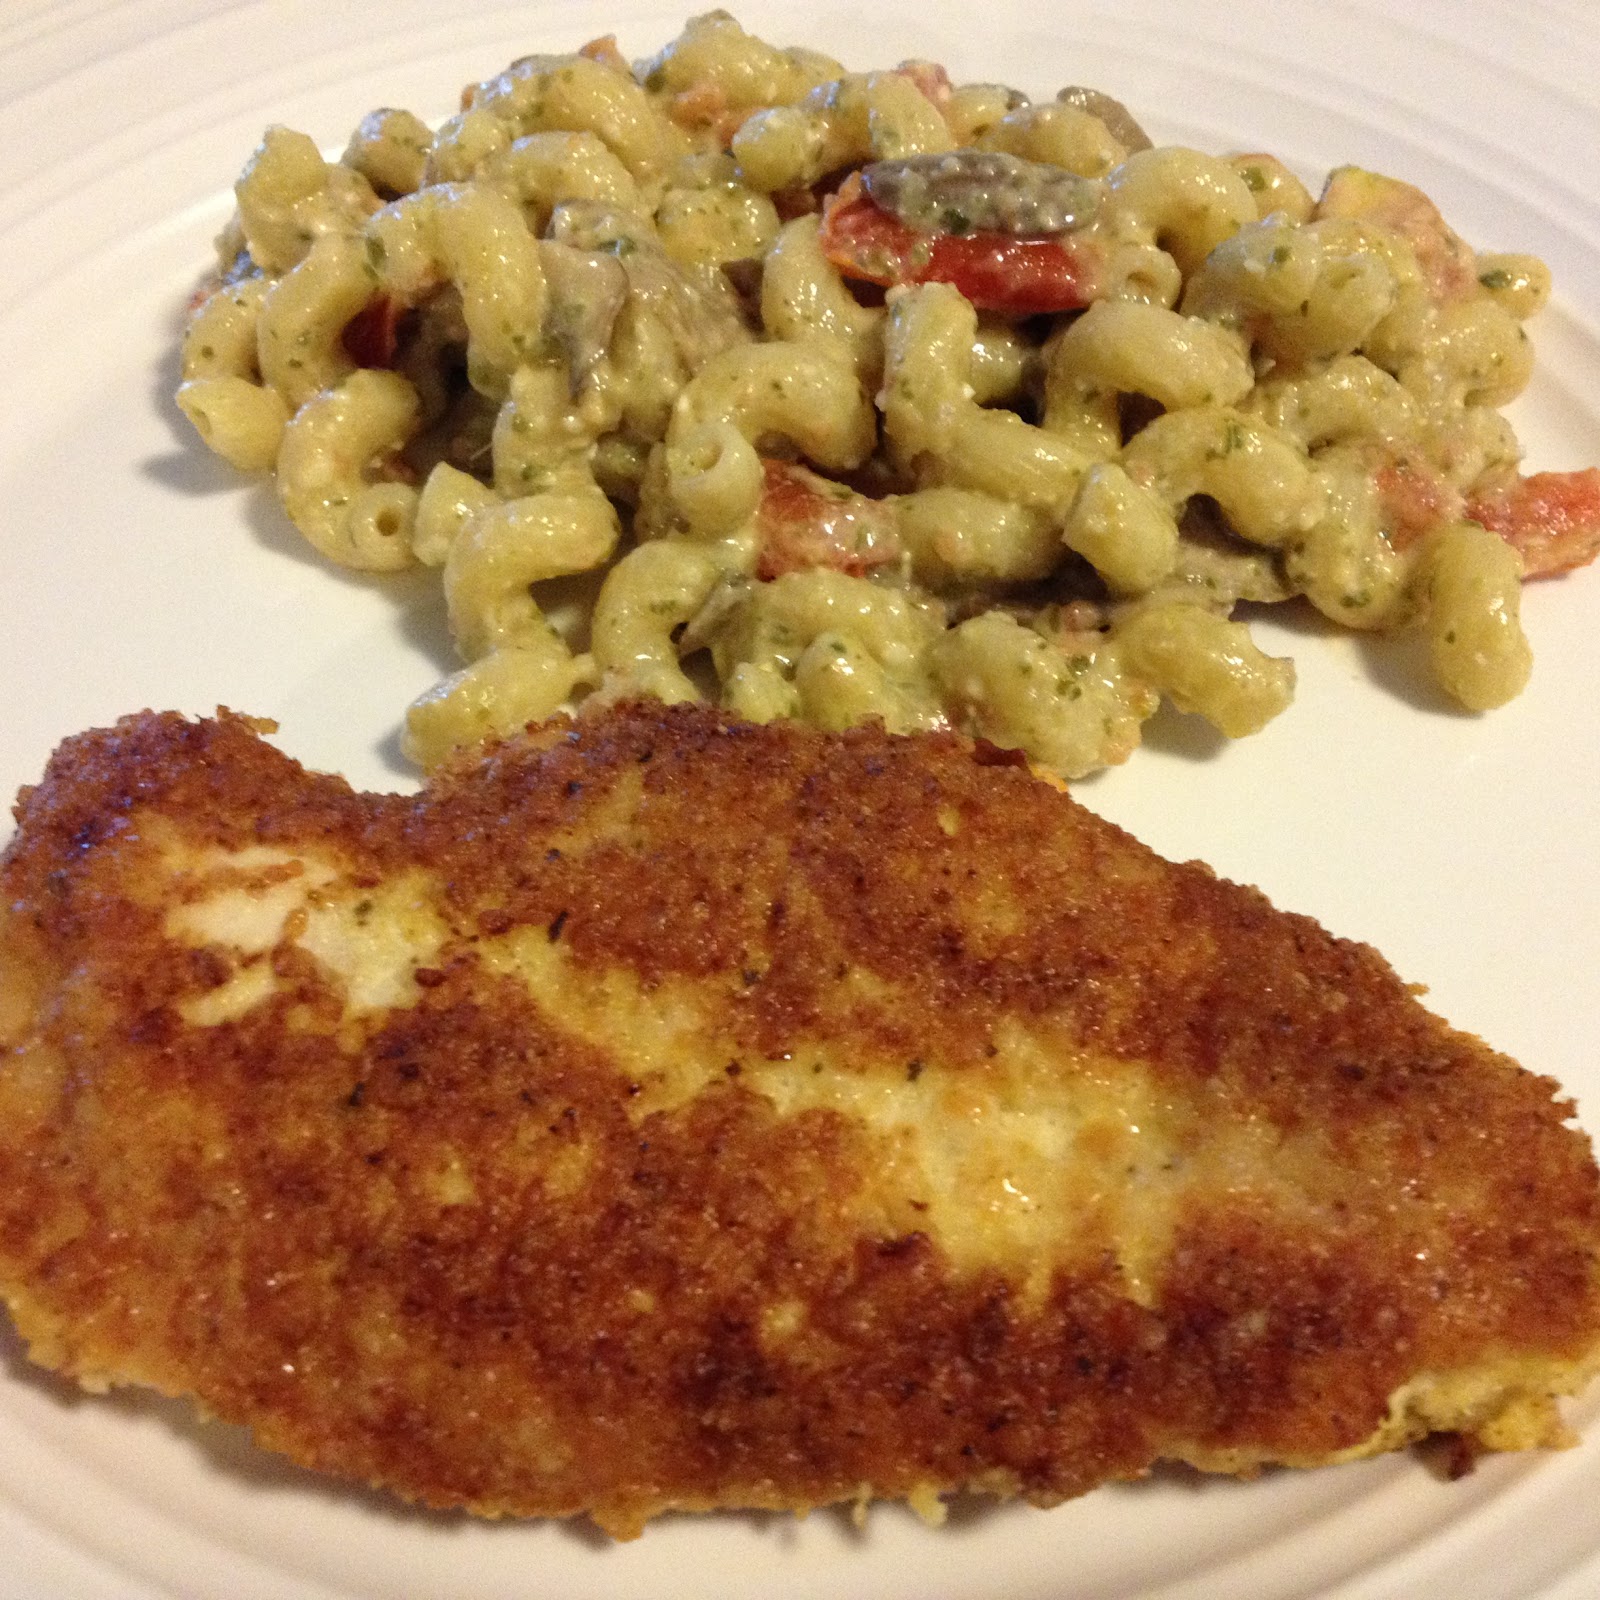
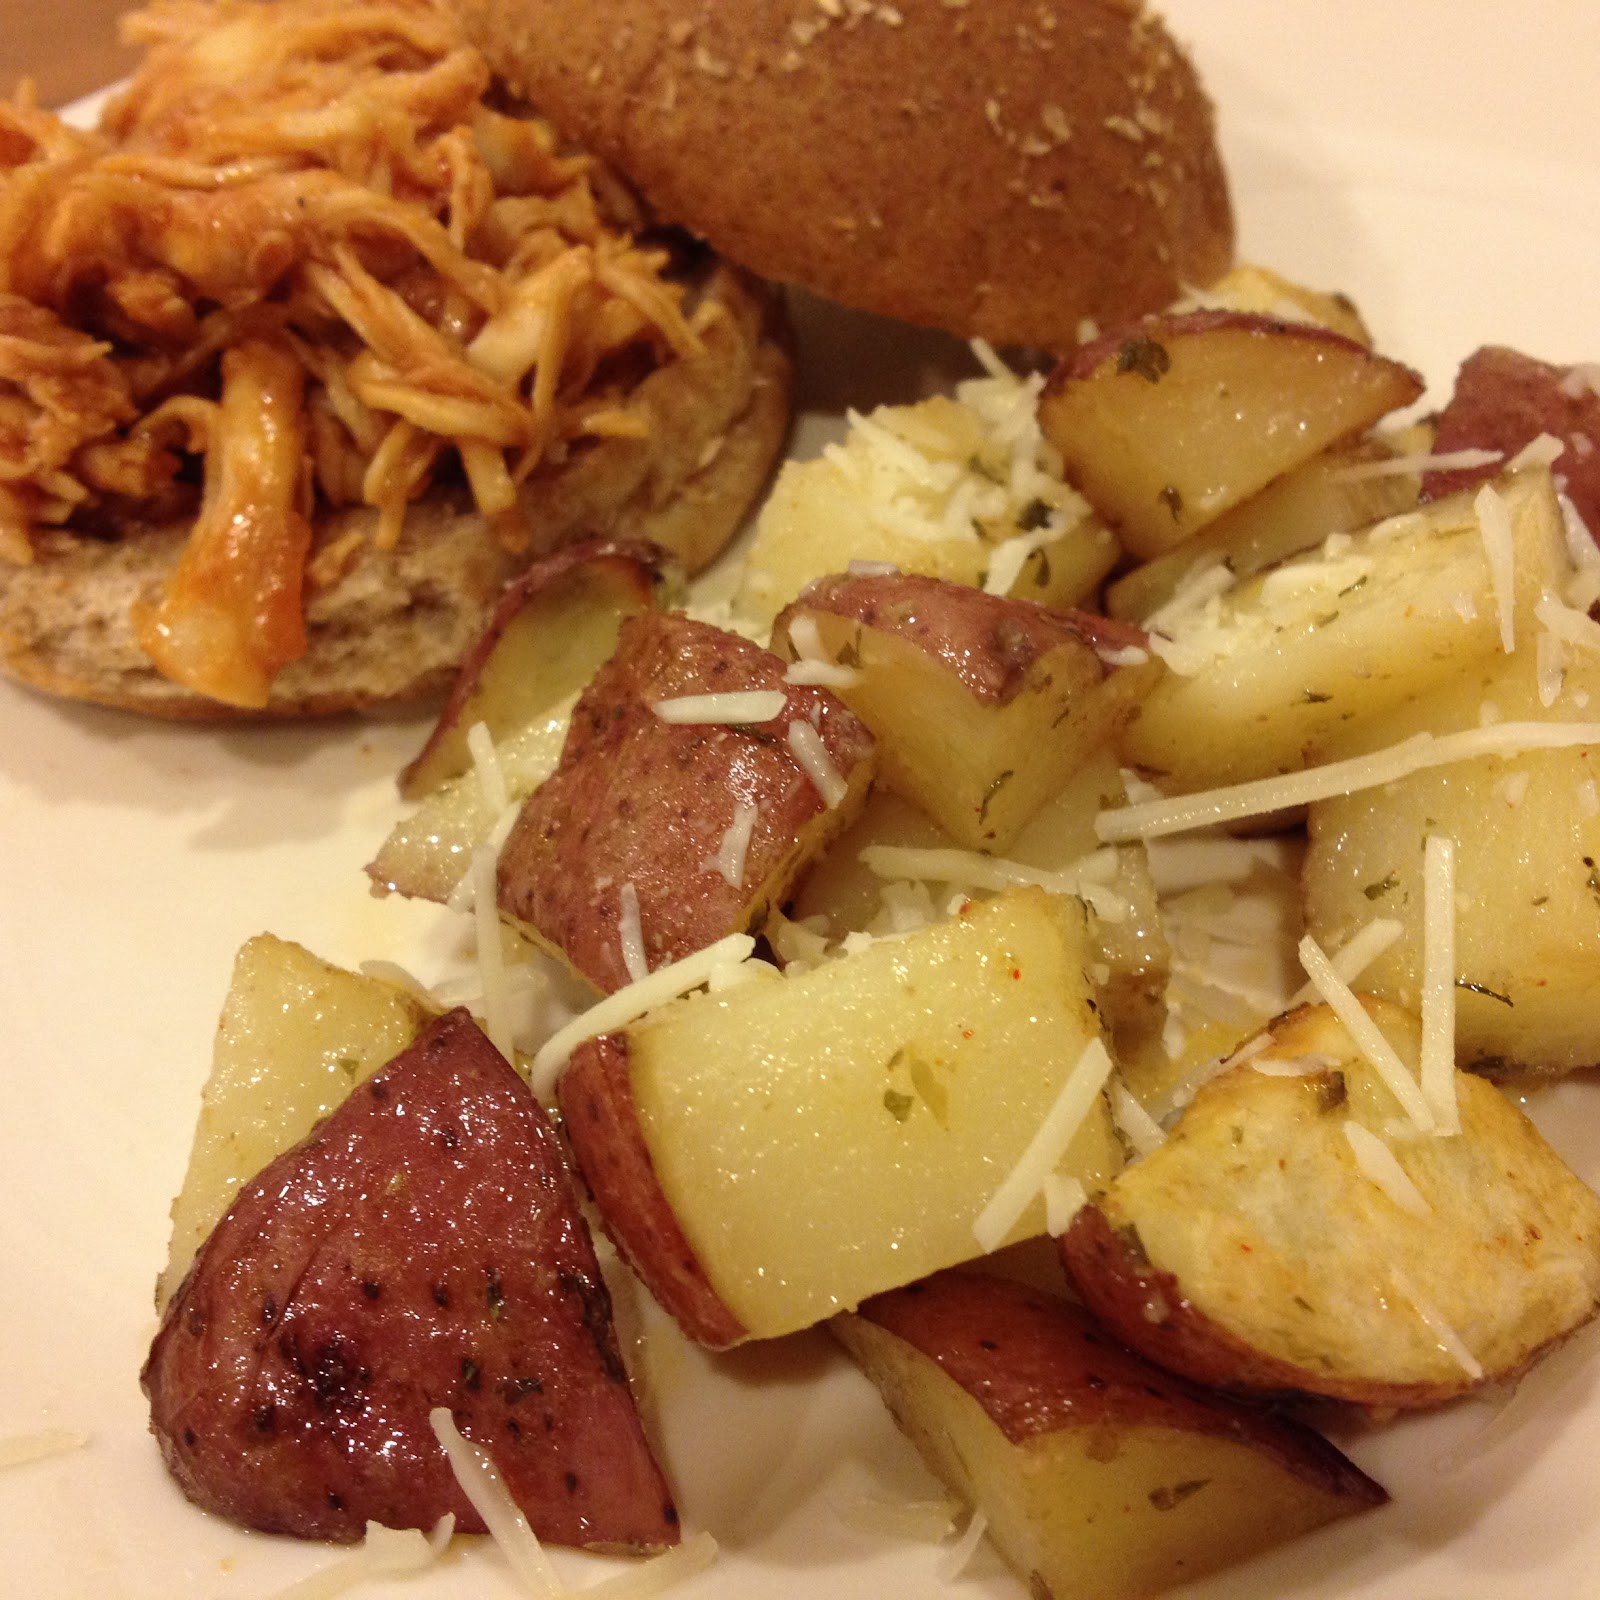
Once they are cooked, immediately transfer them to a big bowl, and mix well with the onion topping, then serve garnished with chopped parsley.
Another delicious option is to pan fry the boiled varenyky with a little bit of butter until they’re golden brown. Either way you serve them, don’t forget to add a dollop of sour cream, without which any Ukrainian dish is incomplete!
~Gayatri
Find us on Facebook:
Lazy Varenyky - an easier version of delicious potato filled dumplings. Perfect for weeknight dinners!http://cooksofcakeandkindness.blogspot.com/2015/11/lazy-varenyky.html
Posted by The Cooks of Cake and Kindness on Monday, November 16, 2015
As much as we love to bake from scratch, sometimes it makes more sense to go with tried and tested readymade ingredients especially when you want to produce a quick dessert. Making light and flaky puff pastry is a work of art (and patience!), but the pre-made puff pastry sheets from Pepperidge Farmsmake pastry desserts a breeze. Add to that delicious Nutella, and you have a crispy, chocolatey dessert in no time!
This Nutella braid is very similar to the Nutella Christmas treewe made last Christmas, but instead of just one layer of Nutella between two sheets of pastry, the braid has layers and layers of pastry and creamy Nutella.
Ingredients
2 Puff pastry sheets - defrosted if using pre-made frozen ones
Nutella or other chocolate spread (Fruit preserves, pastry cream, or a mixture of cinnamon, sugar and butter would work as well)
Preheat oven to 400 F.
Lay out two pastry sheets on a surface. On each pastry sheet, evenly spread a layer of Nutella about half a centimeter thick, leaving a small border at the edges. Gently roll each pastry sheet.
Place them seam side down and with a sharp knife cut them lengthwise keeping one end intact.
Start braiding from the uncut ends using a 4 string braiding pattern. Once you reach the end, bring 4 ends together and use a rolling pin to roll them out. Tuck the rolled out end under the braid.
Turn the braid around so the uncut ends are facing you. Since rest of the pastry is braided, we no longer need the uncut ends to hold things together. So, extend the cuts to the end, braid further if they are long enough; roll them out and tuck them under like the other end. Use your hands to gently shape the braid into a rectangle if required. Place the braid on a cookie sheet lined with parchment paper.
Bake for 20-25 minutes until golden brown. Let it cool a little, then slice and serve.
~Gayatri
Find us on Facebook:
Lightly sweet, crispy puff pastry braid with Nutellahttp://cooksofcakeandkindness.blogspot.com/2015/11/nutella-puff-pastry-braid.html
My family and I frequent the restaurant Noodles & Co., and I always get their pesto cavatappi dish. The pasta is always cooked just right and the pesto so flavorful, I always leave feeling satisfied, and usually wanting more (since a good portion of my noodles always goes to my 2-year-old!). The dish is pretty simple - noodles covered in pesto with some mushroom and tomato chunks thrown in - so I decided to try recreating it myself. This way I could personalize it with my own pesto and by increasing the amount of tomatoes and mushrooms, making it a bit more nutritious. There’s also the added benefit of homemade being a little easier on the wallet :)
½ lb mushrooms (I used baby portobello, but any will do)
3-4 tomatoes (I’m partial to Roma tomatoes)
½ lb cavatappi pasta (may also be referred to as cellentani or fusilli rigati) - of course, any other pasta will work as well
1-2 TBSP canola or olive oil
Black pepper, garlic (ground or minced) to taste
Slice the mushrooms and roughly chop the tomatoes. Heat oil in a large pan over medium heat. Sauté mushrooms and tomatoes, seasoning with pepper and garlic.
In a large pot, cook pasta per instructions. Once pasta is al dente, drain the water. Mix in the sautéed tomatoes and mushrooms. Stir in pesto a little at a time until desired flavor is reached.
Serve up as-is or as a complement to your favorite protein, such as Parmesan-crusted chicken, pictured above.
~Karla
Find us on Facebook:
Spirally pesto pasta goodness!http://cooksofcakeandkindness.blogspot.com/2015/11/pesto-cavatappi.html
A few weeks ago, we had a Fall Dessert Day at work for everyone to bring in their favorite fall treats. Of course, Gayatri and I had to make something...but wanted it to be more interesting than traditional pumpkin or apple pie. Gayatri made a delectable orange-pumpkin cake with orange-zest cream cheese frosting. My first thought was to make a batch of apple pie roll-ups with Crescent rolls instead of pie crust (which I did end up making), and then I wondered if I could make something similar with pumpkin pie filling instead. Just rolling a blob of pumpkin pie filling in a Crescent roll might leave the whole thing a limp soggy mess, though, so I turned to trusty Google to get some ideas. Marshmallows were the key! Crescent rolls + marshmallows = beautiful pastry puffs, which I could then stuff with tasty pumpkin pie filling.
Ingredients: (makes 16 puffs)
For the puffs
2 can Pillsbury crescent rolls
16 large marshmallows
16 mini marshmallows
~2 tsp pumpkin pie spice*
½ cup butter, melted
For the filling
1 can (~15oz) pumpkin puree (NOT pumpkin pie filling)
8oz cream cheese
½ tsp pumpkin pie spice
½ cup powdered sugar
*Pumpkin Pie spice (makes about ¼ cup)
⅛ cup ground cinnamon
2 tsp ground nutmeg
2 tsp ground ginger
½ TBSP ground allspice
Making the puffs
Separate and spread out the crescent roll dough. Dip a large marshmallow in the melted butter, then roll in the pumpkin pie spice mix. Place it in the middle toward the wide end of a crescent roll wedge and put a mini marshmallow on top of it, then bring up the sides of the crescent roll to wrap around the marshmallow, forming a satchel or pouch (similar to these Easter surprise rolls but with the extra mini marshmallow). The mini marshmallow will help keep an opening for the pouch so it can be filled later.
Once the pouch is formed, dip the bottom in melted butter, then place in a muffin pan. Repeat with the remaining marshmallows.
Bake at 375F for 12-15 minutes until the tops are golden brown. As the pouches bake, the marshmallows will puff up inside them, then melt, leaving a hollow puff with a pocket for filling. Let the puffs cool before filling.
Making the filling
Combine pumpkin puree, cream cheese, and sugar and mix until smooth. Spoon into a large Ziploc bag with a large round icing tip (if you don’t have an icing tip, snip off a corner of the bag).
Once the puffs are cool to the touch, pipe the filling in through the opening left by the mini marshmallow (in case the puff opening collapsed, use a knife to poke through). Each puff should be able to hold about 2 tablespoons of filling - and you can feel the puff expanding a bit in your hand as it is filled.
It's best to wait to fill these until just before serving, otherwise the pastry might get a little soggy.
Happy indulging!
~Karla Find us on Facebook:
Not your typical pumpkin pie - a delicious fall treat!http://cooksofcakeandkindness.blogspot.com/2015/11/pumpkin-pie-puffs.html
Palak paneer is a north Indian delicacy, well known around the world as most Indian restaurants serve it. It consists of a creamy palak (spinach) gravy and delicious soft cubes of paneer (firm farmer’s cheese made from cow/buffalo milk). Even with healthy ingredients like spinach and protein rich paneer, this dish can be high in fats for several reasons. Typically the paneer itself has a lot of fat. It is also often pan fried in butter/oil to get a golden crust before adding to this dish. Some recipes use heavy cream to make the gravy smooth and creamy. A little bit of everything can add up to counter the health benefits of eating the leafy green spinach.
When I make palak paneer at home, I try to make it healthier by changing a few things - using low fat milk to make homemade paneer and not pan frying it; adding kale along with spinach; eliminating heavy cream, and using cashew puree. The cashew puree helps thicken the gravy and also adds a little sweetness to balance the slight bitterness of kale. In this recipe I’ve used a half and half ratio of kale and spinach, but I often make it with just kale. Feel free to experiment with the ratio as per your liking - keeping in mind that kale can be somewhat bitter...but SO healthy!
Ingredients(Serves 6-8)
~2 cups cubed paneer (Click here for homemade low fat paneer recipe)
1.5 cups packed kale leaves, chopped (hard stem removed)
1.5 cups packed spinach
Gravy
1 large onion, roughly chopped
3-5 tomatoes, roughly chopped (~1.5 cups)
2 cloves of garlic, minced
1 tsp grated ginger
¼ cup raw cashews (optional)
Water
1 tsp oil
Spices
½ tsp cumin seeds (optional)
¼ tsp asafoetida powder* (optional)
1-2 Tbsp coriander powder
½ tsp turmeric powder
½-1 tsp red chili powder
¼ tsp garam masala (optional)
Salt to taste
Soak the cashews in half a cup of hot water.
Heat oil in a pot over medium heat. Add the cumin seeds and once they start to brown, add the asafoetida powder, quickly followed by chopped onions. Add the ginger and garlic and saute until the onions are translucent. Add chopped tomatoes and remaining spices. Saute until the tomatoes begin to break down. Add the chopped kale leaves and let them wilt a little before adding spinach. Mix everything together and take the pot off the heat.
In a blender or food processor, puree the soaked cashews. Add the cooked mixture and puree it to the consistency of your liking. I had to do this in batches to ensure everything was pureed well.
Add the pureed mixture back to the pot on medium heat, season with salt, adjust spices and add more water if the gravy is too thick. Cook for ~5 minutes before adding paneer. Let everything heat through and then take off the heat.
Serve warm with roti or rice.
~Gayatri
Note: Asafoetida, or hing is an herb used extensively in Indian cooking to enhance flavor and aid digestion. It can be found in any Indian store. Find us on Facebook:
Kale & palak paneer - a healthy dose of leafy greens, along with low fat paneer and delicious cashew cream.http://cooksofcakeandkindness.blogspot.com/2015/11/kale-and-palak-paneer.html
Whenever I get a side of roasted potatoes in a restaurant, they are so deliciously seasoned with crisped skin and soft insides. I usually end up liking the potatoes better than whatever meal I ordered! It seems an easy enough side to make - even the cafeteria at our work does a decent job :-P I did some quick research on baking potatoes, and then adjusted the spice scheme and voilà! Homemade, droolworthy, restaurant-caliber (in my opinion) roasted redskin potatoes!
Ingredients: 6-8 redskin potatoes ~2 TBSP canola oil (or olive oil) ~1 TBSP garlic powder ~1 TBSP parsley ~1 tsp paprika salt and pepper to taste grated Parmesan cheese (optional)
Heat oven to 400F.
Wash the potatoes and chop them into roughly 1-inch cubes. Mix the oil and spices together in a bowl or bag, then toss the potatoes in the spice mixture until the pieces are evenly coated.
Spread evenly in a baking dish, in a single layer if possible. Bake 30-50 minutes (times vary depending on how many potatoes you have) until the skins are wrinkled and insides are browned, stirring once or twice to get a good crisp on all sides.
Serve up with a sprinkling of Parmesan cheese and enjoy! ~Karla
Note: You can also add Parmesan cheese to the potatoes for the last 10 or so minutes of bake time for some melted cheesy goodness. Find us on Facebook:
Crispy-skinned garlicky roasted potatoes - a restaurant worthy side for any meal!http://cooksofcakeandkindness.blogspot.com/2015/10/roasted-redskin-potatoes_31.html
What treat would you make for a chocoholic? Chocolate brownies? Chocolate cake? How about both combined!? This dessert is rich and chocolatey like brownies, yet soft and light like a cake. I topped it with a dark chocolate ganache to give it an even higher degree of chocolatiness (pretty sure I’m making up a word here) to celebrate a chocolate-loving friend’s birthday.
8 Tbs. (1 stick) unsalted butter, at room temperature
1 cup sugar
2 eggs, lightly beaten
1 tsp. vanilla extract
3/4 cup all-purpose flour
4 oz. good-quality semisweet or bittersweet chocolate (70%+ cacao is best), chopped
For ganache:
½ cup heavy whipping cream
4 oz dark chocolate, chopped (or chocolate chips)
Preheat an oven to 350°F. Line an 8-inch round cake pan with parchment paper.
Mix In a large bowl, beat together butter and sugar until light and fluffy. Add the eggs and vanilla and beat until well blended. Add the flour slowly and continue to beat.
Melt the chocolate in a double boiler, or in the microwave heating for 30-60 seconds at a time on 40% power, stirring each time until chocolate is melted. Add the melted chocolate to the batter and beat gently until just combined.
Pour the batter into the prepared pan and bake until for 20 to 25 minutes until toothpick inserted in the center comes out clean. Let the cake cool down a little before taking it out of the pan and decorating with ganache.
To make the ganache, add the dark chocolate to whipping cream in a saucepan and heat over low heat (stirring occasionally) until the chocolate is melted. Take it off the heat and stir to combine the cream and chocolate well. Let it cool down and thicken a little before pouring it over the cake. Spread with a spatula to the edges of the cake (you may cover the sides too). Let the ganache cool down further and then pipe decorations like a simple border using a star-tip. Drizzle melted white chocolate to make a pretty presentation.
Cut slices and enjoy as is, or à la mode.
~Gayatri
Find us on Facebook:
Get your chocolate fix with this chocolate brownie cake!http://cooksofcakeandkindness.blogspot.com/2015/10/chocolate-brownie-cake-with-ganache.html