What can I say about quiche that hasn’t already been said? It’s an easy-to-make dish, it can be customized however you like, and, with its filling of eggs, milk (or cream), and cheese, it is substantial enough to satisfy just about anyone. You can get super creative with assembling the various ingredients and produce works of art, but even fledgeling foodies can prepare a quiche that looks and tastes delicious. The main fillers in this quiche are mushroom and asparagus - which is a fairly misunderstood and underappreciated vegetable! For other tips and suggestions on how to cook asparagus, please visit our friends at Quick Easy Cook. Their blog is teeming with information on subjects ranging from kitchen utensils to specific ingredients and foods to chef apparel (think comfortable shoes!) - and has a plethora of quick and easy healthy recipes that even novice cooks can master.
Okay, back to the quiche - here's a simple dice-and-dump recipe for a hearty breakfast, lunch, or dinner!
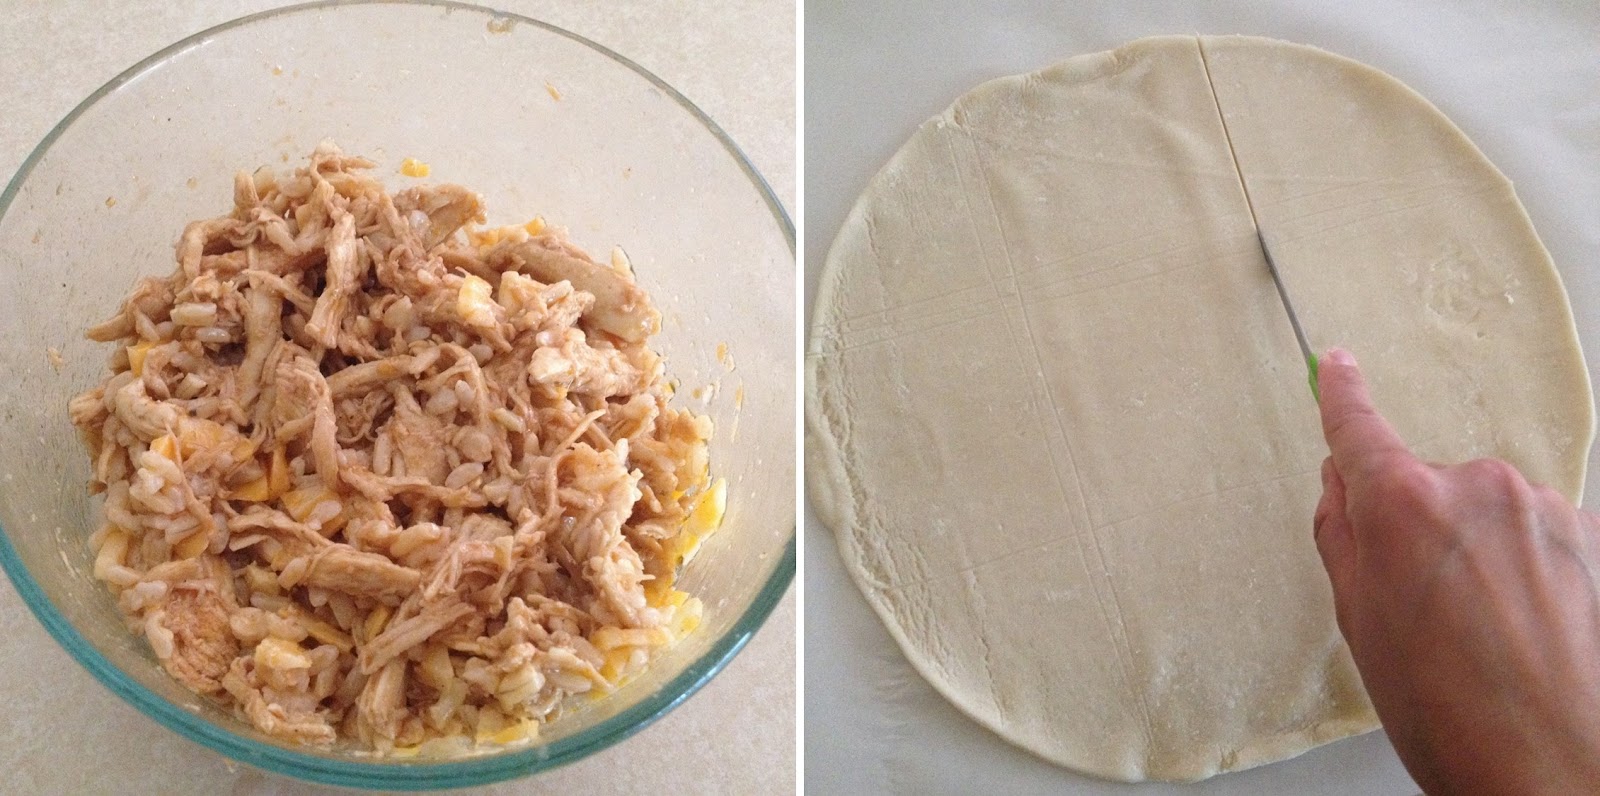
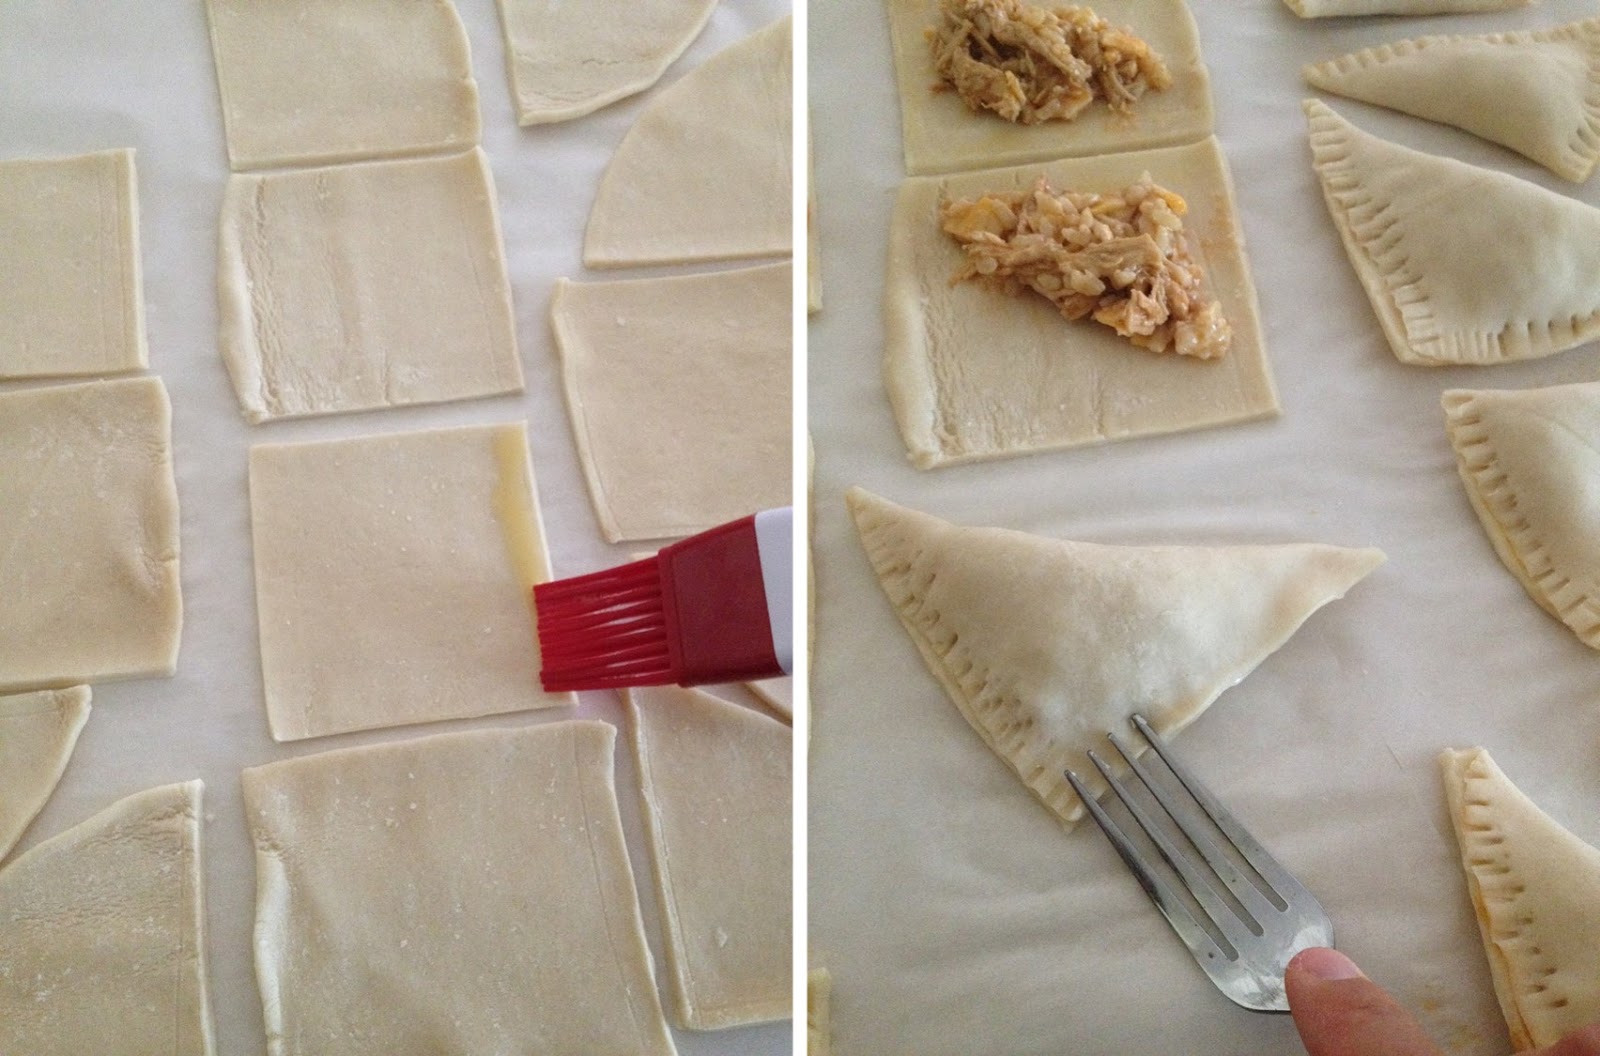
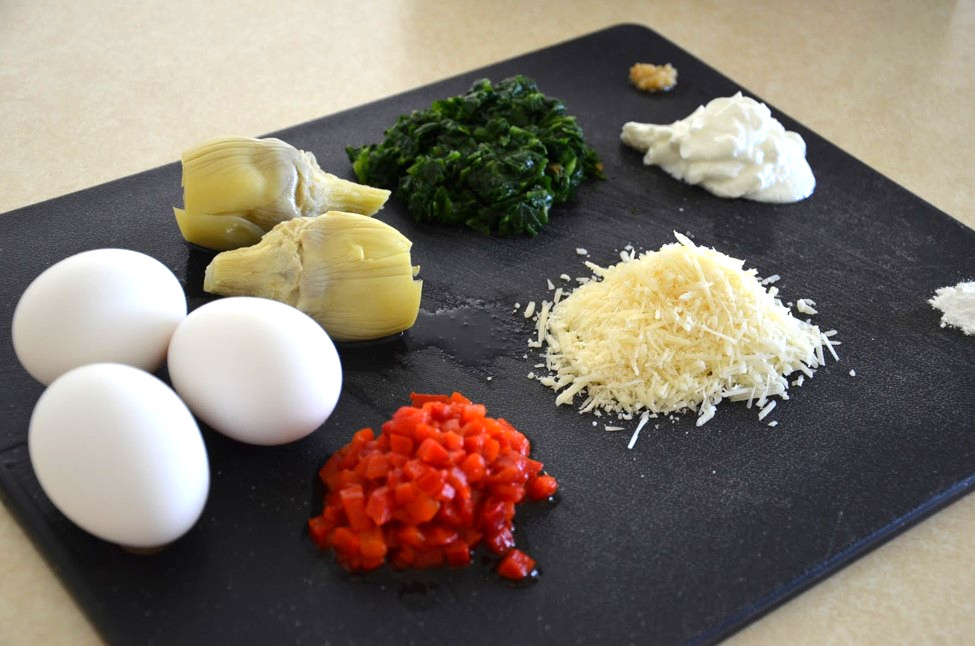
Beat eggs in a bowl. Add milk and spices and mix well. Finely chop the asparagus and mushrooms.

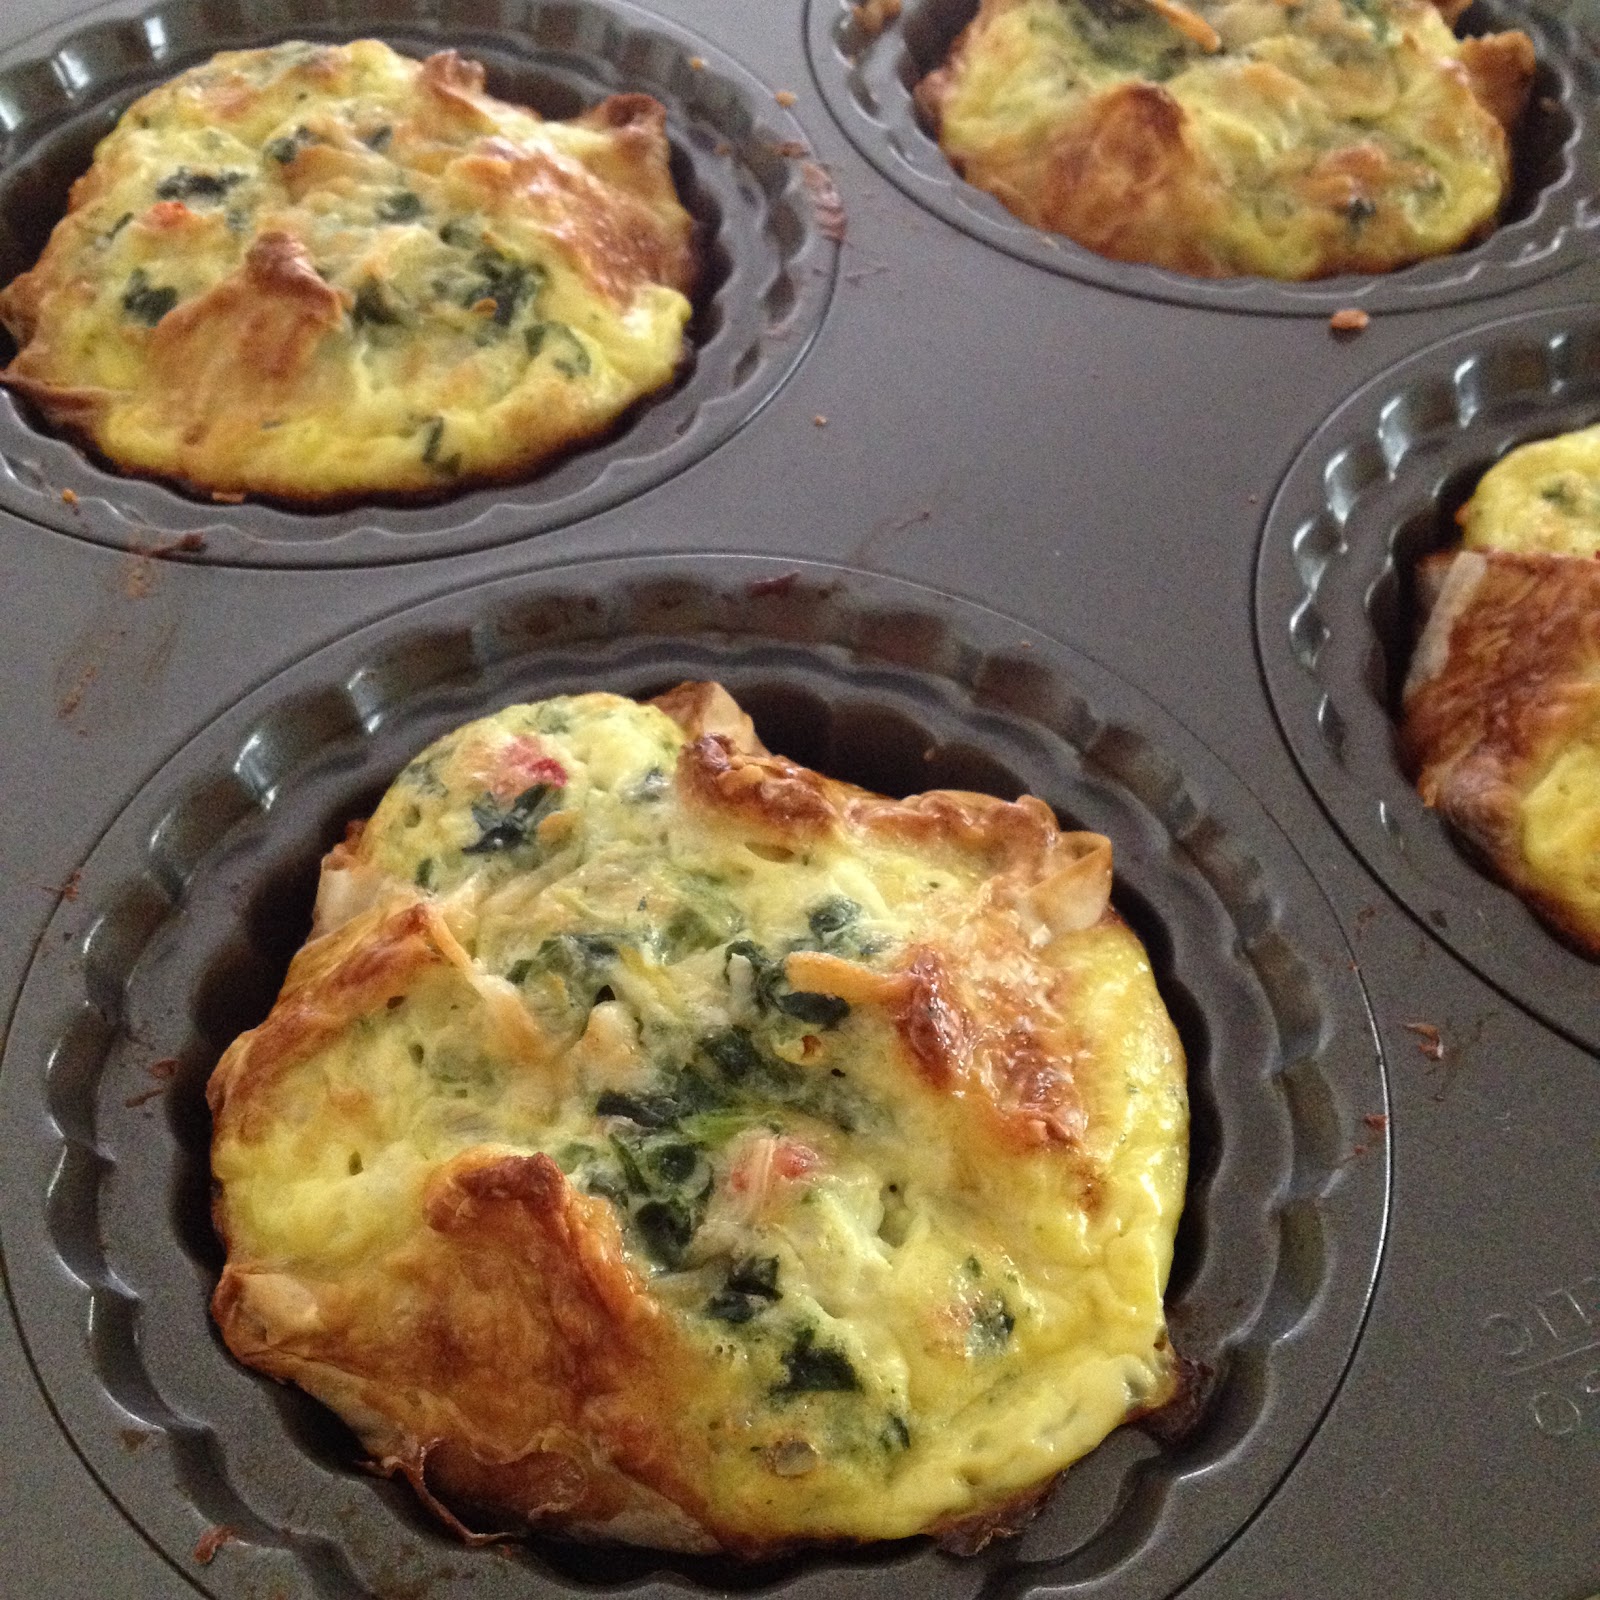
Bake 40-50 minutes, until a toothpick inserted in the center comes out clean. Let the quiche cool for 5-10 minutes, then dig in!
~ Karla
Find us on Facebook
Okay, back to the quiche - here's a simple dice-and-dump recipe for a hearty breakfast, lunch, or dinner!
Ingredients: (serves 6-8)
~8 asparagus spears
~4oz mushrooms
4 eggs
1 cup milk (I used 1%)
~1 cup + 3 TBSP shredded cheddar cheese
~2-3 cloves garlic, minced
Pepper, salt, paprika to taste
1 pie crust
Heat oven to 350°F.
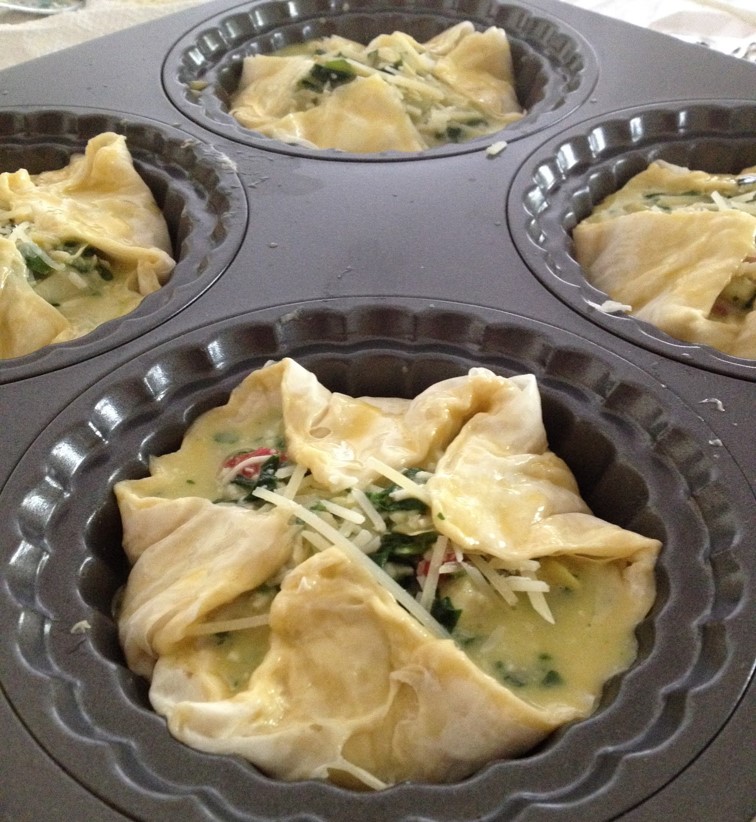
Beat eggs in a bowl. Add milk and spices and mix well. Finely chop the asparagus and mushrooms.
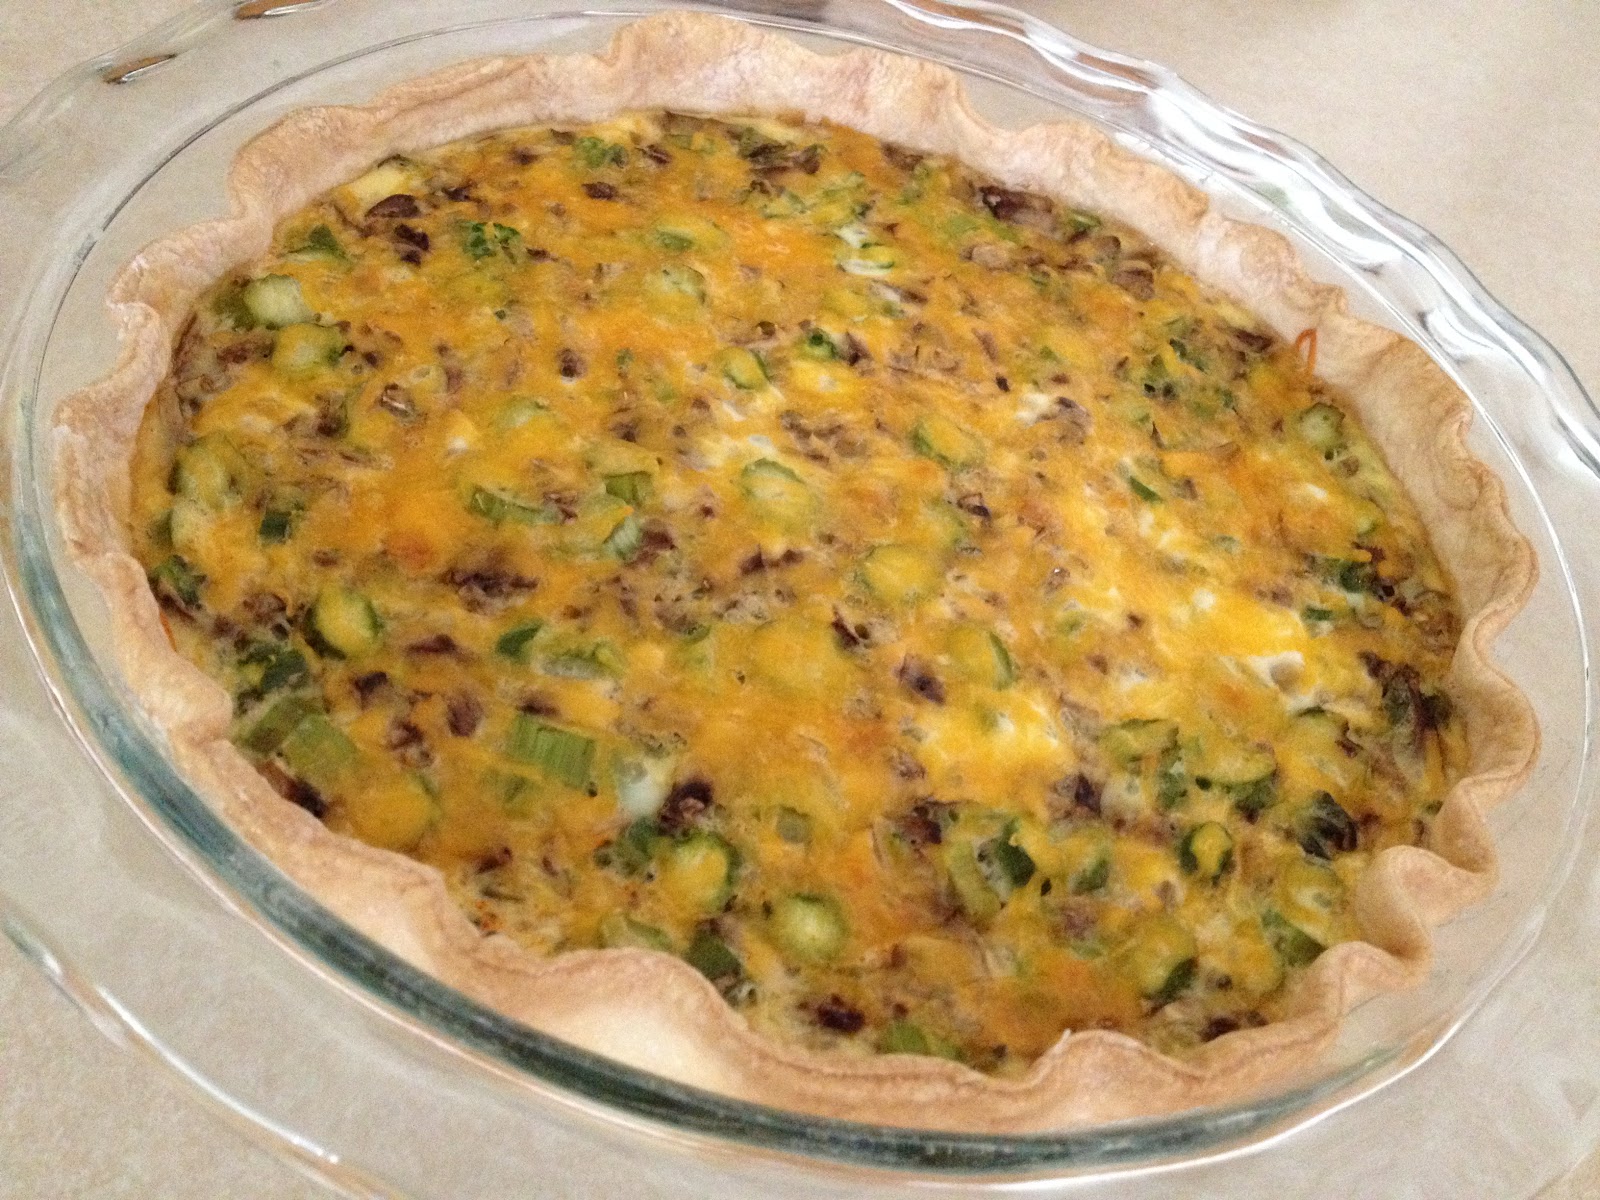
Toss the chopped mushroom and asparagus with 1 cup of shredded cheese. Place pie crust in a 9” pie pan, spread veggie-cheese mixture into the pie crust, then pour in the egg-milk mixture. Sprinkle the remaining shredded cheese on top.
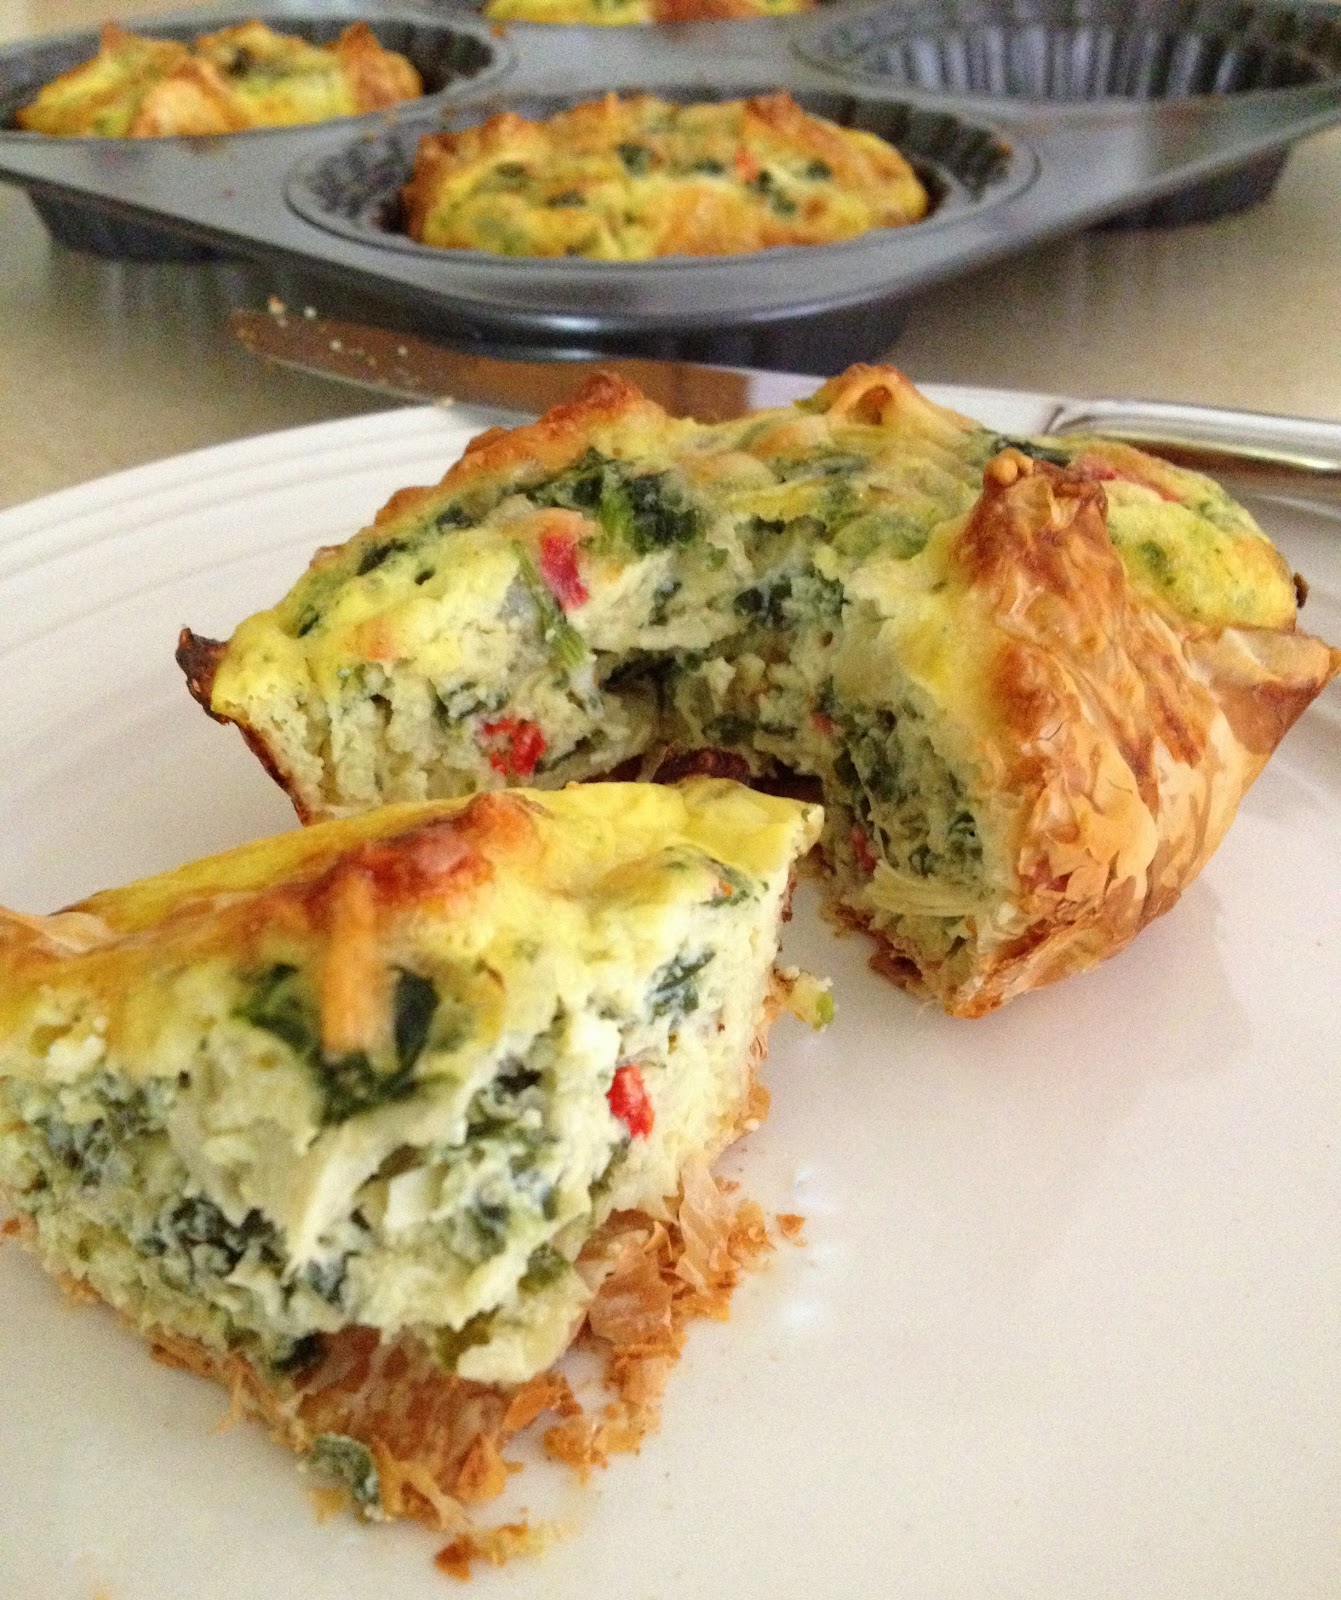
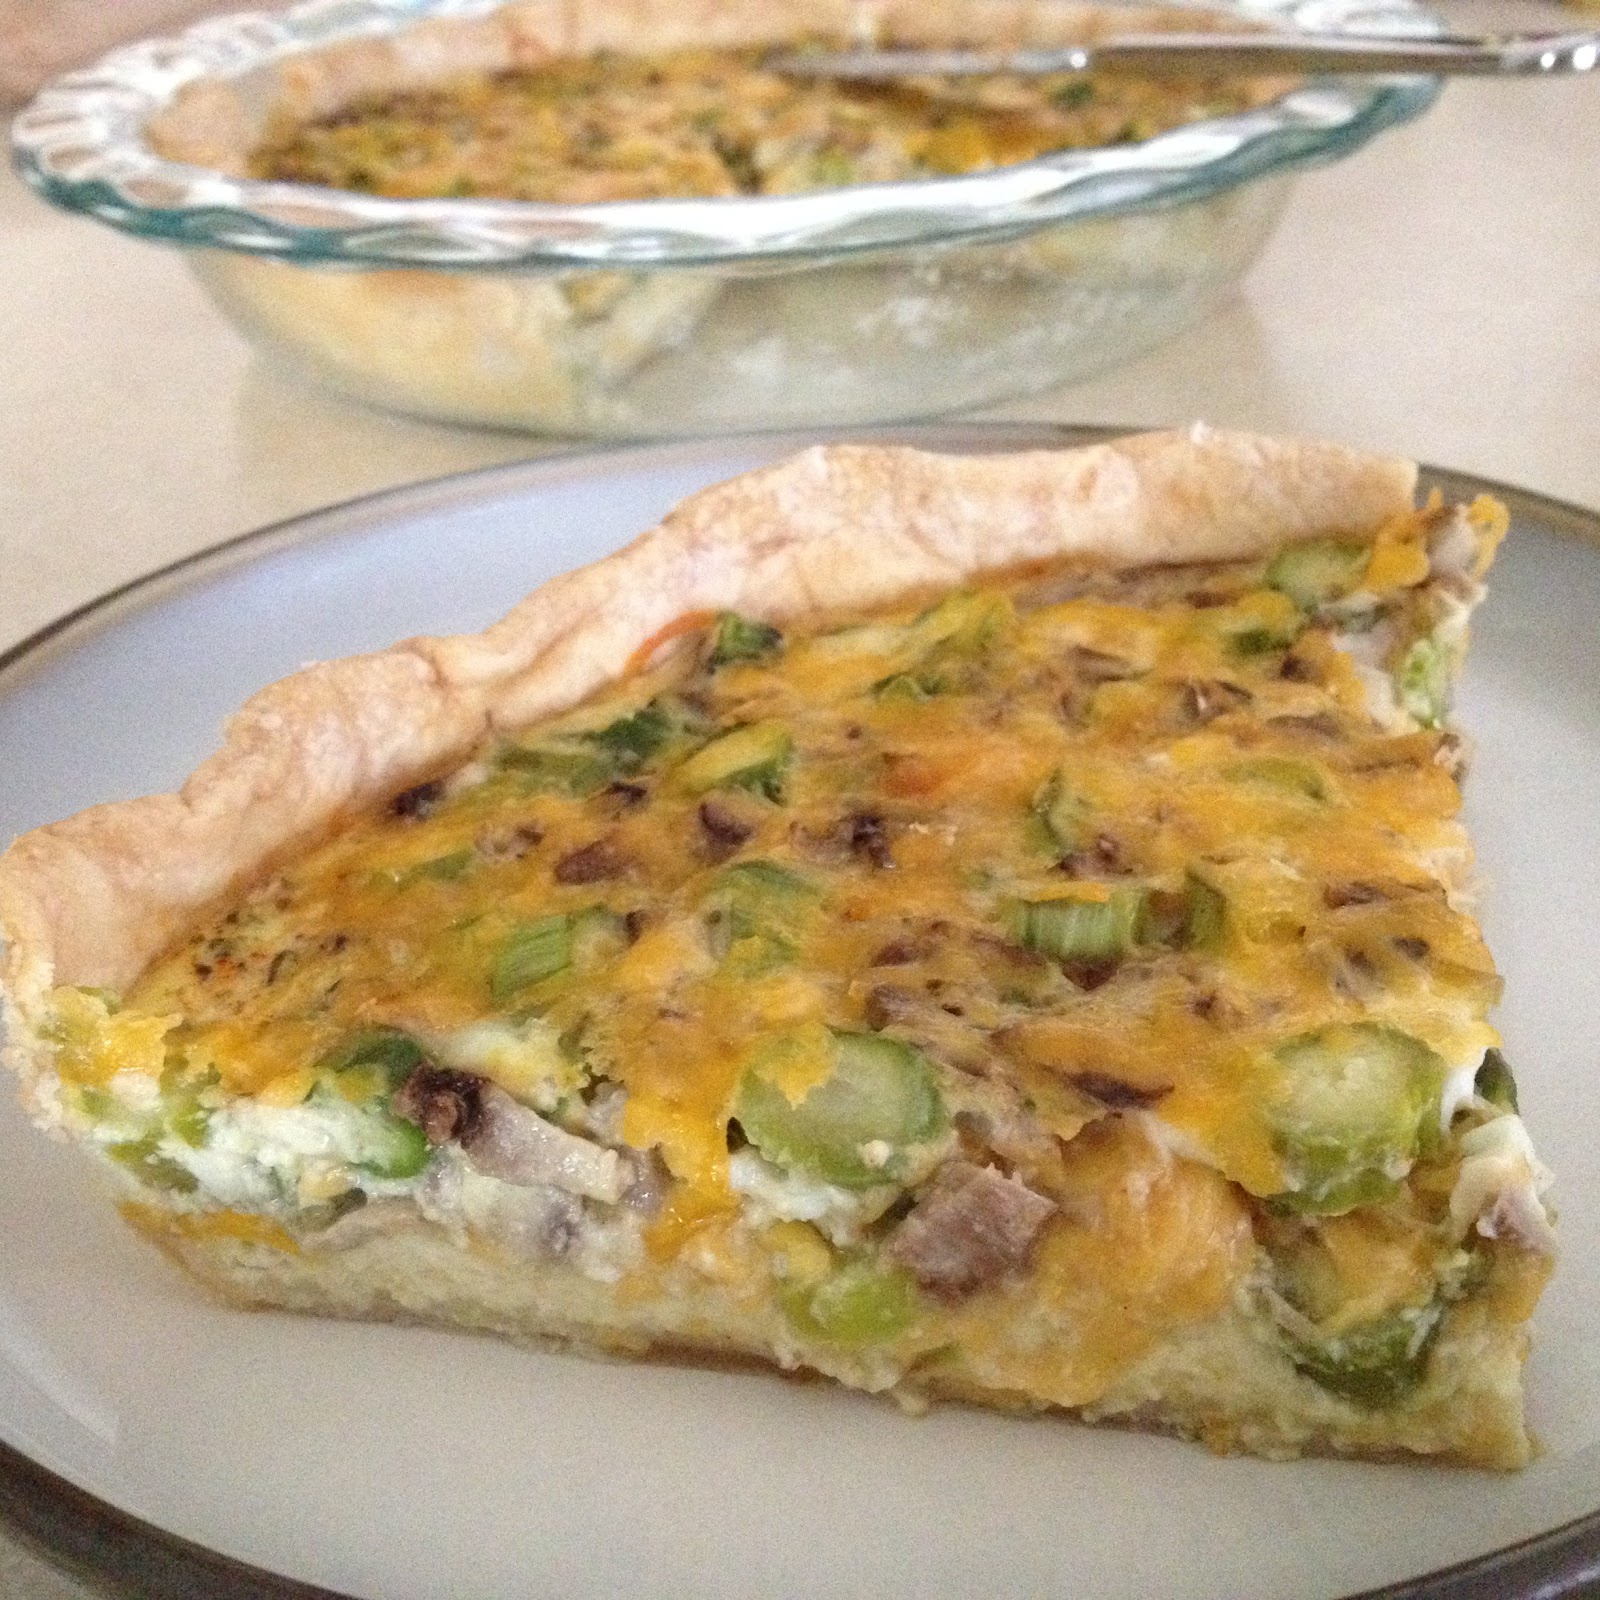
Bake 40-50 minutes, until a toothpick inserted in the center comes out clean. Let the quiche cool for 5-10 minutes, then dig in!
~ Karla
Find us on Facebook