Gajar halwa is one of my favorite Indian desserts. It’s a pudding made with grated carrots cooked in milk. While those two ingredients sound nutritious, it is important to note that a significant amount of processed sugar typically goes into this dish. However, there’s an easy way to make this dessert much healthier! The recipe below completely substitutes sugar with dates, which have a lower glycemic index than table sugar, thus avoiding blood glucose spikes. It also uses non-fat milk thickened with pureed cashews (in addition to pureed dates), which adds healthy fats and protein to the dish. The most awesome part is that the taste is almost unaltered with these healthy substitutions. If you’re feeling adventurous, you may even add some orange zest like I did to give this healthy dessert a delicious fruity flavor!

Ingredients: (Makes ~2.5 cups)
5-6 large carrots, finely grated
~10 dates, pitted
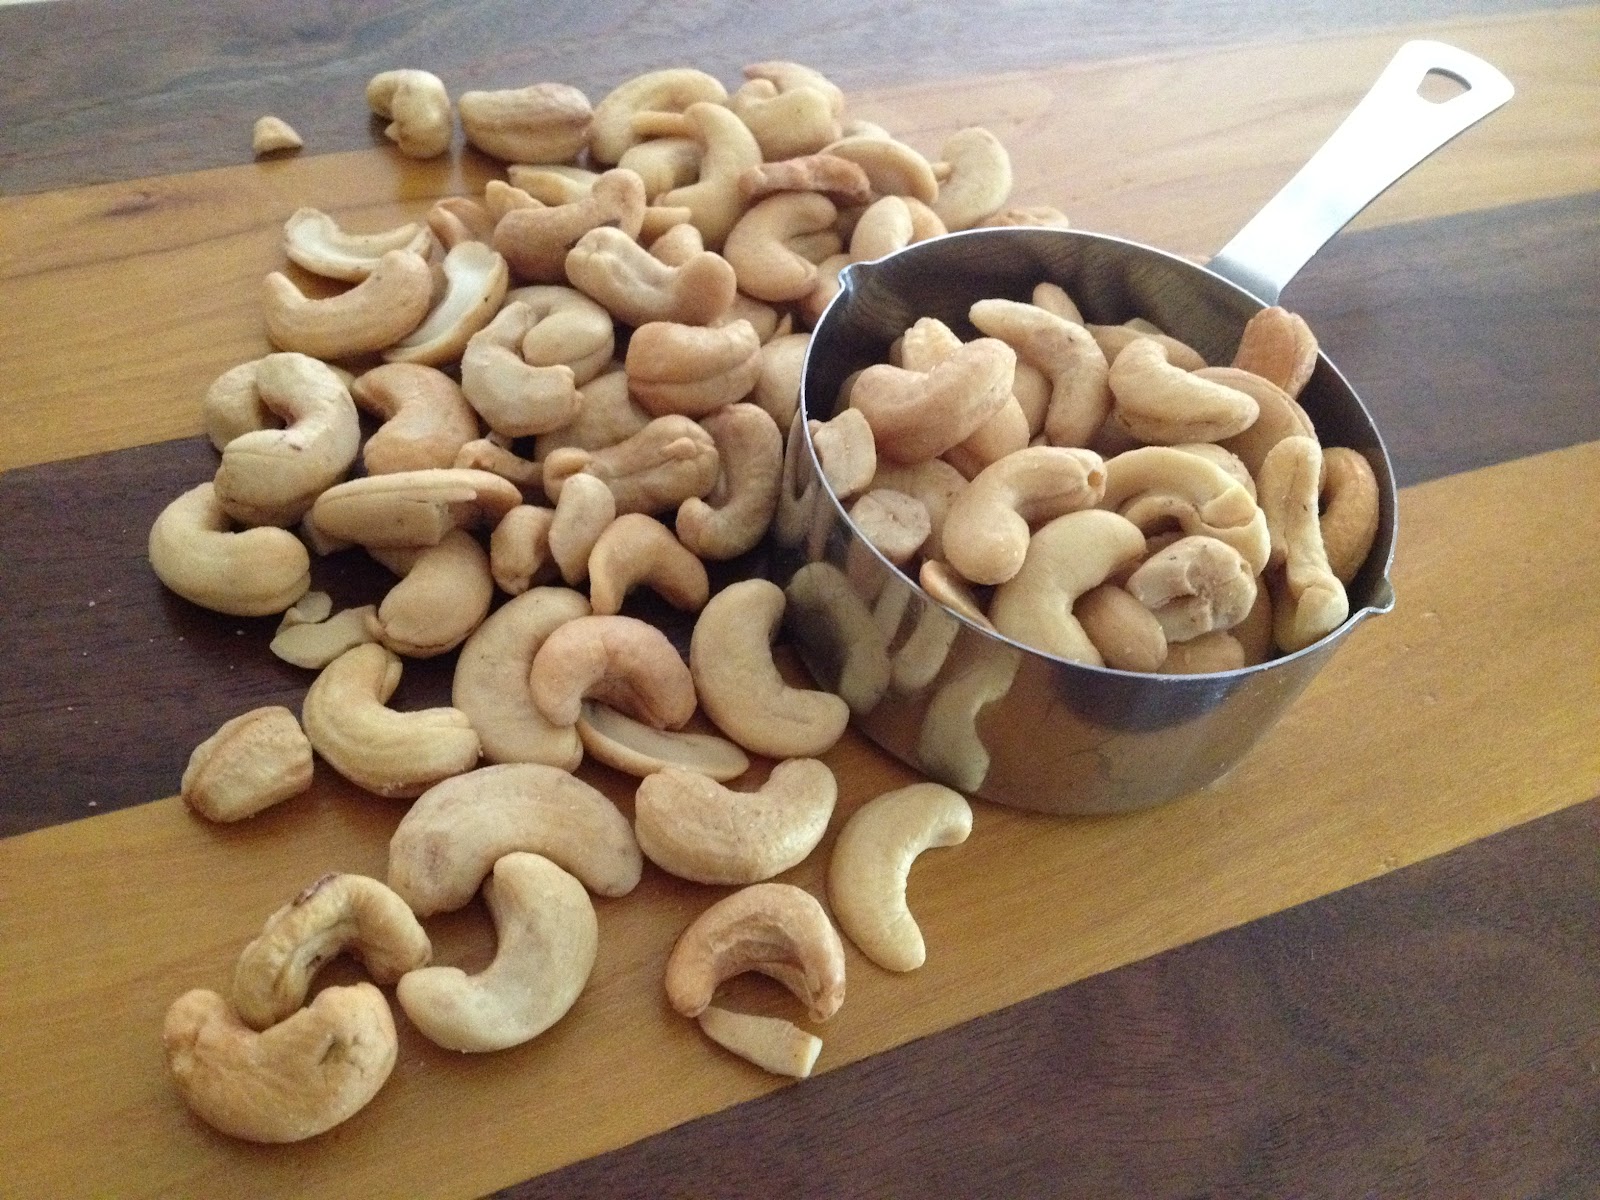
¼ cup raw cashews
½ tsp cardamom powder
2-3 cups milk (I used nonfat - use non-dairy milk for a vegan option)
Raisins, chopped cashews - optional
1 Tbsp orange zest - optional
1-2 tsp ghee (or coconut oil)
Soak the dates and cashews in about 1½ cups of milk for 3-4 hours. You can cut down the time considerably by heating the milk with the dates and cashews until it just starts boiling. Puree the dates and cashews with the milk. The dates are the only sweetener in this recipe (other than the natural sweetness of the cashews), so use more/less dates per your taste. The pureed cashews act as thickener, allowing the use of nonfat milk, while adding some protein to the dessert.
Heat ghee in a non-stick pan over medium heat. If using raisins, chopped cashews, use 2 tsp ghee, if not, 1 tsp is enough as long as you’re cooking in a non-stick pan. Once the ghee is warm, add the raisins and cashew, and stir until slightly toasted. Add the grated carrots and stir to mix well. Let it cook for ~5 min stirring occasionally. Add cardamom powder, orange zest and the date-cashew milk, stir, cover and let it cook for another 5 minutes. Keep stirring and adding more milk as needed until the carrots are soft. This halwa shouldn’t be too dry, but also not runny, so cook until most of the milk is absorbed. Let cool a bit and serve garnished with more raisins, cashews if desired.
~Gayatri
Find us on Facebook: