One of my favorite appetizers at Italian restaurants is bruschetta - toasty garlicky bread topped with deliciously seasoned tomatoes and mozzarella is the perfect start to a traditional Italian meal. I had always thought that “bruschetta” was the tomato part of the dish, with the bread simply being a medium for consumption (a not uncommon misconception, at least according to Wikipedia). Bruschetta actually refers to the bread, which is grilled, rubbed with garlic, and topped with olive oil and salt. This balsamic-tomato-basil-mozzarella mix is just one of many variations of toppings that can be served with bruschetta, and can be quite easy to make!
Bake for 15-20 minutes, until the cheese is bubbly and brown at the edges and the tomatoes start looking wrinkly. Let cool for 5 minutes.
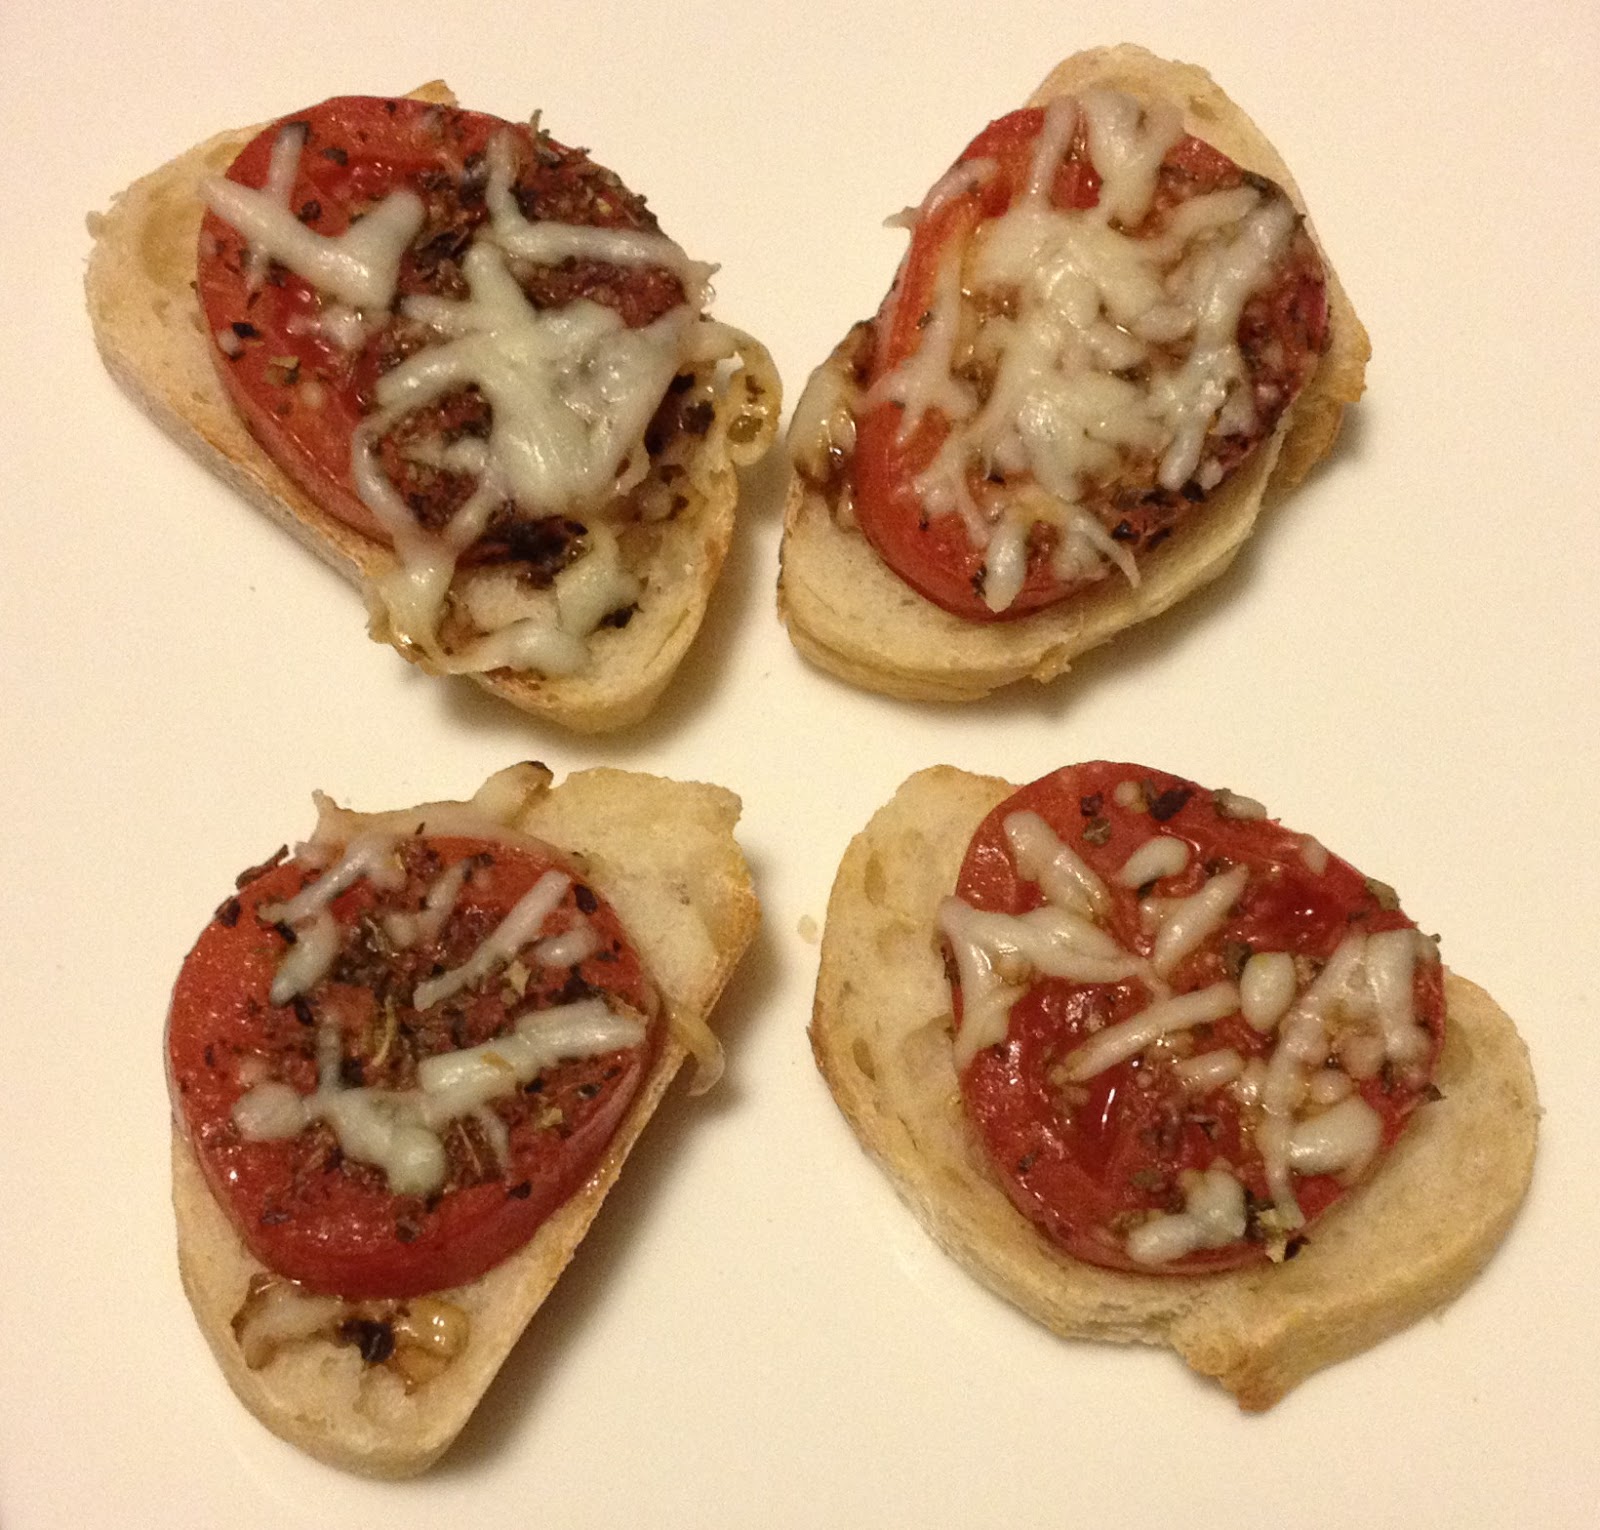
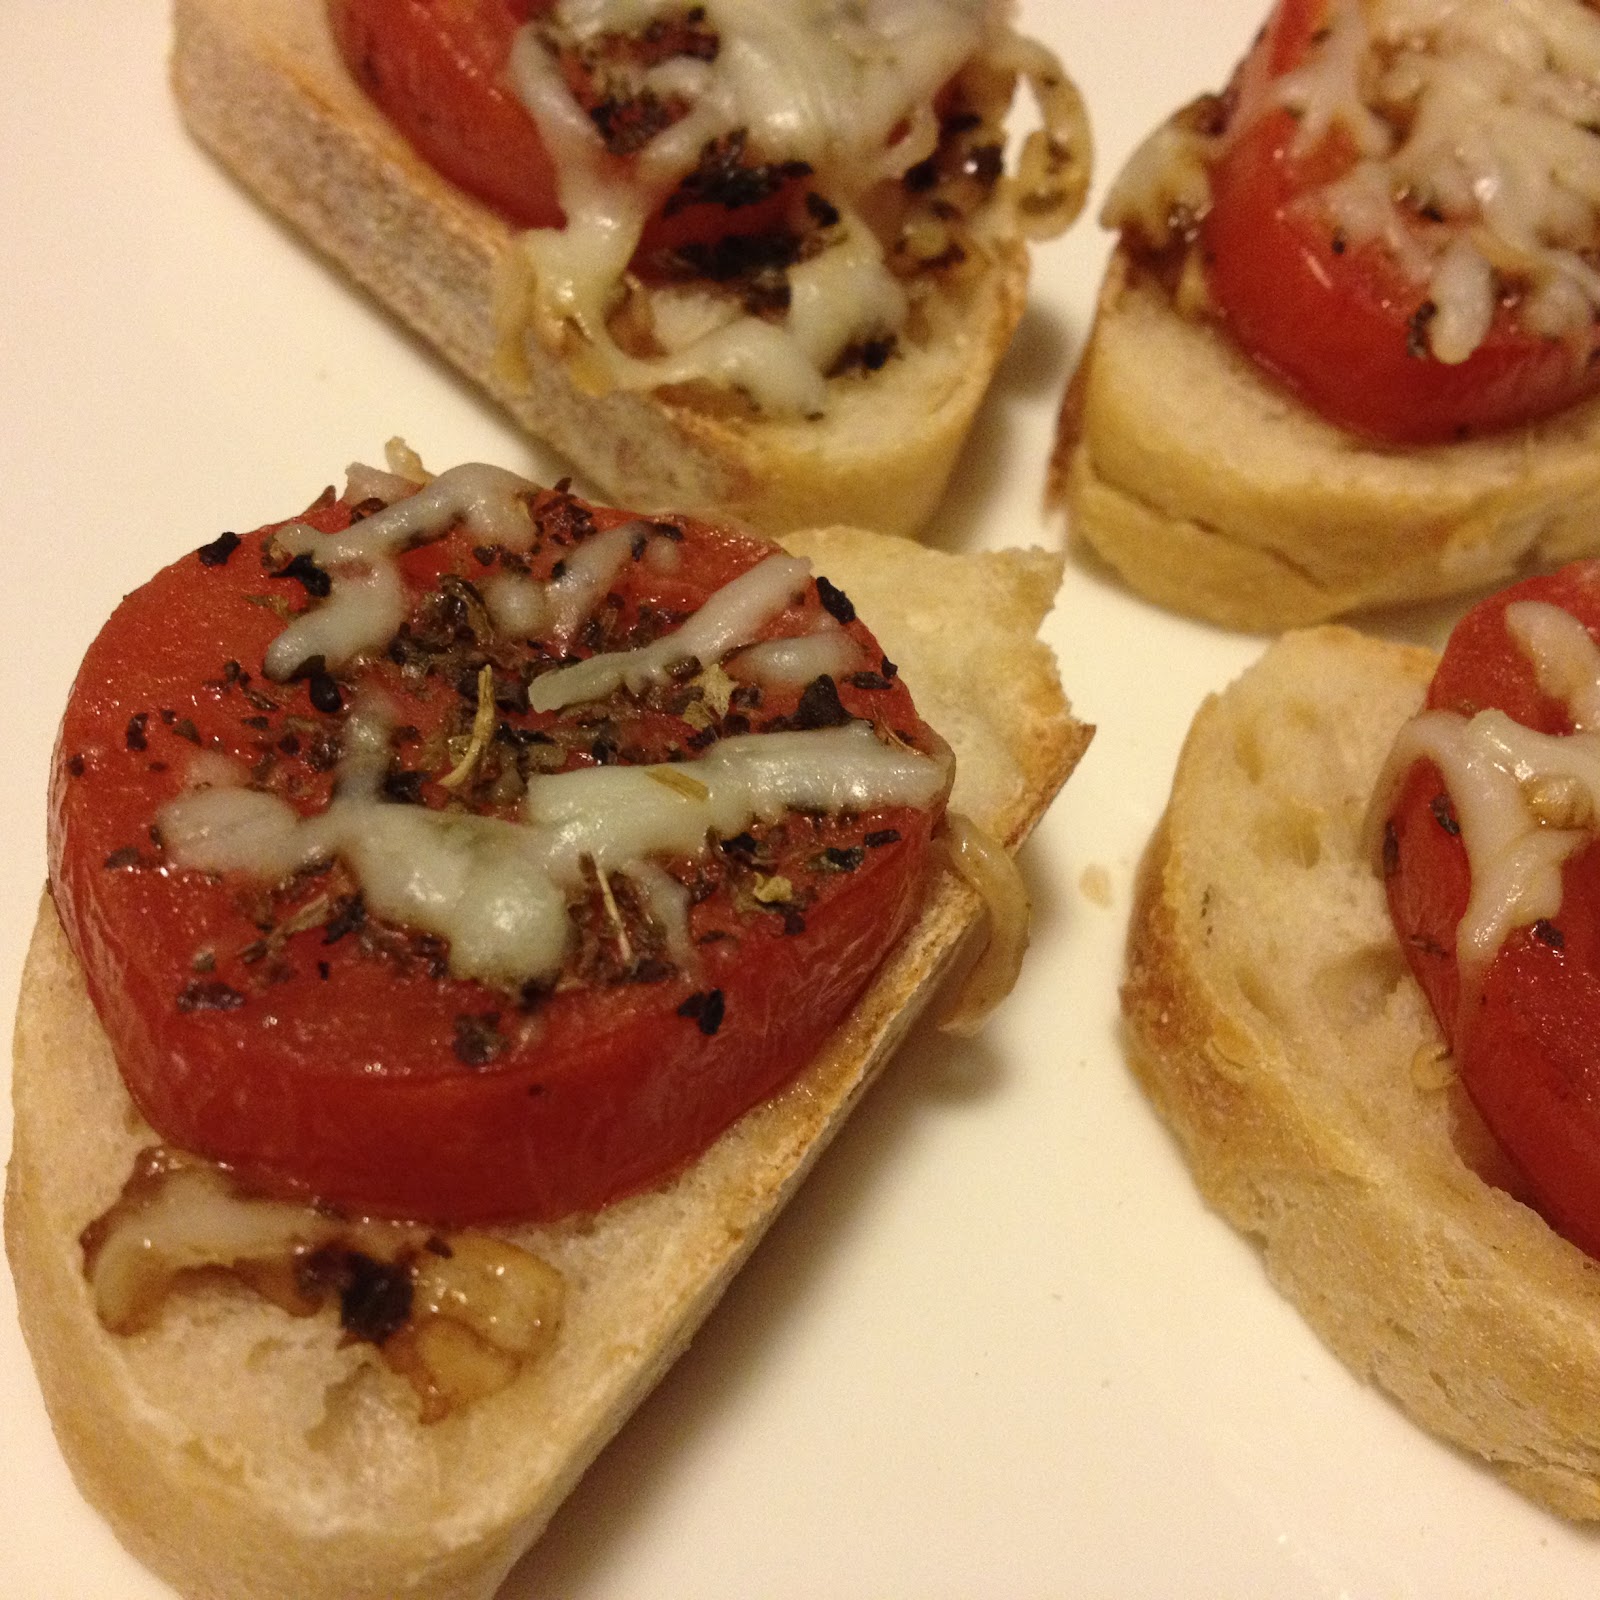
Top a bread slice with a cheesy, basil-y, balsamic tomato slice. Serve as an appetizer, side, or anytime snack!
~Karla
Find us on Facebook:
Ingredients: (makes ~8-10 servings of 2-3 pieces)
~1lb Roma tomatoes (can use other varieties as well)
~¼ - ½ cup balsamic vinegar
~2 TBSP chopped basil (fresh or dried)
~2-3 tsp garlic powder (or 5-6 garlic cloves, minced)
~1 cup shredded mozzarella cheese
1 baguette
Olive oil
Heat oven to 350F.
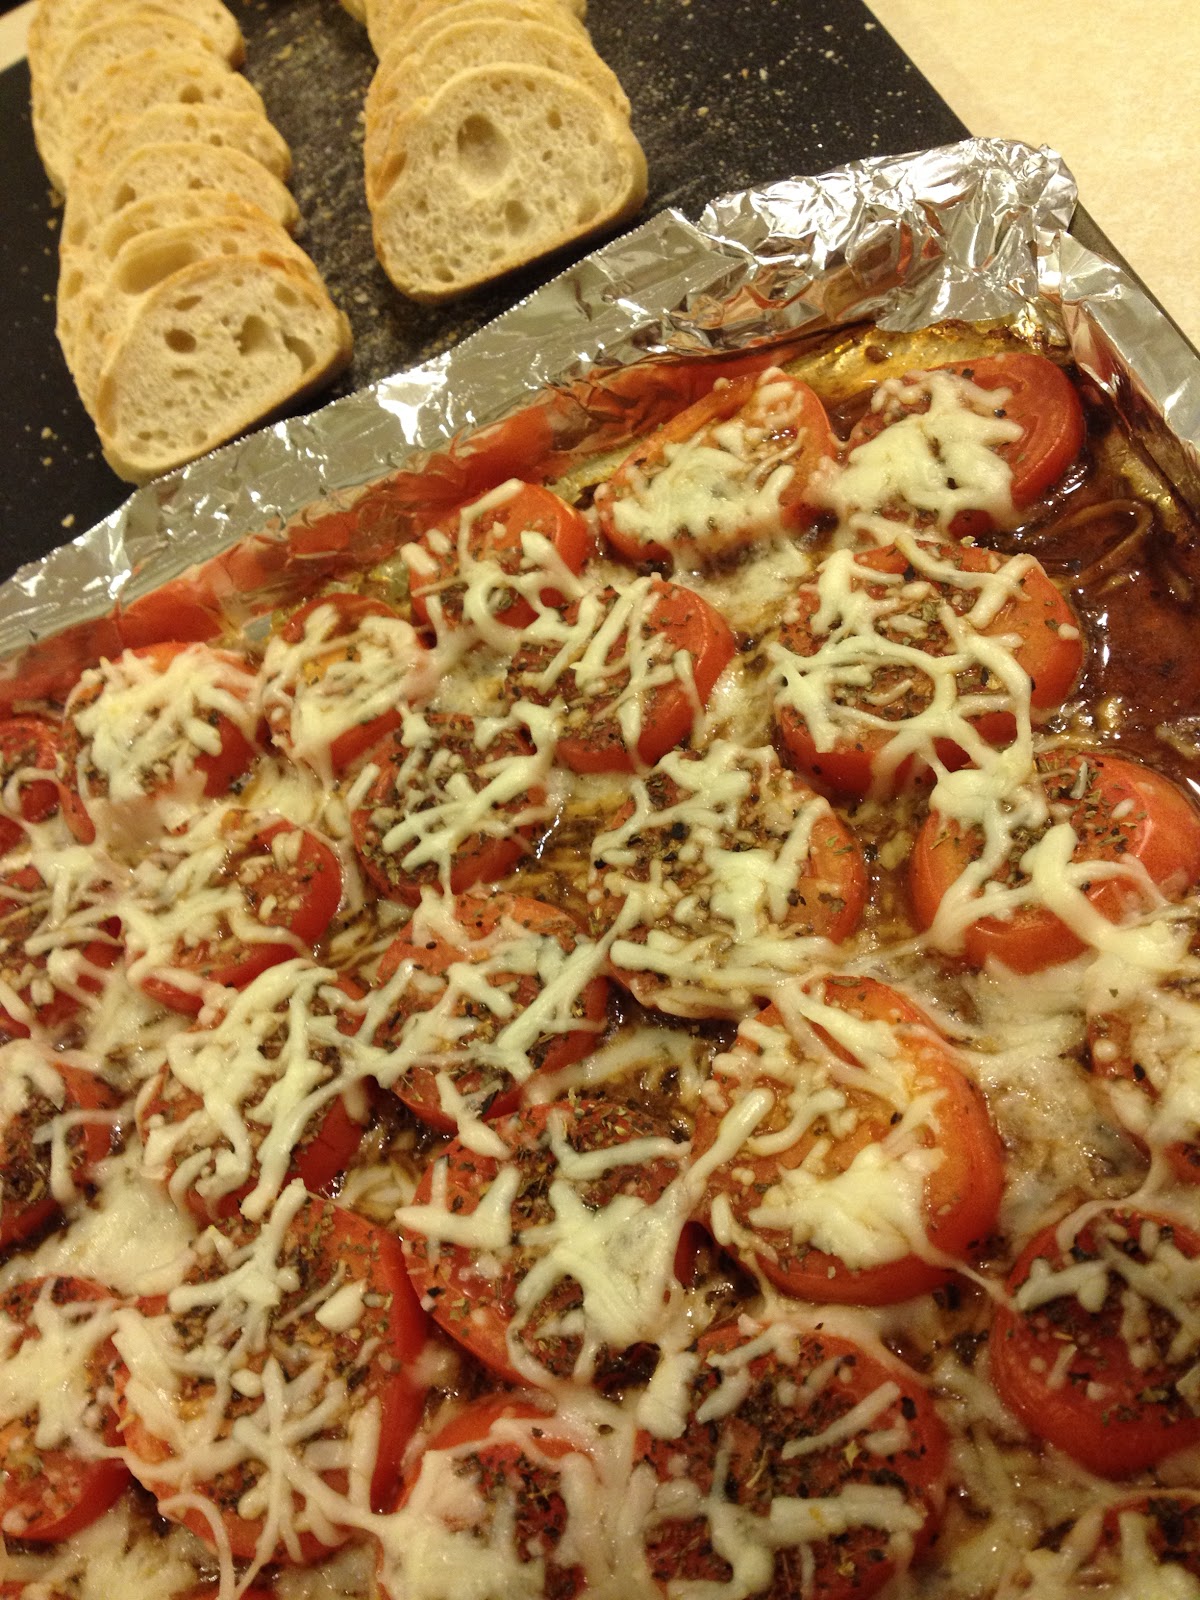
Slice the tomatoes into ¼ inch thick slices. Place the tomato slices in a single layer on a greased baking pan. Drizzle with balsamic vinegar so each piece is coated. Season generously with garlic powder and basil. Top with shredded mozzarella cheese.
Bake for 15-20 minutes, until the cheese is bubbly and brown at the edges and the tomatoes start looking wrinkly. Let cool for 5 minutes.
Slice the baguette into ¼-½ inch thick slices. Sometimes I am lazy and just leave the bread plain, but to get the toasted garlicky goodness, drizzle a little olive oil over the slices and sprinkle with garlic powder, then bake at 350F for 5-10 minutes.
Top a bread slice with a cheesy, basil-y, balsamic tomato slice. Serve as an appetizer, side, or anytime snack!
~Karla
Find us on Facebook:
Quick and easy version of an Italian classic.http://cooksofcakeandkindness.blogspot.com/2015/12/baked-bruschetta-topping.html
Posted by The Cooks of Cake and Kindness on Monday, December 7, 2015