Sunday, May 24, 2015

Star-Spangled Cheesecake

Yum
As Gayatri mentioned in the recent Collar Cake post, we had a “Red, White, Blue Food Day” at work. I was not as ambitious or creative (or patient...story of my life...), but I did make a pretty little cheesecake topped with fresh blueberries and raspberries. The no-bake cheesecake recipe can be found in our Cheesecake Bites post. I didn’t really want to make the crust from scratch this time, though, so I used a pre-made 9-inch graham-cracker crust.
IMG_4044_crop.jpg

After whipping up the cheesecake filling and smoothing it into the crust, I added my red and blue embellishments - blueberries in the shape of a star (in honor of Memorial Day), with red raspberries for accents. The engineer in me needed a plan of action for the fruit design, so I drew up a couple options that I thought I might be able to replicate:
star_temp.PNG         star_temp2.PNG

However, I severely underestimated the actual size of the berries...they were HUGE! Here’s how the finished product turned out:

IMG_4048_crop_color.jpg

Cutting it was a bit of a chore, as I didn’t want to totally destroy the design before people saw it, but I managed! It ended up being a super easy project that turned out super cute...but I might be biased :-)

~Karla

Wednesday, May 20, 2015

Red, White, and Blue Collar Cake

Yum
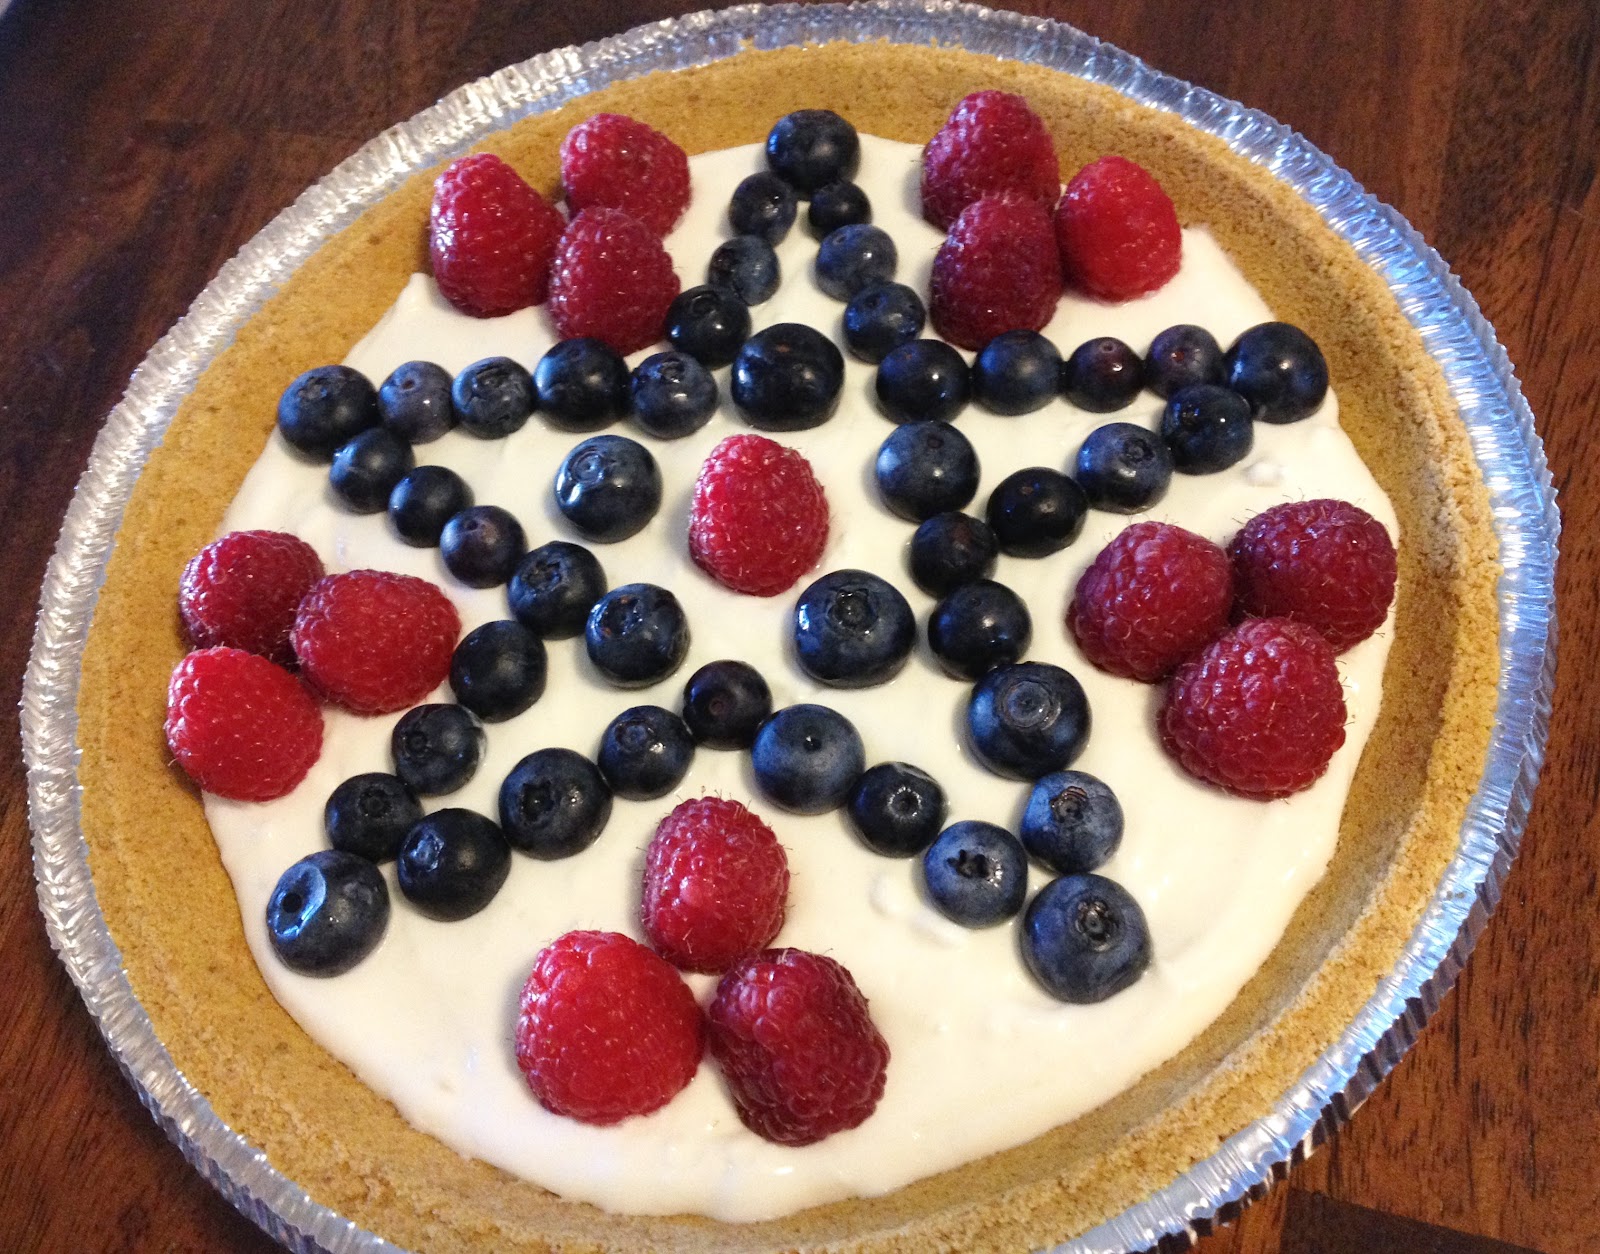
Memorial day is coming up next week, so we had a “Red, White, Blue Food Day” at work today. Since its not very easy to come up with blue colored savory food, we ended up with all desserts (I’m not complaining!). Karla made a delicious cheesecake, while I baked a blueberry & strawberry cake with a white chocolate whipped frosting and a white chocolate collar. This cake turned out to be a bit of a learning experience for me. Here are a few things I realized:

  1. Sprinkles blot a whole lot easier on whipped frosting than they do on buttercream, so don’t put them on too much ahead of time.
  2. If you’re not leaving the cake out for too long before cutting, the white chocolate can be a little hard to cut into depending on how thick it is. Milk chocolate cuts through way more easily, so I’ll probably stick to making milk chocolate borders in the future (similar to this one) with designs made using white chocolate.
  3. Factor in frosting thickness while measuring dimensions for the chocolate collar, or just measure after frosting the cake.

This cake recipe is adaptable to any add-ins like nuts, chocolate chips, other fruit etc. It goes well with the whipped cream frosting (recipe below), as well as buttercreams and ganaches. The texture of the cake is soft and moist, and is perfect for making a layered cake. This long post might make it seem like it’s a daunting task to make this collar cake, but the individual steps are quite simple. I baked the cakes the previous day so they were cooled and ready to be frosted the next day. Not only does this aid the cooling/setting time, it also keeps the total mess level down and helps keep your sanity!

DSC_2025.JPG

Ingredients
For each cake layer (Multiply quantities by number of cake layers that you want - I made 2 layers)
1¼ cups all purpose flour
½ tsp baking powder
½ tsp baking soda
pinch of salt
¾-1 cup sugar (1 cup if you like it really sweet, ¾ cup if you don't - I settle somewhere in between)
1 stick of butter (½ cup) at room temperature
2 large eggs
1 tsp vanilla extract
½ cup of buttermilk (If you don’t have buttermilk, see note below)

Add-ins
½ cup blueberries
½ cup chopped strawberries (sweeten with powdered sugar if they’re sour)

White chocolate whipped frosting
1 cup white chocolate chips
1.25 cups heavy whipping cream

Chocolate collar
~1-1.5 cups white chocolate chips
Red, blue food coloring
1 Tbsp milk/dark chocolate chips


Baking the cake
Heat oven to 350 F. Butter an 8x8" square (or 9" round) baking pan (for each layer) and dust it with flour.

In a small bowl, sift together the flour, baking powder, baking soda, and salt. 

In a larger bowl, beat together sugar and butter until light and fluffy. Add eggs one at a time and beat till you get a smooth pale yellow paste. Add vanilla essence and mix well. 

Add half of the flour mixture and half of the buttermilk. Beat for a few seconds on low speed until just combined. Repeat with remaining flour mixture, buttermilk. 

Fold in the berries using a spatula. 

Pour batter into prepared pan and bake for ~35 minutes until toothpick inserted at the center comes out clean.

Let the cake cool down to room temperature before taking it out of the pan. Let it chill in the refrigerator before frosting.

RWB cake.jpg

White chocolate whipped frosting
Mix ½ cup of whipping cream with 1 cup of white chocolate chips in a microwave safe bowl. Heat in short bursts (~30 seconds) in the microwave on low power (I used power 4). Mix well every time and continue to heat until the chocolate is melted. This step can be done in a double boiler as well.

Chill the chocolate + cream mixture in the fridge for at least a couple hours.

Add rest of the whipping cream to the chilled mixture and whip it with a whisk (electric or by hand) until it is fluffy and forms soft peaks.

DSC_2006.JPG

Cake assembly and chocolate collar

Frosting the cake
If your cake layers are not flat, trim the tops to get even layers. Look out for a post coming soon on how to bake even cake layers.
Top one of the cake layers with whipped frosting and spread it evenly to the edges (you can adjust quantity based on how thick you want the layer to be). Place the 2nd layer on top and cover the entire cake with a thin layer of frosting (This is a crumb coat - it is not as critical if you haven’t cut the top/edges of the cake, but does make frosting easier). Place the cake in the fridge to chill for 15-20 minutes. Then apply a thicker layer of frosting at the top and sides and smoothen it out with a spatula. Chill the frosted cake until you’re ready to attach the chocolate collar. 

Chocolate collar
Measure the length and height of the frosted cake (circumference and height for round cake), and cut out 4 pieces of parchment paper with those dimensions. I measured before frosting the cake and forgot to account for the frosting thickness, hence ended up with the edges not matching (Lesson learned!!).

Melt the white chocolate and transfer 1-2 Tbsp each in two small bowls. Mix in a few drops of red coloring in one and blue in the other. White chocolate seizes easily so don’t add a lot at once. Transfer to individual plastic zip-top bags, and cut the tip off to use for piping. Melt milk/dark chocolate and put it in another bag for piping.

DSC_2017.JPG

Make the bunting pattern using milk/dark chocolate for the string and red, blue chocolate for the pennants. You could make any other pattern as well! Let these set for a few minutes in the fridge.

DSC_2019.JPG

Once set, spread white chocolate on one of the strips and carefully lift it and attach it to one side of the cake. Hold it for a few seconds until it attaches. Repeat with rest of the strips. Once set (only takes a couple minutes), carefully peel off the parchment paper.

DSC_2021.JPG

Finishing touches
If you’re left with gaps at the edges like I did, pipe in some more frosting or white chocolate to fill those. Add more frosting on top if the collar is taller. Add some sprinkles to make it look pretty!

FullSizeRender.jpg

Refrigerate the cake until ready to serve (actually works best if you take it out a half hour before cutting). 

~Gayatri 

Note:
You can use milk instead of buttermilk in the cake batter, but buttermilk gives better taste and texture. Buttermilk is quite easy to make - add ~1 Tbsp vinegar or lemon juice to each cup of milk, mix it a little and let it sit for about 5 minutes until it curdles. If using plain milk in the cake recipe, add a little more baking powder and baking soda.

Monday, May 18, 2015

Easy Cheesy Broccoli Rice

Yum
Like the Stove-top Tuna Casserole recipe, this is another dish where I wanted something casserole-like without having to wait around for it to bake. Since everything was already cooked, total cooking time was blissfully short (a major plus when you have a toddler running around), and I could enjoy the fruits of my “labor” almost immediately. You could totally make this from scratch, too, if you have more patience (and time) than I did :)

Capture.JPG

Ingredients:
~1 cup cooked rice
~1½ cups steamed broccoli
~¼ - ½ cup shredded cheddar cheese
~1-2 TBSP minced garlic (adjust quantity to personal taste - I like garlic!)
~¼ cup milk (I used skimmed)
salt, pepper, paprika to taste
little bit of oil to saute garlic

Heat oil in a pan on medium heat. Sauté garlic for 1-2 minutes, then add rice and broccoli, seasoning with spices to taste. Add milk and cheese and let simmer until desired consistency/creaminess is achieved. Adjust milk and cheese quantities as desired. Let cool for a few minutes before serving.

~Karla
 

Saturday, May 16, 2015

Chocolate Chip Scones

Yum
Last year I got a nice little chocolate cookbook as a gift from a cousin. Her little daughter is one of my favorite baking companions - we’ve baked chocolate cupcakes, a princess cake and pink (strawberry) cupcakes, among other things. Given our penchant for making desserts, a chocolate cookbook was a fitting gift! Flipping through the book I landed on this chocolate chip scone recipe and the simplicity of the ingredients tempted me to give it a try. It only requires 5 ingredients, all of which I almost always have on hand. The added bonus was that it took under half hour from start of prep to end of baking - making it my new go-to recipe for last minute host/hostess gifts :)

DSC_1770.JPG

Recipe source: 100 Best Delicious Chocolate Cookbook
Ingredients:
Base ingredients
2 cups self rising flour (See note below for recipe)
5 Tbsp unsalted butter
1-2 Tbsp sugar (Original recipe calls for only 1 Tbsp, but I wanted the scones to be slightly sweet so I added a little under 2 Tbsp)
⅔ cup milk + more for brushing tops of scones (I used 2% reduced fat milk)

Add ins
⅓ cup chocolate chips (I used mini semi-sweet chocolate chips)


DSC_1807.JPG

Preheat oven to 425 F.


Cut the butter into small pieces. Rub the butter into the flour with your fingers until you get a crumbly mixture. Spend a few minutes doing this well because this step will guarantee the nice flaky texture of the scones.

Mix in sugar and chocolate chips. Add the milk slowly and mix till everything comes together as a dough (using hands definitely works better than a spoon/spatula/whisk). Do not knead the dough.

On a floured surface, roll out the dough into a square about an inch thick. Cut into 16 pieces. Place them on a greased cookie sheet leaving some space between the scones.


DSC_1809.JPG
DSC_1811.JPG

Generously brush the tops and sides of the scones with milk. Bake for 12-15 minutes until golden brown. Let scones cool down before storing in airtight container to prevent them from drying out.

DSC_1799.JPG

These little flaky pastries are quick and easy to make, they are great for tea time and also make a lovely gift!


IMG_4766.JPG


~Gayatri


Note: Self rising flour can be made by combining 1.5 tsp of baking powder with each cup of all purpose flour. Use same ratio for wheat flour, but increase the liquid quantity in the recipe.


Wednesday, May 13, 2015

Stove-top Tuna Casserole

Yum
Sometimes when I make a pasta dish, I end up with too many noodles. Recently, I was left with too many elbow macaroni noodles, as well as some leftover bell pepper slices. I thought about making pasta salad, but wanted some additional protein. Tuna casserole also sounded really good, but I didn’t really want to spend the time preparing a baking pan, heating the oven, and waiting for a casserole to bake. So I compromised, and came up with a quick stove-top casserole-like tuna salad dish!
 

Ingredients:
1 4-oz can white Albacore tuna (or other tuna of choice), drained (I stick with the tuna in water so it’s not too oily)
~½-1 cup macaroni noodles, cooked
~½ cup chopped bell pepper (red, orange, yellow)
~1 TBSP minced garlic
~¼ - ½ cup grated Parmesan cheese

salt, pepper, paprika to taste
Oil to sauté peppers (I used canola)
 
Heat oil in a pan on medium heat and sauté chopped bell pepper for 5-10 minutes until desired softness is achieve (or crunchiness is retained). Add minced garlic and sauté for another minute or two. Add tuna and season with salt, pepper, and paprika. Add noodles and Parmesan cheese (increase cheese quantity as desired, if you prefer it a little creamier/cheesier), mix well and simmer for a few minutes to let the flavors come together. Let cool for 5 minutes before serving.


~Karla

Sunday, May 10, 2015

Fennel Bulb Salad

Yum
Knowing my love for dill, a friend brought me some a couple weeks ago. Not knowing that there were other plants with leaves almost exactly like dill, he had picked up fennel instead of dill :). I had used fennel leaves in salads before but wasn’t sure what to do with the bulb. I tasted it and it had an extremely refreshing taste, but a fairly hard texture. So, I roasted and softened it up just a little (still keeping it crunchy) and made a simple salad with fresh lemon dressing to compliment the taste of fennel. To highlight the taste and the fresh aroma of the fennel, I decided not to add any other vegetables to the salad.

DSC_1671.JPG

Ingredients:
1 fennel/anise bulb (I can’t tell the difference between the two herbs)
1 tbsp olive oil
lemon juice (to taste) - I used juice of ½ lemon.
zest from ½ lemon.
¼-½ tsp honey
salt, crushed black pepper
~½ tsp minced fresh garlic / garlic powder (or to taste)
1 tbsp anise/fennel leaves (chopped)

Remove the hard outer layers of the bulb. Clean the bulb thoroughly to remove any dirt. Cut the stem such that there is about an inch left above the bulb.

Carefully slice the bulb to ~¼ inch thick slices. For the slices towards the center, cut out part of the tough core at the bottom while still making sure that the slice will remain intact.

With a few drops of olive oil in a pan, roast the fennel slices over medium heat for 3-4 minutes until browned before turning them and roasting on the other side. Thicker slices might take a little longer. Remove the slices on a plate and let them cool slightly before drizzling the salad dressing.

For making the dressing, mix the olive oil, lemon juice, zest, honey, salt, pepper, garlic and chopped fennel leaves. Using a whisk or blender works well for getting the oil and lemon juice mixed properly. Adjust the ingredients to taste.

Drizzle the dressing over the fennel bulb slices, and garnish with more fennel leaves and lemon zest to brighten it up. This refreshing salad can be served warm or at room temperature.

DSC_1675.JPG

~Gayatri

Wednesday, May 6, 2015

Parmesan-crusted Chicken

Yum
Crispy, cheesy, flavorful chicken...what could be more delicious? Okay, maybe a lot of things. But for meat-eaters, sometimes nothing beats some crispy fried chicken. A lot of my (and my husband’s) favorite dishes at places like Noodles or Carrabba’s or Spageddies have some sort of breaded chicken, so I thought it was high time I made my own (slightly healthier) version. It took a few attempts, but I eventually got just the right breading and seasoning mix for some delicious homemade Parmesan-crusted chicken.


Ingredients:
~3 chicken breasts, filleted or thinly sliced for 6-8 pieces
~2-3 large eggs, beaten (I’ll typically use EggBeaters)
cooking oil of choice (I use canola)
For the breading:
~1-1 ½ cups grated Parmesan cheese (I use the typical Kraft-in-a-container stuff, but fresh grated would work as well)
~½-1 cup bread crumbs of choice (plain, panko, seasoned...I’m particularly fond of pulverizing old cereal such as Kix or plain Cheerios - works just as well and the cereal doesn’t go to waste!)
blend of spices to taste (suggested quantities listed):
1 tsp fresh ground pepper
1 tsp thyme
1 tsp rosemary
1 tsp sage
1 tsp marjoram
1-2 TBSP garlic powder (you can never have too much garlic!)
NOTE: If using seasoned breadcrumbs, reduce seasoning quantities as desired. Fresh spices would also work, but make sure they are well-dried (especially garlic) so the mixture doesn’t become clumpy.


Pour cheese, bread crumbs, and spices in a large bowl and mix well. In a small bowl, whisk the eggs.
 
Heat about 1 TBSP of oil in a large pan over medium heat. Dredge chicken slices in the egg, then coat both sides with the breading mixture. Fry covered in the pan (in a single layer) for about 3-5 minutes each side, depending on thickness, until cooked through and crispy on the outside. Repeat until all slices are fried, adding more oil when necessary.
 
If you have extra egg and breadcrumbs leftover, mix them together and fry it up to make a delicious appetizer patty!
 
Instead of frying, I have also baked the chicken: dredge each piece in egg, then coat with breadcrumb mixture. Arrange all pieces in a lined baking dish and bake at 400F for about 20-30 minutes (until cooked through, depends on thickness of the chicken), or broil on high for about 6-7 minutes each side.
 
This lightly-breaded, lower-cholesterol (if you use EggBeaters) Parmesan-crusted chicken can be served as part of a variety of dishes (recipes to come!):


NOTE: The Parmesan-crusted chicken in the broccoli-pesto cavatappi dish is baked instead of fried.

~Karla