About once a week, my family eats at a Mexican place close to our home. We go there so frequently the waitstaff have become buddies with my son, giving him high fives and fist bumps, and tousling his hair as they pass by our table. We are recognized, which is nice...but can lead to some embarrassment. Since the restaurant is so close to us, we often walk there when the weather is nice, pushing the kids in strollers. On one such trip, we finished up a lovely meal, got our bill (which our son has begun to hold himself to take up to the counter to pay), and then started the affair of packing the kids back up in the strollers and making sure we didn’t leave anything behind. This can take upwards of fifteen minutes, especially if we discover a wet or dirty diaper in the process. So, there we are, frantically changing diapers and gathering various kiddie items as the restaurant fills with more patrons waiting for a table. We finally got both kids with clean diapers in their strollers and everything packed up, made sure nothing was left on the table, and, satisfied with another successful restaurant outing with two kids under 3 years of age, proceeded with a relaxing stroll back home. Whew!
Oh, wait…
“Did you pay the El Nopal bill?” my husband asked me the next day. “Nooo….” I replied, my voice trailing off. “...Did you?” Nope, he hadn’t either.
OOPS.
Yes. In our mad rush to clear out, we accidentally forgot to pay our bill. Later that day my husband went in to pay, and they had the bill taped to the wall behind the register. How mortifying! We weren’t sure if we’d ever be able to show our faces there again...which was so very unfortunate, because our favorite dish to share is their chicken quesadilla with guacamole. When we got to craving it again, the embarrassment was still too raw...we decided to just try to make it at home. Turns out, it was actually pretty easy to do! We even had the freedom to add more veggies to the quesadillas, and adjust the amount of cheese to our personal preferences. The bonus with making them at home is we could make burritos with the leftovers! WIN!

Ingredients: (6-8 quesadillas)
3 chicken breasts
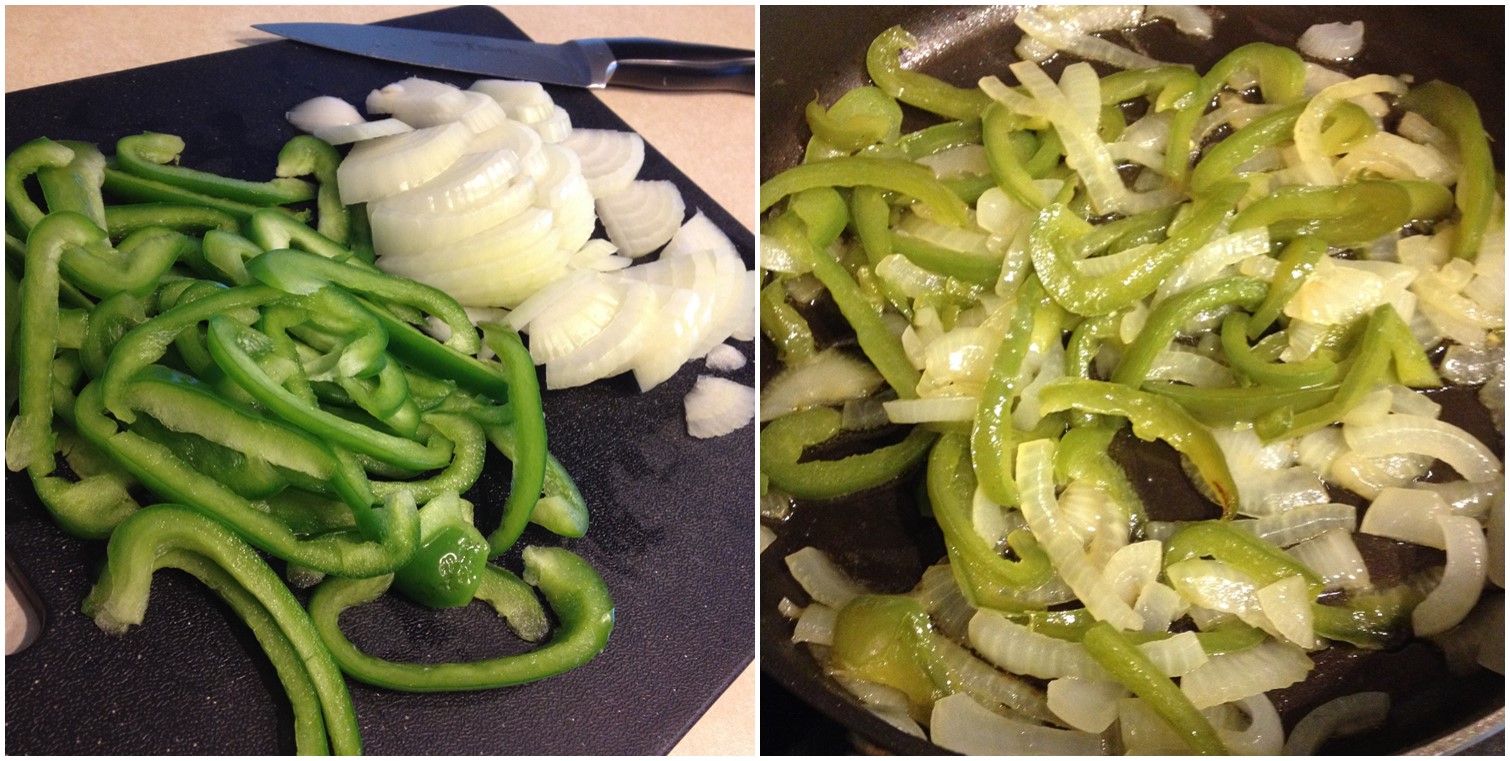
1 medium onion
1 green bell pepper
~1 cup Mexican-style cheese blend (Monterey Jack, cheddar, asadero, queso quesadilla - can use all Monterey Jack or cheddar, or Colby Jack, instead of Mexican blend)
6-8 tortillas (I used flour tortillas, about 10” in diameter)
Chili seasoning (spice mix - not red chili powder)
Garlic powder (or fresh minced garlic)
Cumin powder
Salt, pepper to taste
A little oil for cooking
Cook and shred chicken breast per the instructions found here. Slice the onion and green pepper, and sauté in cooking oil over medium heat until the onions are translucent. If the chicken is cooked just before the onion and pepper, you can use the leftover drippings to cook the vegetables. Add the cooked chicken to the vegetables, and season with garlic, chili powder, cumin, salt and pepper to taste. Let simmer for 5-10 minutes.
Place a tortilla in a pan heated over med-lo heat. Sprinkle about 1 TBSP cheese on half the tortilla, spread about ¼ cup of the chicken-veggie mix over the cheese, and then top with more cheese. Fold the other half of the tortilla over, and let it sit for a few minutes until slightly browned and crispy, then gently flip and cook on the other side, until cheese is thoroughly melted.
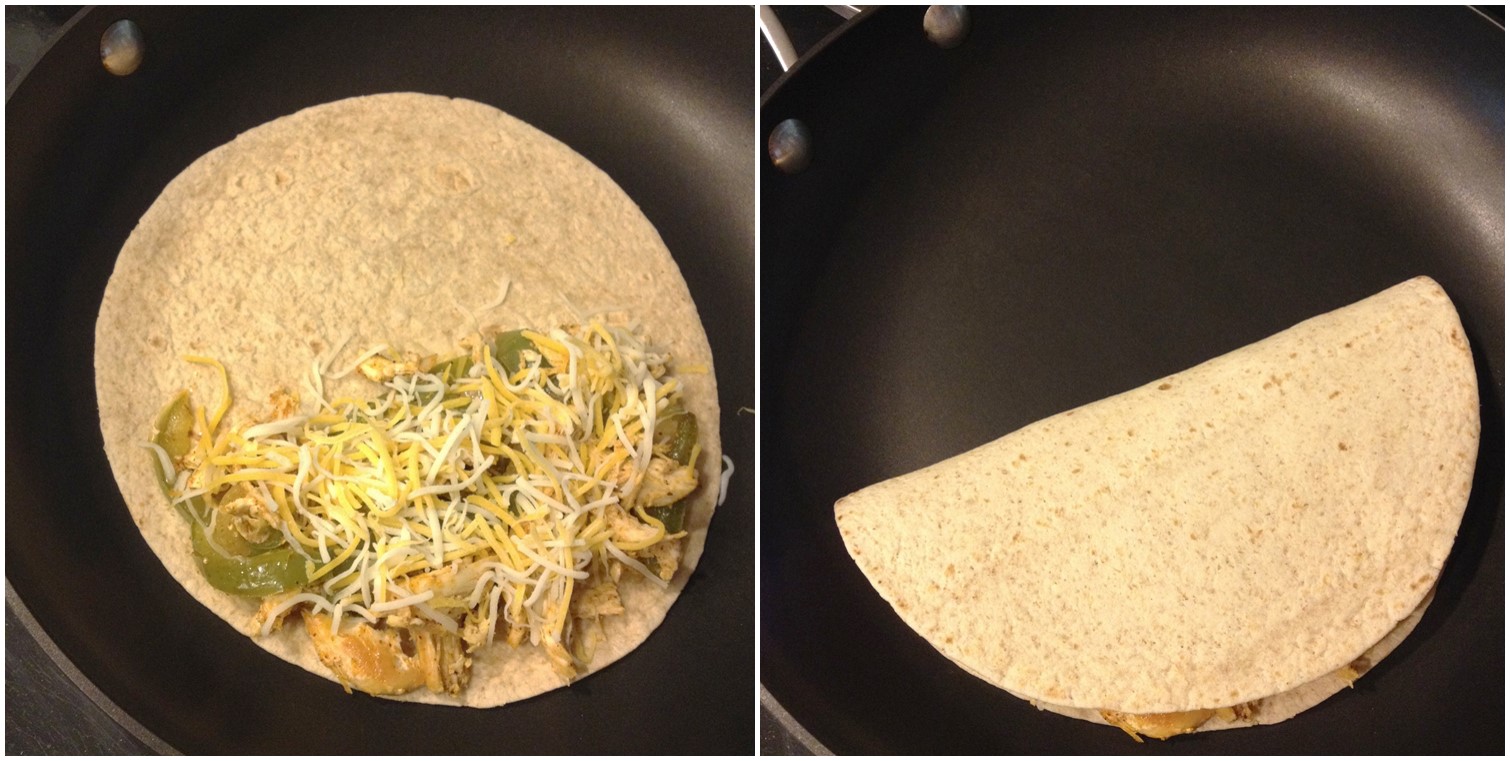
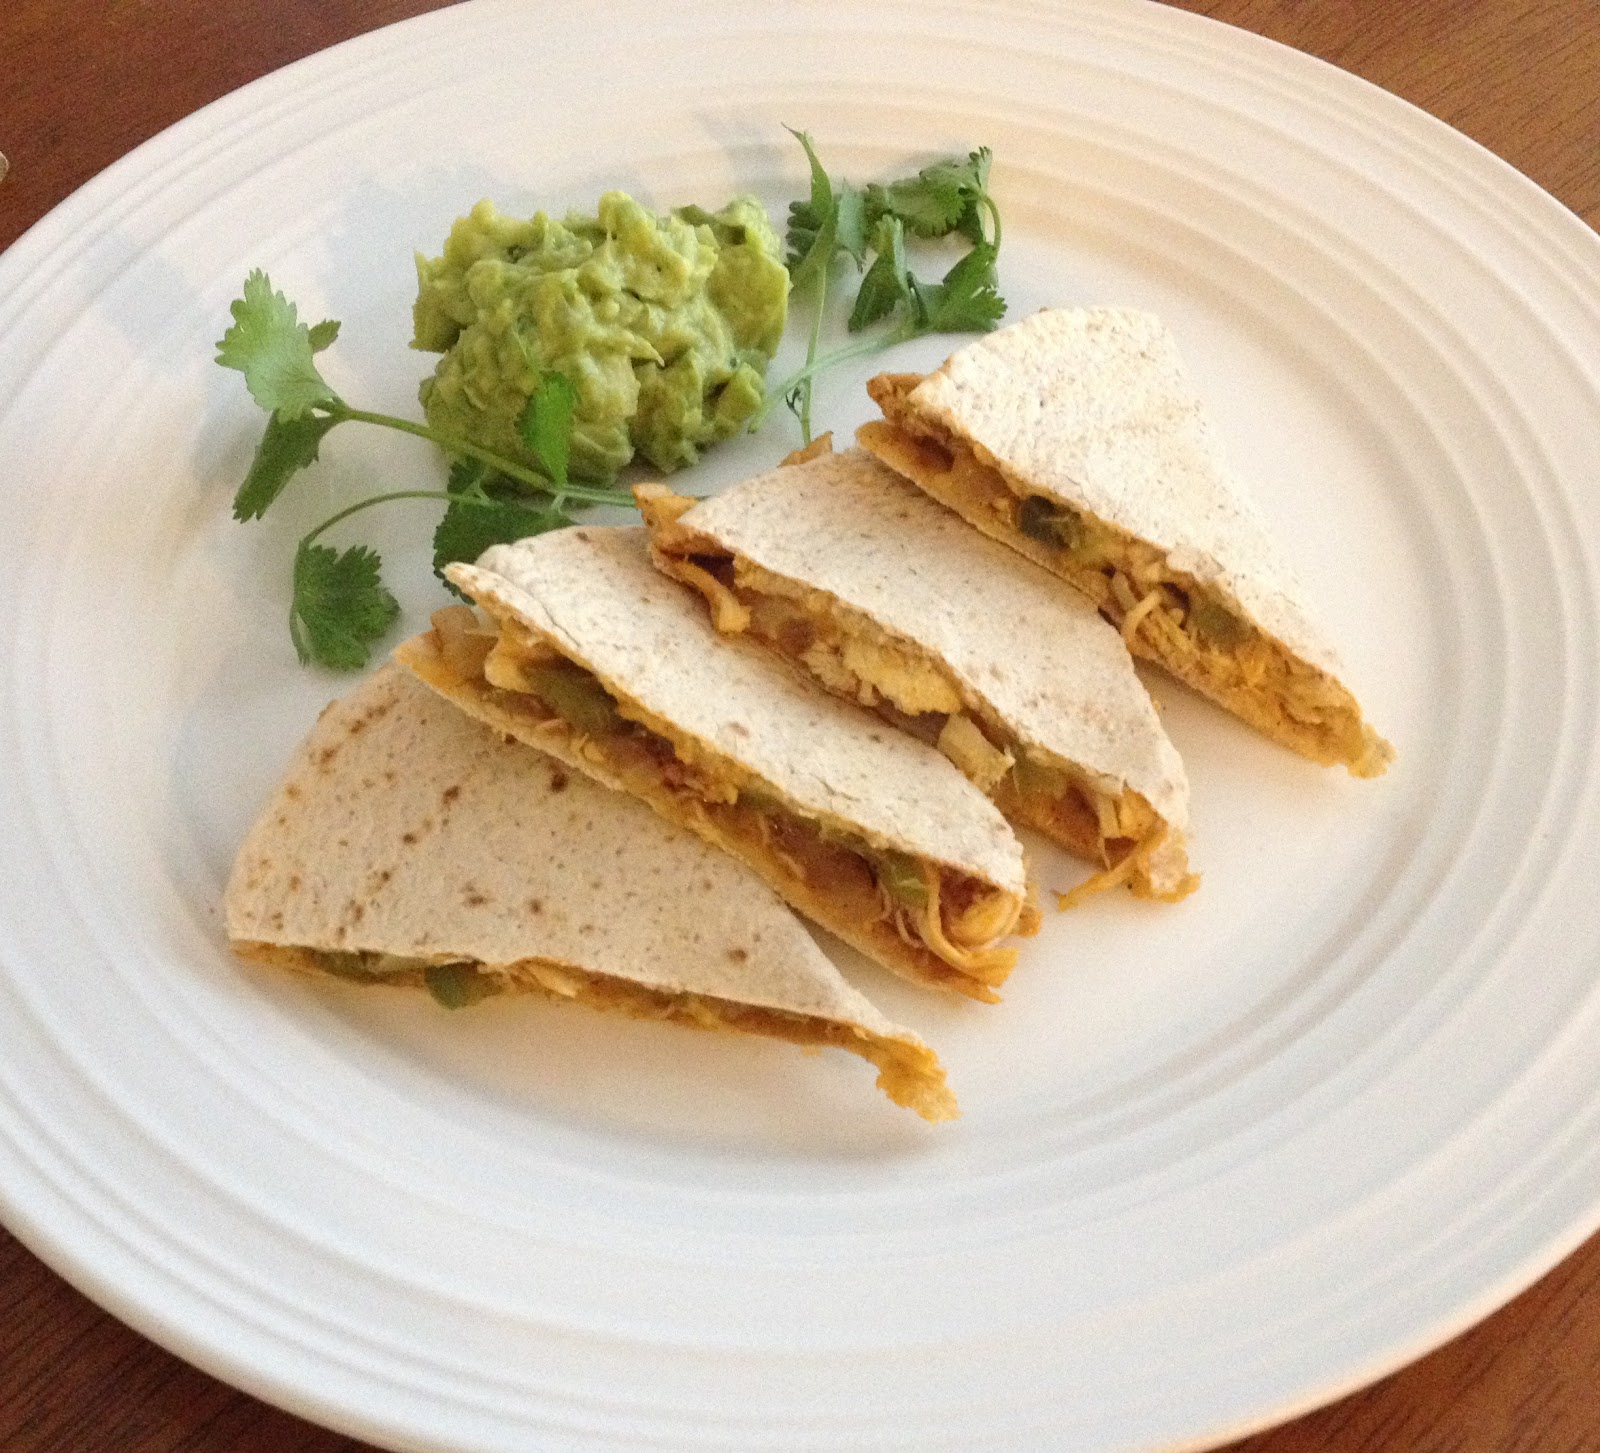
For some extra crisp, grease the pan with a little bit of butter before assembling the tortilla in it. Serve with a scoop of fresh guacamole and garnish with cilantro.
~Karla
P.S. We’ve since been able to bolster our courage to dine at our favorite Mexican restaurant again, and we made absolutely sure we paid!
Find us on Facebook


