Thursday, July 9, 2015

Cranberry & Candied Orange Peel Scones

Yum
I have been experimenting with scones lately after finding a nice base recipe in the 100 Best Delicious Chocolate cookbook. This cranberry orange scone is a refreshing fruity version of the Chocolate chip scones recipe. It takes just a little bit longer than the chocolate chip scones since there is an additional step to candy the orange peels, but they taste so delicious that it's totally worth the effort!


Ingredients: (Makes 16 scones)

Base ingredients: Follow this link

Add ins:
Peel from one large orange
¼ cup dried cranberries, whole or chopped roughly

For blanching orange peels
Water

For candying the orange peels

2 cups of water

½ cup of sugar
DSC_1887.JPG

Chop the orange peels as finely as you like. I diced them about ½ centimeter thick. I used most of the white rind as well - the bitterness can be taken care of by blanching the peels, a process I repeated three times.

To blanch the peels, add them to a couple cups of water and heat it to a rolling boil. Let it boil for a minute, take off the heat and drain the water. Repeat this process two more times with fresh water each time.


To candy the orange peels: In a pot bring 2 cups of water and ½ cup of sugar to a boil. Turn the heat down to medium-low, add the orange peels and simmer for about half an hour. Drain and set the orange peels aside to cool down a little bit.


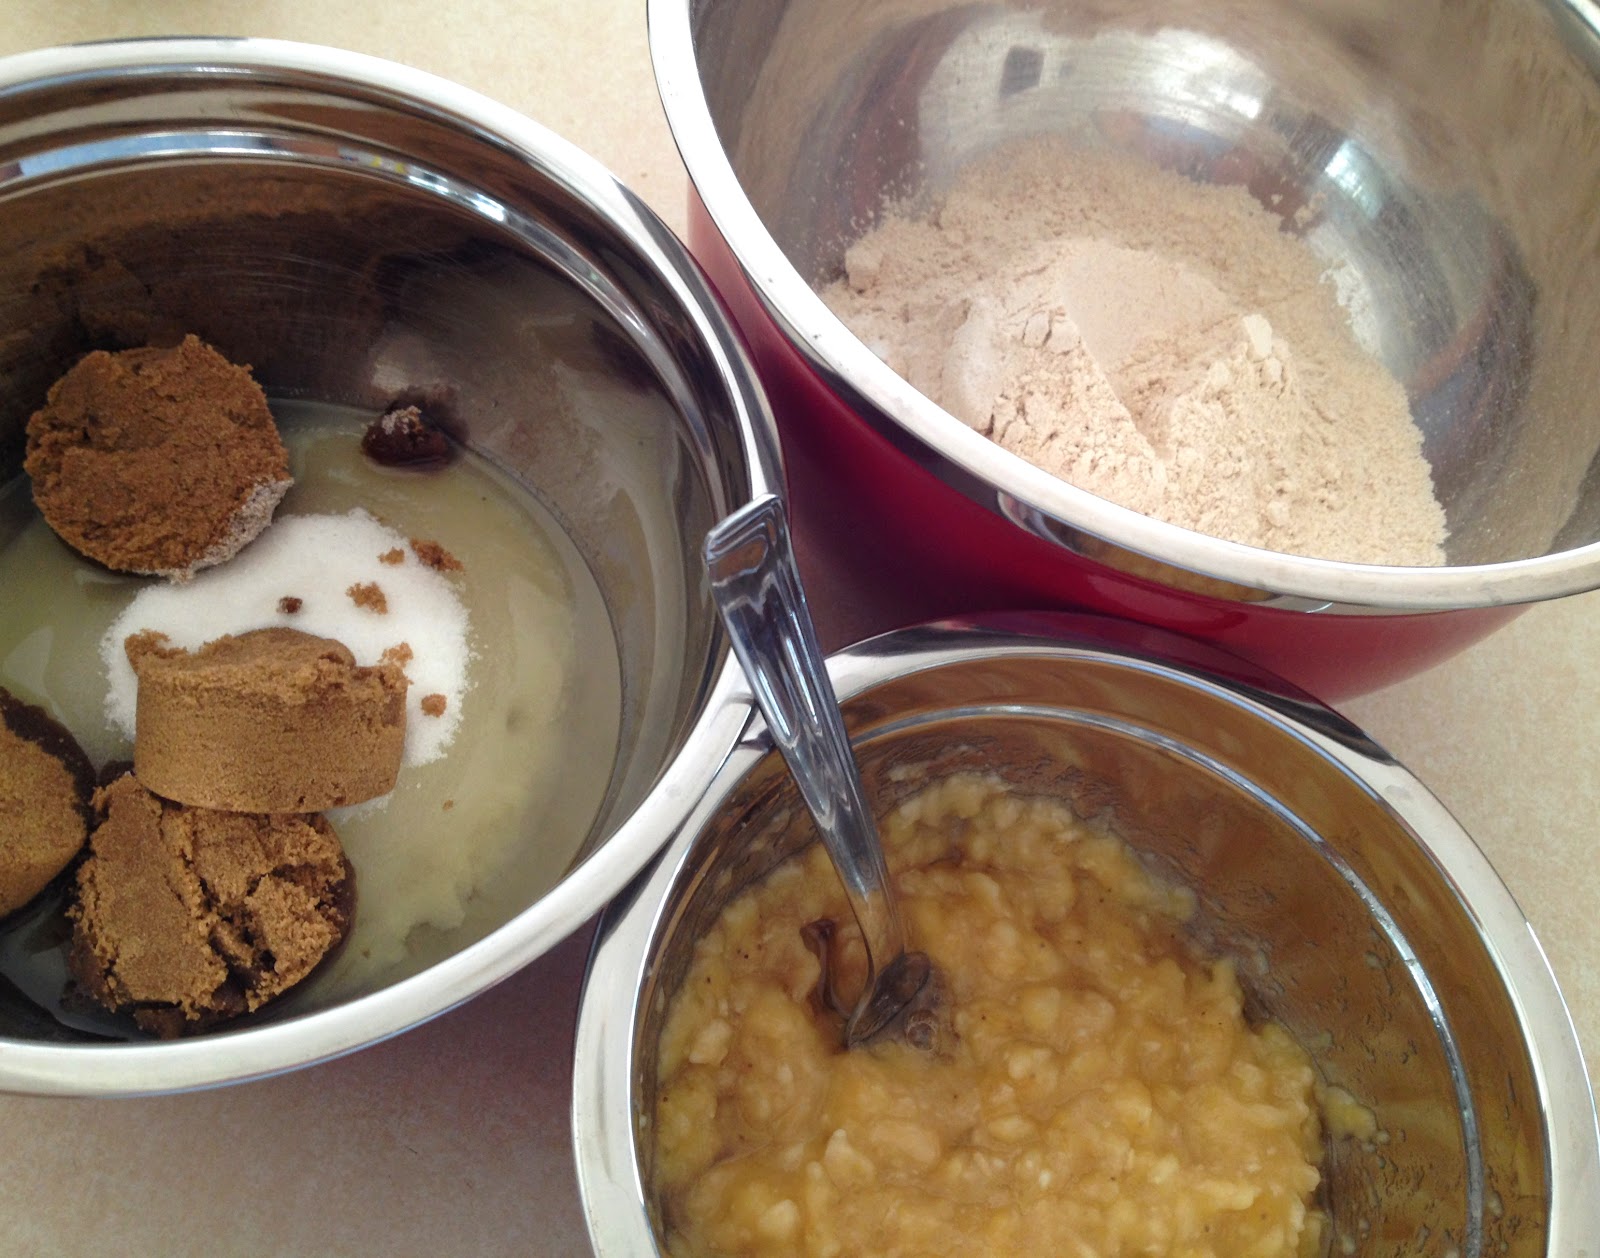
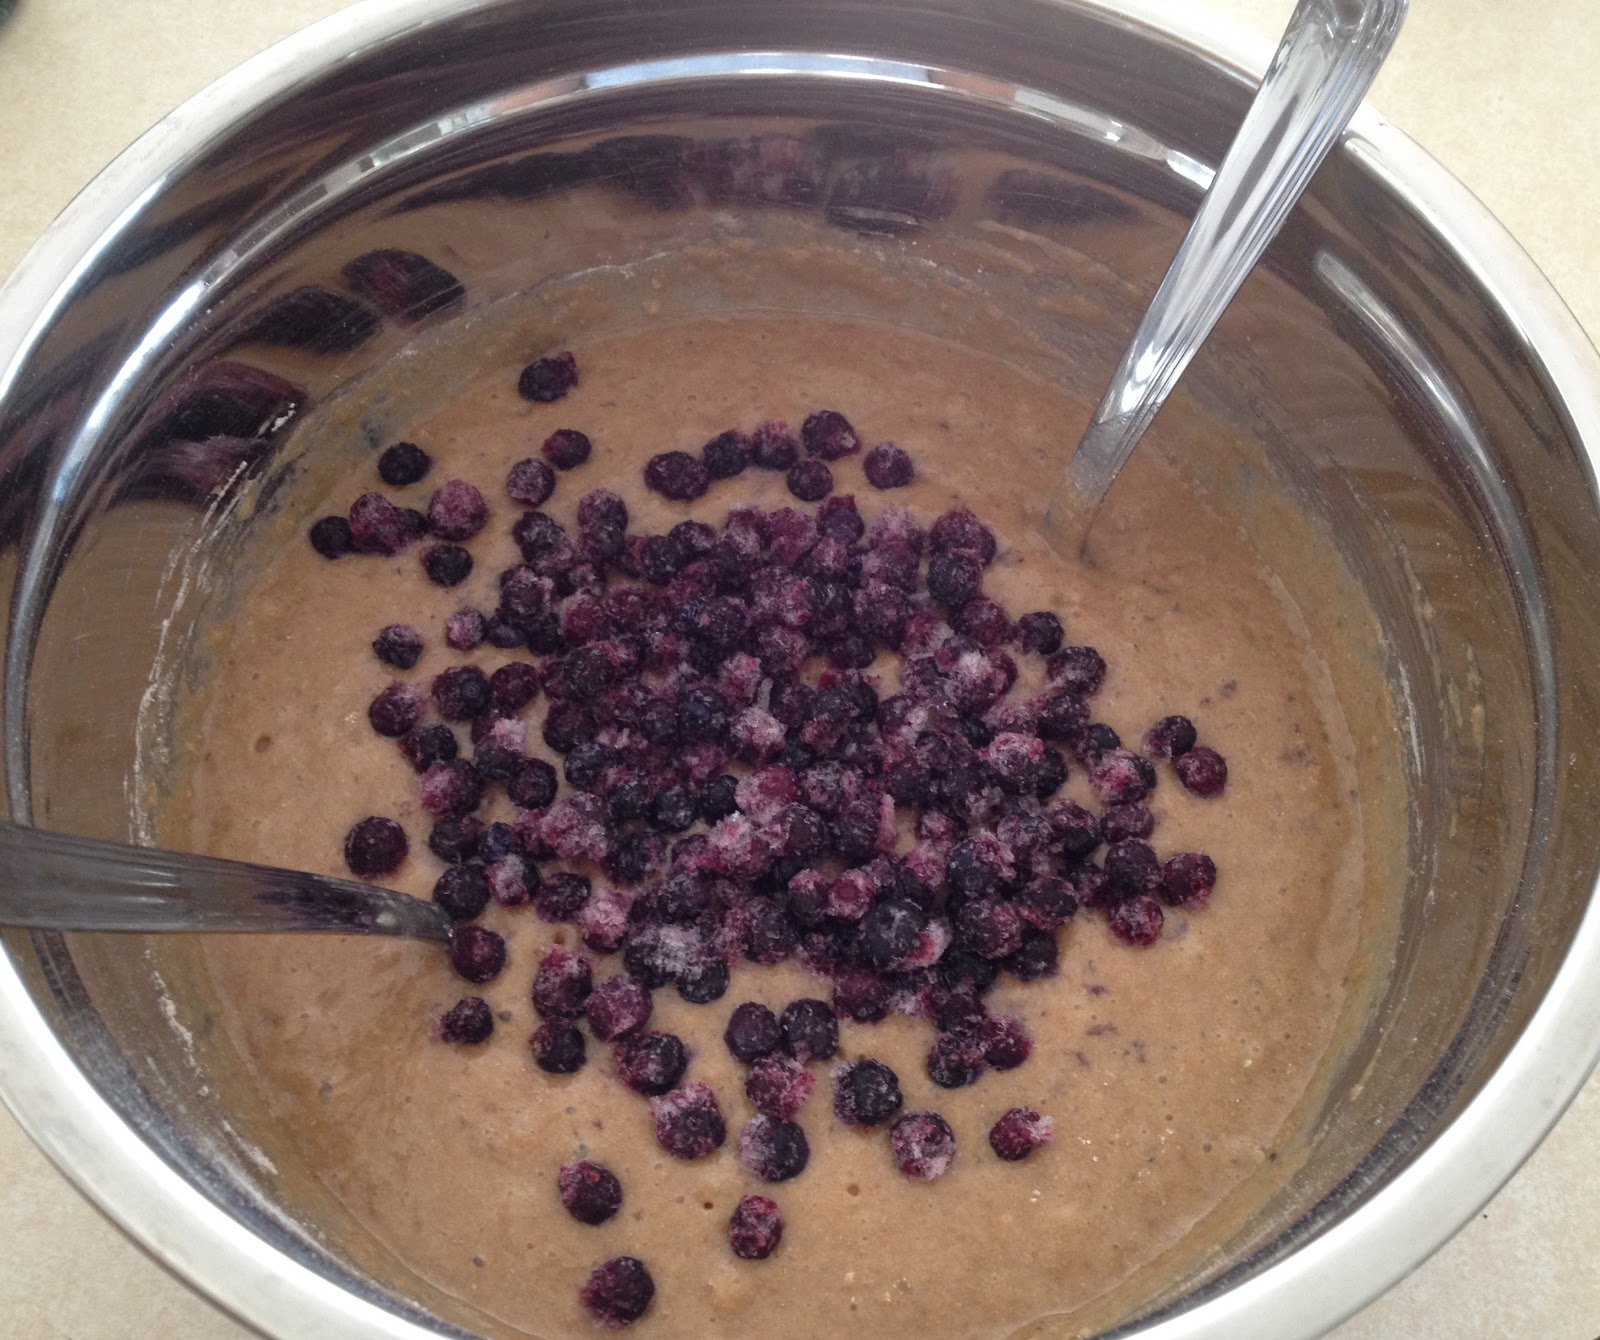
Preheat oven to 425 F. As per the recipe here, rub the butter into the self rising flour until crumbly. Add sugar, candied orange peels and cranberries. Add milk and mix to form the dough.


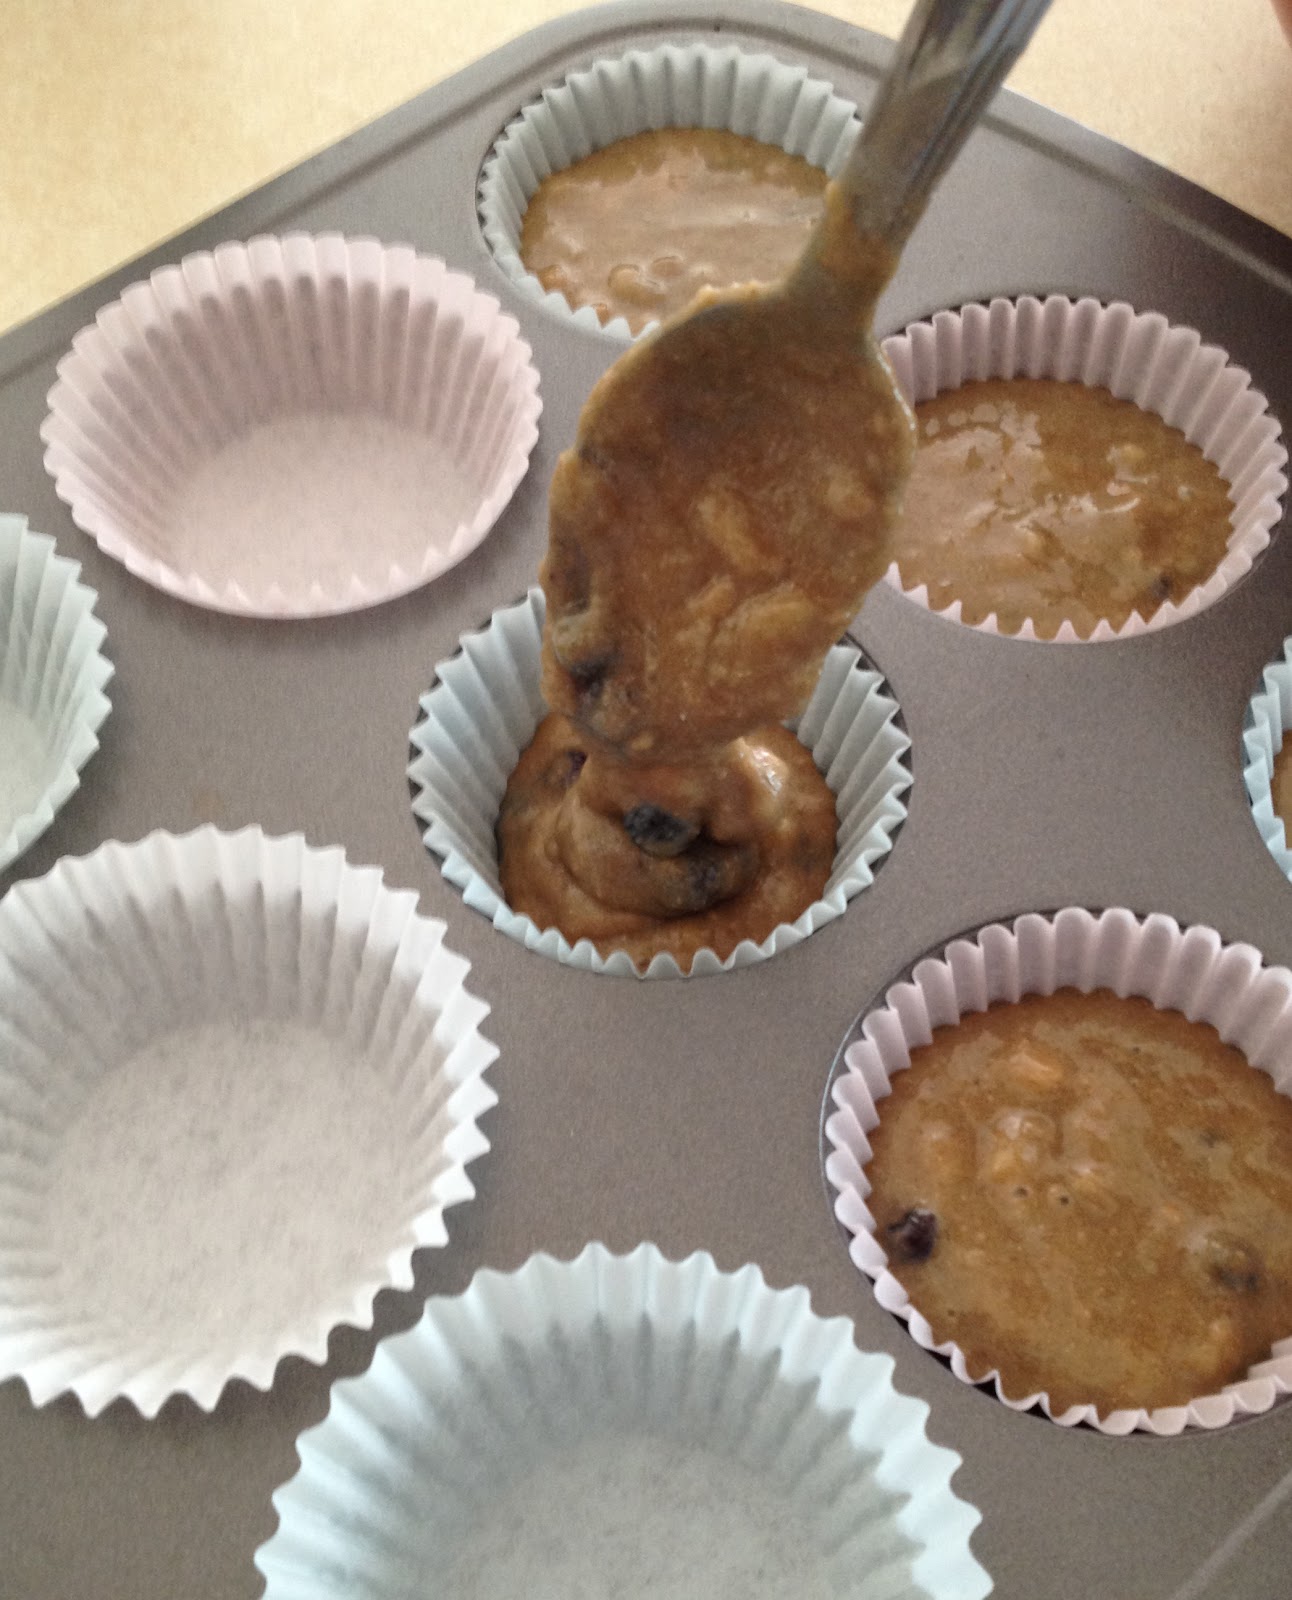
Roll the dough out on a floured surface into a square and cut into 16 pieces. Place them on a prepared baking sheet and brush the scones with milk. Bake in preheated oven for 12-15 minutes until golden brown. 


Notes:
  1. Save the water from blanching the orange peels and use it to water plants.
  2. Use the orange infused sugar syrup left over from candying the peels to sweeten and add flavor to tea.
The same process (blanching + boiling with sugar syrup) can be used to make candied orange peels for eating directly. The sugar:water ratio will have to be higher (about 1:1), and after draining the peels can be rolled in fine sugar (optional) before letting them dry for a few hours and then storing in airtight container. The dried peels can also be dipped in chocolate for extra deliciousness!


Like us on Facebook:

Cranberry & Candied Orange Peel Scones: Delightfully simple pastry with a fruity flair.. http://cooksofcakeandkindness.blogspot.com/2015/07/cranberry-candied-orange-peel-scones.html

Posted by The Cooks of Cake and Kindness on Thursday, July 9, 2015

Monday, July 6, 2015

Simple Orange-glazed Chicken

Yum
This is a simpler, healthier take on the sweet and savory Asian-style orange chicken dish (which, according to Wikipedia, is an American Chinese dish of Hunan origin) typically found in Chinese buffets and fast-food Panda Express type eateries. Though mouth-watering, those orange chicken dishes can be pretty unhealthy with all the breading, not to mention it’s sometimes hard to tell just what part of the chicken is used in those nuggets (ahem...McDonald’s…). This version uses chicken breast and has no breading! But it’s tender and juicy and has just enough spice for a pleasant kick to your taste buds.

IMG_4220_crop.jpg


Ingredients:
~2 lbs chicken breast, roughly cut into chunks
1 tsp red chili powder
⅛ tsp ground red cayenne pepper (adjust to taste)
3 TBSP maple syrup
3 TBSP orange juice concentrate, thawed (you could probably use normal orange juice, but the taste will be more subtle and the mixture more liquid-y)
¼ tsp salt (optional)
Note: You can double the non-chicken ingredients for additional sauce.
Mix the chili powder, red pepper, maple syrup, orange juice concentrate, and salt. Mix the chicken with the sauce, making sure each piece gets coated.
Cook the chicken in a pan (no oil necessary!) in a single layer over medium heat, about 4-5 minutes per side. If there is any of the sauce left (sometimes I will double the recipe amount to ensure this!), pour it in the pan and let it simmer for a few minutes to thicken into a glaze.

Serve on a bed of rice and drizzle with extra glaze for a deliciously tangy and (moderately) spicy meal!

IMG_4217_crop.jpg

~Karla


Like us on Facebook: 

Juicy and tender sweet and spicy orange chicken - an easy Asian-style dish!http://cooksofcakeandkindness.blogspot.com/2015/07/simple-orange-glazed-chicken.html

Posted by The Cooks of Cake and Kindness on Monday, July 6, 2015

Thursday, July 2, 2015

Wild rice with mushrooms

Yum
DSC_1935.JPG

Wild rice is so flavorful that it makes a good side dish on its own, but the nutty, earthy flavors of the rice also pair really well with mushrooms. This dish can be made with white/brown rice as well - long grain preferably. Soaking and lightly toasting the rice helps speed up the cooking, and also makes the rice less sticky.

Ingredients (~ 6 servings)
1.5 cups wild rice - uncooked
1 medium onion - chopped
2 cloves of garlic - minced
2 cups mushrooms - chopped (I used Portobello)
1-2 tsp oil/butter
salt, pepper
3-4 cups of hot water (or vegetable stock) - for cooking rice
Water for soaking rice
DSC_1938.JPG

Rinse the rice and soak it in water for 15-20 minutes.

Heat oil over medium-high heat. Add onions and garlic, saute for a minute. Add mushrooms and saute for a few more minutes until the liquid from the mushrooms starts to evaporate.

Drain the rice and add it to the pan. Saute for a minute or two until most of the liquid has either been soaked up or evaporated and the rice looks slightly toasted (do not burn it). Add 3 cups of water, and season with salt and pepper. Let it come to a boil. Reduce heat to medium, cover and cook for ~20-30 minutes until rice is completely cooked.

While rice is cooking, check periodically and add more water if required. Also check seasoning and adjust salt, pepper to taste.

Serve hot as a side, or as a main dish topped with a fried egg, and a salad.

DSC_1947.JPG

~Gayatri


Like us on Facebook: 


Garlicky wild rice with mushrooms - a healthy, hardy side dish.http://cooksofcakeandkindness.blogspot.com/2015/07/wild-rice-with-mushrooms.html

Posted by The Cooks of Cake and Kindness on Thursday, July 2, 2015

Monday, June 29, 2015

Blueberry Banana Muffins

Yum
I often find myself in the position of trying to make use of super ripe bananas in creative ways, such as banana chips, oatmeal, or rolled up and baked in a pie crust with walnuts and brown sugar, kind of like an empanada. Most often, though, I make some sort of banana bread treat - banana split bars, banana bread, banana bread with walnuts, banana muffins (with or without nuts and/or chocolate chips), chocolatey-banana muffins...lots of banana-bread-type stuff, many of which use the same basic recipe. Recently I made blueberry banana muffins, which got some pretty great reviews! Here’s my tried-and-true banana bread recipe with a blueberry twist.

IMG_4085.JPG

Ingredients: (about 2 dozen muffins, or 2 loaves)
Basic recipe:
2 cups whole wheat flour
⅛ tsp salt
2 tsp baking soda
1 cup butter/margarine (I used ¾ cup canola oil, ¼ cup applesauce)
2 cups sugar (I used half white and half loosely-packed brown sugar)
4 medium bananas, ripe
4 eggs, beaten (I used EggBeaters)

Optional add-ins:
~¾-1 cup blueberries (I used frozen - no need to defrost)
~¾-1 cup chopped walnuts
~¾-1 cup dark chocolate chips

IMG_4072_mod.jpg

Heat oven to 350F. In a small bowl, coarsely mash the bananas.

Sift flour, salt, and baking soda together in a large bowl. In a separate bowl, mix together butter/margarine and sugar until smooth. Stir in bananas and eggs and mix until well-blended.

Pour wet ingredients into the dry ingredients and mix just until combined. Stir in your add-ins of choice (this time I only used blueberries for the add-in). 

IMG_4076_crop.jpg

Spoon the batter into a lined muffin pan, filling each cup about -¾ full. Bake 18-20 minutes, until a toothpick inserted in the middle comes out clean.

IMG_4081_crop.jpg

If you want to make bread loaves instead of muffins, divide batter into 2 greased 4"x8" loaf pans and bake 50-60 minutes, until a knife inserted in the middle comes out clean. 

Let cool before serving.

IMG_4086_crop.jpg

~Karla


Like us on Facebook:
 

Simple and versatile banana bread recipe in the form of delicious moist blueberry banana muffins!http://cooksofcakeandkindness.blogspot.com/2015/06/blueberry-banana-muffins.html

Posted by The Cooks of Cake and Kindness on Monday, June 29, 2015

Thursday, June 25, 2015

One pot pasta with creamy garlic sauce

Yum
The convenience of a one pot meal is extremely appealing, and for certain dishes, like pasta, it even helps enhance the taste and texture. Cooking the pasta in the sauce helps soak up the flavors better and it also thickens the sauce. A good example of a delicious one pot pasta is the Italian One-derpot which has a tomato based sauce and can be customized to your taste with the vegetables you like. I wanted to try a pasta with creamy sauce with the one pot convenience, and found this garlic parmesan pasta recipe quite interesting. I added some asparagus and mushrooms, increased the quantity of garlic to make the sauce really garlicky, reduced the amount of cheese and butter, and adjusted the liquids as required. This pasta is so rich and creamy - its hard to tell that there’s no cream and hardly any cheese in the sauce.
DSC_1786.JPG

Ingredients: (~3 servings)
½ Tbsp olive oil
4 cloves garlic, minced
1 cup chopped portobello mushrooms (or other kind)
1 cup chopped asparagus
Other vegetables that would work really well: broccoli, carrots, snap peas
¾ - 1 cup milk
~2 cups water or vegetable broth
1 tsp unsalted butter or margarine
4 oz dry fettuccine pasta - uncooked
Salt and pepper to taste
1 Tbsp grated parmesan cheese
chopped cilantro or parsley for garnish

Heat oil in a saucepan over medium heat and saute the mushrooms and garlic for a couple minutes. Add ¾ cup of milk and about 1.5 cups of water. Add the butter and season with salt and pepper. Add the fettuccine and let the liquid come to a boil. Reduce heat, cover and cook for about 10 minutes, stirring occasionally. Add asparagus and simmer for another 5-10 min until pasta is al dente (make sure to stir a couple times). Add more water and/or milk if required. Remove from heat and mix in the parmesan cheese. Serve warm garnished with chopped herbs and extra parmesan cheese if desired.

DSC_1787.JPG

~Gayatri

Note: Since you're not draining and cooling the cooked pasta under cold water as you would usually do (when pasta is cooked separately), it will continue to cook a little in the hot pan with the sauce even after you take it off the heat. So, make sure not to overcook the pasta.


Like us on Facebook: 

Delicious pasta with mushrooms, asparagus and creamy garlic sauce - cooks in a single pot saving time and cleaning...

Posted by The Cooks of Cake and Kindness on Thursday, June 25, 2015

Monday, June 22, 2015

Fasting... with Potatoes (Upavas Batata Bhaaji)

Yum
Fasting is quite common in India, and a lot of these fasts don’t necessarily mean eating less/healthier food. However there are certain restrictions on what is considered fasting food. One of the most common fasting ingredients is potato. Even though I never fasted, I would always be excited when my grandma did, because she would make these delicious potatoes with roasted peanuts and cumin. The recipe requires simple ingredients and doesn’t involve much work - hence one of my favorites for weekday dinners. But the best thing about this dish is the wonderful aroma of cumin seeds tempered in ghee (clarified butter).
DSC_1961.JPG

Ingredients (3-4 servings)
5 small potatoes
~3 Tbsp coarsely ground roasted peanuts
½ tsp cumin seeds
2-3 tsp ghee/oil (ghee can be made at home using unsalted butter (this is a good tutorial), or you can buy it at an Indian store)
½ tsp red chili powder (adjust to taste)
¼-½ tsp sugar (adjust to taste)
½ - 1 tsp lemon juice (adjust to taste)
salt
Wash and boil the potatoes. Peel and cube them once cool enough to touch.

Heat ghee/oil over medium-high heat; add cumin seeds. Once the cumin seeds are roasted (only takes a few seconds for them to puff up and be incredibly aromatic), add the potatoes. Saute for a few minutes, add salt, chili powder to taste. Add a little bit of sugar (optional). Once the potatoes get golden brown, add the ground peanuts, mix well and cook for a few more minutes, stirring occasionally. Add lemon juice, adjust seasoning if required and take it off the heat.

Serve warm by itself, or with roti/chapati.

DSC_1972.JPG

~Gayatri


Like us on Facebook: 

Quick & easy recipe - Potatoes with roasted peanuts and cuminhttp://cooksofcakeandkindness.blogspot.com/2015/06/fasting-with-potatoes-upavas-batata.html

Posted by The Cooks of Cake and Kindness on Monday, June 22, 2015

Friday, June 19, 2015

Hazelnut Chocolate Chip Cookies

Yum
I like to call these “little pieces of heaven” because they combine two of the greatest, most heavenly flavors known to humankind - hazelnut and chocolate. Nutella, anyone?! The recipe is based on a white chocolate macadamia nut cookie, but I’ve made several adjustments, and it’s been so long since I got the recipe that I can’t even find the original! In any case, you can use the same basic cookie recipe and just swap the nuts and chocolate if you want white chocolate macadamia instead :-)
DSC_1977.JPG

Ingredients: (makes about 3 dozen cookies)
2 cups flour (I used a 1:2 ratio of whole wheat to all-purpose)
1 tsp baking soda
dash of salt
1 cup packed dark brown sugar
½ cup granulated sugar
1 cup butter (I used ¼ cup applesauce and about ¾ cup + 1 TBSP canola oil)
2 large eggs
2 tsp vanilla

Add-ins:
~¾ cup chopped hazelnuts
~1 cup dark chocolate chips
Heat oven to 350F. In a medium-sized bowl, combine flour, baking soda, and salt.
In a large bowl, blend the sugars together. Add butter and mix well (if using real butter, mix until a grainy paste forms, otherwise the mixture should be smooth and a little liquidy). Add eggs and vanilla.
Add the flour mixture to the wet ingredients and mix until everything is combined. Fold in the nuts and chocolate chips.
Place tablespoon-sized dollops of batter on a parchment-paper-lined cookie sheet. These cookies have a tendency to spread (especially with the applesauce/oil substitution) so make sure there’s plenty of room between each cookie. Bake for 10-12 minutes. Let cool for a few minutes...then stuff yourself silly!
IMG_4030.JPG

DSC_1980.JPG

~Karla
Note: If using the applesauce/oil substitution, refrigerating the dough for about an hour before baking will make it easier to handle when spooning onto the cookie sheets. Refrigerating will also help keep cookies from spreading so much during baking.


Like us on Facebook: 

Chocolate-hazelnut-heaven! Warning: these cookies may be highly addictive.http://cooksofcakeandkindness.blogspot.com/2015/06/hazelnut-chocolate-chip-cookies.html

Posted by The Cooks of Cake and Kindness on Friday, June 19, 2015