Showing posts with label chocolate. Show all posts

Saturday, July 2, 2016

Cherry Chocolate Smoothie

Yum
Smoothies  don’t really need recipes, just guidelines :). I often go with whatever fruits, veggies that I have in my fridge (and sometimes what I need to finish up so it won’t go bad!), mix and match the with a base such as yogurt, milk, water, juice etc. and adjust the quantities until it tastes good. Recently I bought some beautiful cherries at a farmers’ market - only to realize later that those were sour cherries. Given my aversion to anything sour, I was in a pickle as to how I’d get through all of those cherries. Adding them (along with a bunch of sugar!) to a baked treat such as pie was my obvious choice, but that takes a bit of effort and I was feeling quite lazy that weekend. A fairly heavy Sunday lunch called for a smoothie dinner, and the first thing I saw in my fridge was the carton of beautiful bright cherries. I decided to brace myself and make a sour cherry smoothie - hoping I wouldn’t need to sweeten it too much with sugar/honey or other fruit. I used yogurt to thicken it and get my protein fix, and added cocoa powder for additional flavor. Surprisingly even with the yogurt and sour cherries, I was able to get by with just a little bit of honey.


DSC_5991.JPG


This sweet and slightly tangy smoothie was so delicious that I ended up using all of the cherries making variations of the same recipe! The basic recipe is given here, but it works well with the addition of several other ingredients including protein powders, flaxseed, almonds and chia seeds. So, go crazy with your favorite add-ins but do give this refreshing smoothie a try this summer. I’m sure I’ll be buying more cherries just to make more smoothies!


Ingredients: (Serves 1)
½ cup pitted cherries (I used sour cherries)
½ cup thick yogurt (I used 2% Fage yogurt)
1-2 Tbsp unsweetened cocoa powder (depending on your chocolate liking and quality of cocoa)
½ - 1 tsp honey (optional)
Ice cubes or water as needed to get the desired consistency


DSC_5961.JPG


Blend all ingredients and adjust quantities to taste if necessary. Serve chilled!

~Gayatri

Find us on Facebook:

Saturday, June 25, 2016

Cashew Date Bars

Yum
I LOVE cashews - they are by far my favorite type of nut. It is always dangerous to keep cashews in the house because I will inevitably over-indulge in them and finish half the container in one sitting! I figure since they are one of the healthier nuts to eat, and since we rarely get cashews (they can be quite expensive!), a cashew-binge every once in a while won’t hurt in the long run.


But, as some binges go, there is regret after - regret that I didn’t have the fortitude to make the cashews last longer! Making trail mix sometimes helps, but I’m just as likely to scarf that down as I am plain cashews. Then I was introduced to the amazing idea of a cashew cookie bar (Nakd and Larabar are two popular brands), in which pulverized cashews and dates are smashed together to form a delicious (and healthy!) snack. These treats can also be a bit pricey, so (as with many things here on our blog) I set out to make my own. I added some cocoa powder, which helped tone down the sweetness of the dates, and a little vanilla extract to maintain the moisture balance which helps the bars keep their shape. The result was a tasty, healthy treat I could feel good about eating - and since the dates are quite dense and nutrient-packed (good source of potassium, magnesium, and dietary fiber), a little goes a long way to satisfy both my cashew cravings and my sweet tooth!


Ingredients:
~1 cup raw cashews
~2 cups dates, pitted and chopped
~2 TBSP unsweetened cocoa powder
~1 tsp vanilla extract


Place all ingredients together in a food processor and process until you get a nice homogenous mixture. If the mixture is too wet or dry, adjust the amount of nuts or fruit as desired.


Line a flat-bottomed container with plastic wrap and pour in the mixture, and pack it down firmly.


Refrigerate for at least half an hour to help it set, then cut it into bars of desired size. If you have other types of moulds (for cookies or candies) you could also use those, pressing the mixture firmly into the moulds for a variety of shapes.


IMG_6145_mod.jpg


Keep bars refrigerated until ready to eat. Enjoy with a cup of coffee or tea!


~Karla


Other recipes you might like: cashew date smoothie

Find us on Facebook

Monday, April 4, 2016

Gluten Free Double Chocolate Cookies

Yum
Birthdays at work have been fun lately - some harmless pranks (I guess I am enjoying them as I haven’t been pranked yet!), lunch with the team, and to make up for some of the pranking, we try to make some sweets. Recently I made some chewy chocolate cookies for a colleague’s birthday. We try to find gluten free recipes such as this one so that everyone in the team can enjoy. A lot of recipes call for gluten free all purpose flour or oat flour. But this particular one from the Power Hungry blog piqued my interest because of the flour used in it. These cookies are made with chickpea flour (Yay protein!). The recipe also used coconut oil which is a healthier fat than butter or vegetable oil, but I’m personally not a big fan of the chocolate and coconut combination. I did have coconut oil which I use for cooking often, so I decided to give it a try anyway, and was pleasantly surprised at how well the chocolate and coconut flavors complemented each other in this recipe. It’s wasn’t overpoweringly coconut-y, and the chocolate flavor definitely was the most prominent. The only change I made to the original recipe was reducing the sugar quantity. I recommend this recipe to all chocolate lovers - it’s simple to make and not that unhealthy :-)


DSC_5438.JPG


Ingredients:
1 cup chickpea flour
⅓ cup unsweetened cocoa powder
¾ teaspoon baking soda
A small pinch of salt
1 large egg
½ cup virgin coconut oil
½ cup packed dark brown sugar
2 teaspoons vanilla extract
1 teaspoon instant coffee powder/granules (optional - but recommended! It really helps enhance the chocolate flavor)
½ cup bittersweet or semisweet chocolate chips (optional)
2 Tbsp chopped nuts (optional)

Sift the chickpea flour, cocoa powder, baking soda and salt into a medium bowl. Sifting is ideal for this recipe as both chickpea flour and cocoa powder often have small lumps. But if you don’t have a sifter or a sieve, just whisk the ingredients until you see the lumps disappear.

Coconut oil has a tendency to solidify, so if required microwave it for a few seconds to melt it to bring it to liquid form and add the coffee powder to it.

In a large bowl, whisk together the oil & coffee mixture with the sugar. Once combined, add the egg, vanilla extract and whisk until blended.

Add the flours and mix until everything comes together to form fairly thick dough. Add chocolate chips, nuts, and mix. To prevent cookies from spreading too much as they bake, cover and refrigerate the dough for ~15 minutes.

Preheat oven to 350 F and line a cookie sheet with parchment paper.

Roll the chilled dough into 1” balls and place them about 2” apart on the prepared cookie sheet. Bake for ~10 minutes until the edges are firm.


DSC_5418.JPG
DSC_5423.JPG
 
Resist the urge to bite into a piping hot cookie, but be prepared to gorge on these once they are cooled - I bet it would be hard to stop at one!


DSC_5432.JPG


~Gayatri

Find us on Facebook:

Gluten-free double chocolate cookies - if you've never made cookies with chickpea flour (besan), give this a shot!...

Posted by The Cooks of Cake and Kindness on Monday, April 4, 2016

Thursday, February 25, 2016

Pistachio, Cashew and Chopcolate Chip Biscotti

Yum
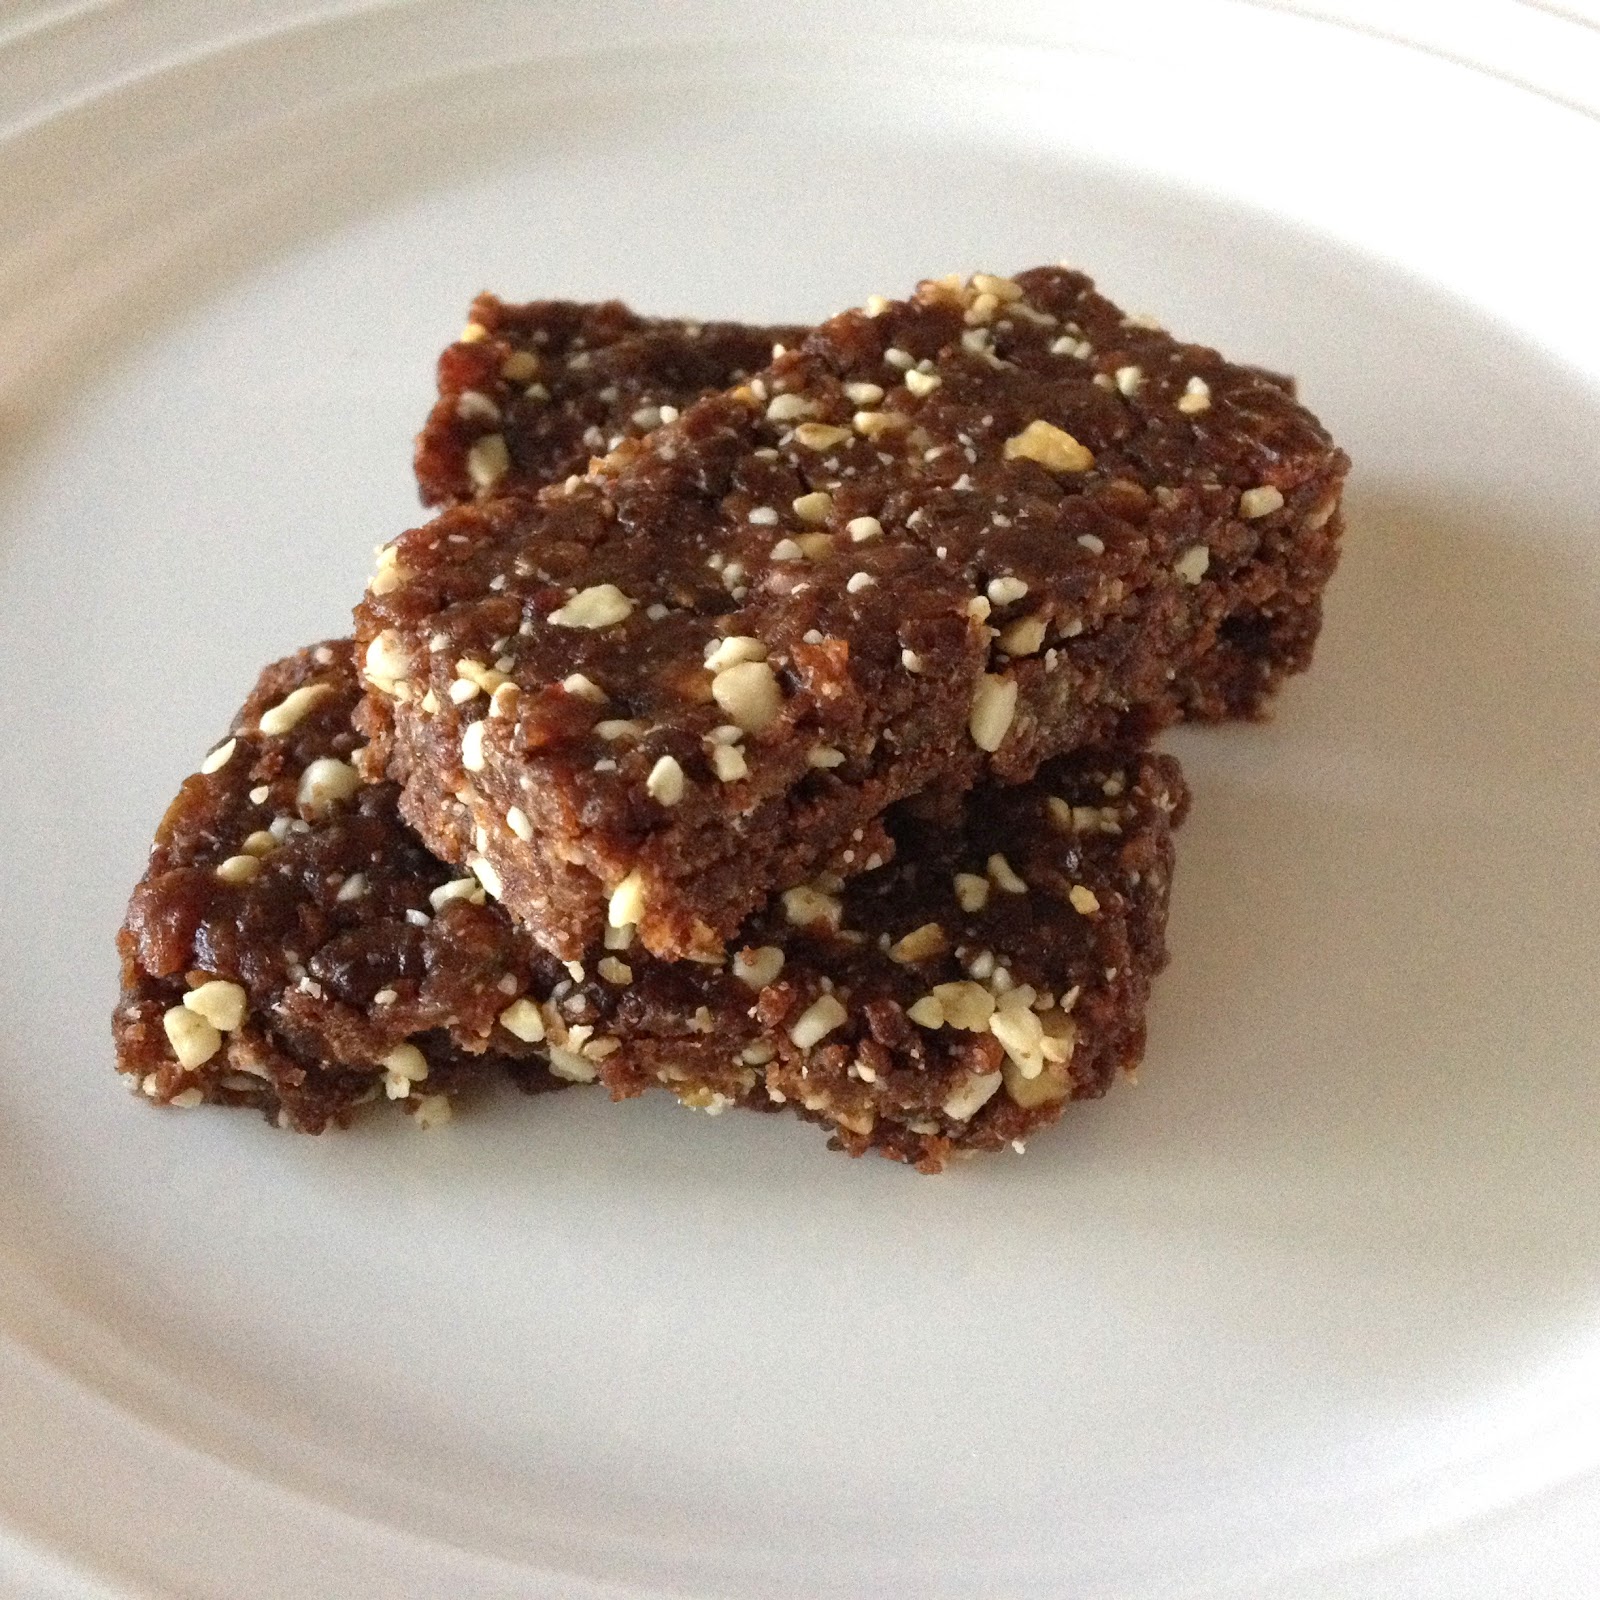
A couple months ago I was in the Maryland and DC area visiting friends. I reached their home in the evening after a very short flight, so I was in no way tired and was excited to explore the area with them. But probably to ensure that I won’t get cranky from hunger, my hosts decided to feed me some snack before we headed out. My friend Soumya brought out a plate of beautiful looking biscotti that I couldn't have resisted even if I wanted to. She told me that she had bought those at Starbucks. Had she not told me later that she was joking, I would have absolutely believed that! These decadent homemade biscotti were much easier to bite into than the usual extra hard ones, and so tempting that it became my favorite travel snack for the rest of the trip.


DSC_5108.JPG


A little bit of a background on biscotti and my love/hate relationship with them - until I came to the US some 10 years ago, I didn’t know these cookies existed. But while I was at Purdue, the Nonni’s triple chocolate biscotto (yes, that’s the singular form!) quickly became a fairly regular afternoon snack. As much as I love the taste, the disappointing thing about biscotti for me is that they are generally difficult to eat without dunking them in tea/coffee/milk. But they taste so good, that I was determined to find out why the extra hard (and not all that pleasant) texture. Turns out, the twice baked hard cookies were prepared that way to increase the shelf life in the verrrrry olden days (biscotti can be traced back to 1st century AD). These long-lasting cookies used to be a convenient snack for travellers. Apparently during the European renaissance period, these cookies were even enjoyed dipped in wine!


Anyway, coming back to the present- I found out that Soumya had used one of Giada De Laurentiis’ biscotti recipes with some very good modifications. She had cut down on the sugar and used all brown sugar instead of white, orange zest instead of lemon, and also changed up the add-ins such as nuts, chocolate etc. I followed her directions, with one minor change of switching out half of the all purpose flour with whole wheat. The baking times I used are also lower than the original recipe - partly because I was worried about ending up with very hard cookies, and partly because I was too impatient.


Ingredients: (Makes ~3 dozen biscotti)
2 cups flour (I used half all purpose and half whole wheat flour)
1 ½ teaspoons baking powder
½ cup dark brown sugar
½ cup (1 stick) unsalted butter, at room temperature
zest of 1 Navel orange
¼ teaspoon salt
2 large eggs
¾ cup coarsely chopped nuts (I used half cashews, half pistachios)
⅓ cup dark chocolate chips


Preheat oven to 350 F. Line a baking pan with parchment paper.


Whisk together the flours, baking powder and salt.


In a large bowl, cream the butter, sugar and orange zest. Add the eggs, one at a time, whisking until well combined. Add the flour mixture and beat until just combined. This is not an easy step, but persist and you’ll end up with a lovely dough.


At this point it is best to use your hands (or perhaps a wooden spoon) to mix in the nuts and chocolate chips.


Divide the dough in half, and make two elongated logs. Put them on the prepared pan, leaving some room since they will expand a little. Gently pat them down, trying to ensure the width and height stays approximately the same everywhere to ensure even baking.


DSC_5095.JPG


Bake in preheated oven for 30 minutes. Remove from oven and let them cool on a wire rack for ~10 minutes before slicing about 1” thick using a sharp serrated knife. At this stage the cookies are still cooking inside with the heat that's trapped and are a bit fragile, so they are prone to breaking if the wait time is too short or too long. I like to start slicing around 10 minutes after taking them out of the oven, and as I get to the center of the logs, I let them rest for another minute or two if they’re too warm.


Place the biscotti back on the baking sheet, cut side down, and bake for another ~12-15 minutes. Remove from oven and let them cool completely on a wire rack before storing in an air-tight container.


DSC_5102.JPG

Enjoy with a steaming cup of tea or coffee… or wine if that suits your taste!

~Gayatri

Find us on Facebook:

Delicious crispy (but not overly hard!)...

Posted by The Cooks of Cake and Kindness on Thursday, February 25, 2016

Saturday, February 13, 2016

Peanut Butter Truffles

Yum
One more day until Valentine's Day, and you know what that means....sweets! Though, to be honest, it doesn't have to be a holiday to want sweets. I get cravings for sweets all the time. And when I say “all the time” I really mean ALL THE TIME. Thankfully, I can restrain myself so that my indulging-to-craving ratio is relatively low. In an effort to reduce the guilt that sometimes accompanies those indulgences, I’ll try making treats that are a little less unhealthy (like these blueberry banana muffins made with whole wheat flour) or have some benefit to balance the sweet (such as these protein-packed peanut butter oat balls).

This recipe is based on the peanut butter and oat balls. I was actually aiming for a cake-pop type treat - a chocolate covered peanut butter ball on a stick. But, the consistency of these didn’t like the sticks very much, so I turned them into truffles! They are a little bit like buckeyes, but not as sugary-sweet, and they have flaxseed for a little extra fiber.


IMG_5428_col.JPG


Ingredients: (makes ~20 truffles)
1 cup oats (I used ½ cup quick oats and ½ cup old-fashioned oats)
½ cup all natural creamy peanut butter
¼ - ½ cup ground flaxseed
⅓ cup honey or maple syrup
1 tsp vanilla extract
~½ cup dark chocolate chips for coating
~¼ cup crushed peanuts for topping


In a large bowl, combine oats, flaxseed, peanut butter, honey, and vanilla, and mix well. Refrigerate for about half an hour to let the mixture firm up. Form balls about 1 inch in diameter.

Heat the chocolate chips in a microwave-safe bowl for about 30 seconds at a time, stirring in between, until all the chips are melted. Dip the balls in chocolate and place them on a plate covered with plastic wrap. Sprinkle with the chopped peanuts. Refrigerate the balls to let the chocolate coating set. Serve the balls in individual mini-cupcake liners for a festive flare. Happy indulging!


IMG_5458.JPG

~Karla

Find us on Facebook


A sweet treat for Valentine's Day!http://cooksofcakeandkindness.blogspot.com/2016/02/peanut-butter-truffles.html
Posted by The Cooks of Cake and Kindness on Saturday, February 13, 2016

Monday, December 14, 2015

Pumpkin Chocolate Cake

Yum
For the past few years I’ve been trying to replicate a delicious and beautiful pumpkin chocolate cake with two distinct layers of pumpkin and chocolate. Unfortunately every time I ended up with one of the two layers being too dry. Recently I was able to track down the original recipe thanks to the person who introduced me to it in the first place. The big thing missing in my attempts in replicating the recipe was that I only mixed pumpkin puree in the pumpkin batter. This recipe made things simpler by mixing the puree in a big batch of batter and then adding cacao powder to only half the batter. The addition of cacao powder in the chocolate batter was balanced by the moisture of the pumpkin puree, and the result was two deliciously moist cakes fused together! With just a couple modifications to the recipe, I baked this cake for Thanksgiving dinner with friends.


DSC_4431.JPG


Ingredients:
¾ cup butter at room temperature (1.5 sticks)
1¼ cup white granulated sugar
½ cup dark brown sugar
2 eggs
2½ cups all purpose flour
1 tsp baking powder
1 tsp baking soda
1 tsp ground cinnamon
1 can (15 oz) pumpkin puree (not pie filling)
⅓ cup unsweetened cocoa powder
¼ - ½ cup semisweet chocolate chips (optional)
Heat oven to 325 F. Grease two 6” pans and dust with flour (or line with parchment paper).  
 
In a large bowl, cream butter, sugars until light and fluffy. Add eggs and continue to beat.
In a separate bowl combine flour, baking powder, baking soda and cinnamon. Add the dry mixture to the creamed mixture alternately with pumpkin.

Divide the batter in half. Mix in cocoa powder in half the batter and beat until just combined. Mix in chocolate chips in the chocolate batter.

Add half of the chocolate batter to each pan. Top each one with half of the pumpkin batter. Smoothen out the top and bake for ~60 minutes, checking for doneness after ~45 minutes. If using a larger pan, the baking time will be reduced as the cake height will be lower  and it will bake faster.
Let the cake cool down for 15-20 minutes before removing from the pan. Sift a mixture of cocoa and powdered sugar on top. I made two little maple leaf cutouts and put them on the cake before adding the cocoa and sugar. Then lifted them up and piped an outline with melted chocolate. Alternately, top with dark chocolate ganache (Click here for ganache recipe).
 
~Gayatri

Note: To get a flat cake top instead of a dome, follow these instructions.

Find us on Facebook:

Delicious dessert for the cold days - pumpkin chocolate cake!http://cooksofcakeandkindness.blogspot.com/2015/12/pumpkin-chocolate-cake.html
Posted by The Cooks of Cake and Kindness on Monday, December 14, 2015

Friday, November 13, 2015

Nutella Puff Pastry Braid

Yum
As much as we love to bake from scratch, sometimes it makes more sense to go with tried and tested readymade ingredients especially when you want to produce a quick dessert. Making light and flaky puff pastry is a work of art (and patience!), but the pre-made puff pastry sheets from Pepperidge Farms make pastry desserts a breeze. Add to that delicious Nutella, and you have a crispy, chocolatey dessert in no time!


DSC_3910.JPG


This Nutella braid is very similar to the Nutella Christmas tree we made last Christmas, but instead of just one layer of Nutella between two sheets of pastry, the braid has layers and layers of pastry and creamy Nutella.

Ingredients
2 Puff pastry sheets - defrosted if using pre-made frozen ones
Nutella or other chocolate spread (Fruit preserves, pastry cream, or a mixture of cinnamon, sugar and butter would work as well)

Preheat oven to 400 F.
Lay out two pastry sheets on a surface. On each pastry sheet, evenly spread a layer of Nutella about half a centimeter thick, leaving a small border at the edges. Gently roll each pastry sheet.


Nutella braid.jpg


Place them seam side down and with a sharp knife cut them lengthwise keeping one end intact.


DSC_3895.JPG


Start braiding from the uncut ends using a 4 string braiding pattern. Once you reach the end, bring 4 ends together and use a rolling pin to roll them out. Tuck the rolled out end under the braid.


Nutella braid-001.jpg


Turn the braid around so the uncut ends are facing you. Since rest of the pastry is braided, we no longer need the uncut ends to hold things together. So, extend the cuts to the end, braid further if they are long enough; roll them out and tuck them under like the other end. Use your hands to gently shape the braid into a rectangle if required. Place the braid on a cookie sheet lined with parchment paper.


DSC_3903.JPG


Bake for 20-25 minutes until golden brown. Let it cool a little, then slice and serve.


DSC_3908.JPG


~Gayatri

Find us on Facebook:

Lightly sweet, crispy puff pastry braid with Nutellahttp://cooksofcakeandkindness.blogspot.com/2015/11/nutella-puff-pastry-braid.html

Posted by The Cooks of Cake and Kindness on Friday, November 13, 2015

Tuesday, October 27, 2015

Chocolate Brownie Cake with Ganache Frosting

Yum
What treat would you make for a chocoholic? Chocolate brownies? Chocolate cake? How about both combined!? This dessert is rich and chocolatey like brownies, yet soft and light like a cake. I topped it with a dark chocolate ganache to give it an even higher degree of chocolatiness (pretty sure I’m making up a word here) to celebrate a chocolate-loving friend’s birthday.


IMG_5119.JPG


Cake recipe adapted from: Williams-Sonoma
Ingredients:
8 Tbs. (1 stick) unsalted butter, at room temperature
1 cup sugar
2 eggs, lightly beaten
1 tsp. vanilla extract
3/4 cup all-purpose flour
4 oz. good-quality semisweet or bittersweet chocolate (70%+ cacao is best), chopped
 
For ganache:
½ cup heavy whipping cream
4 oz dark chocolate, chopped (or chocolate chips)
 
Preheat an oven to 350°F. Line an 8-inch round cake pan with parchment paper.
 
Mix In a large bowl, beat together butter and sugar until light and fluffy. Add the eggs and vanilla and beat until well blended. Add the flour slowly and continue to beat.
 
Melt the chocolate in a double boiler, or in the microwave heating for 30-60 seconds at a time on 40% power, stirring each time until chocolate is melted. Add the melted chocolate to the batter and beat gently until just combined.
 
Pour the batter into the prepared pan and bake until for 20 to 25 minutes until toothpick inserted in the center comes out clean. Let the cake cool down a little before taking it out of the pan and decorating with ganache.
 
To make the ganache, add the dark chocolate to whipping cream in a saucepan and heat over low heat (stirring occasionally) until the chocolate is melted. Take it off the heat and stir to combine the cream and chocolate well. Let it cool down and thicken a little before pouring it over the cake. Spread with a spatula to the edges of the cake (you may cover the sides too). Let the ganache cool down further and then pipe decorations like a simple border using a star-tip. Drizzle melted white chocolate to make a pretty presentation.
 
Cut slices and enjoy as is, or à la mode.
 
~Gayatri

Find us on Facebook:

Get your chocolate fix with this chocolate brownie cake!http://cooksofcakeandkindness.blogspot.com/2015/10/chocolate-brownie-cake-with-ganache.html

Posted by The Cooks of Cake and Kindness on Tuesday, October 27, 2015