Pages

Thursday, August 18, 2016

Garlic Toast

One of the best parts of any Italian dish is the deliciously buttery, garlicky, toasty bread that usually comes with it. Actually, it might be THE best part. Excuse me, waiter? Just wrap my dinner to go...I’m still nomming on the bread! But who wants to wait to go to a restaurant just to enjoy some garlic bread? Granted, if it’s the super fancy kind with fresh cloves of garlic and house-made bread… However, you can easily make simple garlic toast at home, and given that this recipe only calls for 4 ingredients (3 if you don’t care much for parsley), you might already have everything you need!
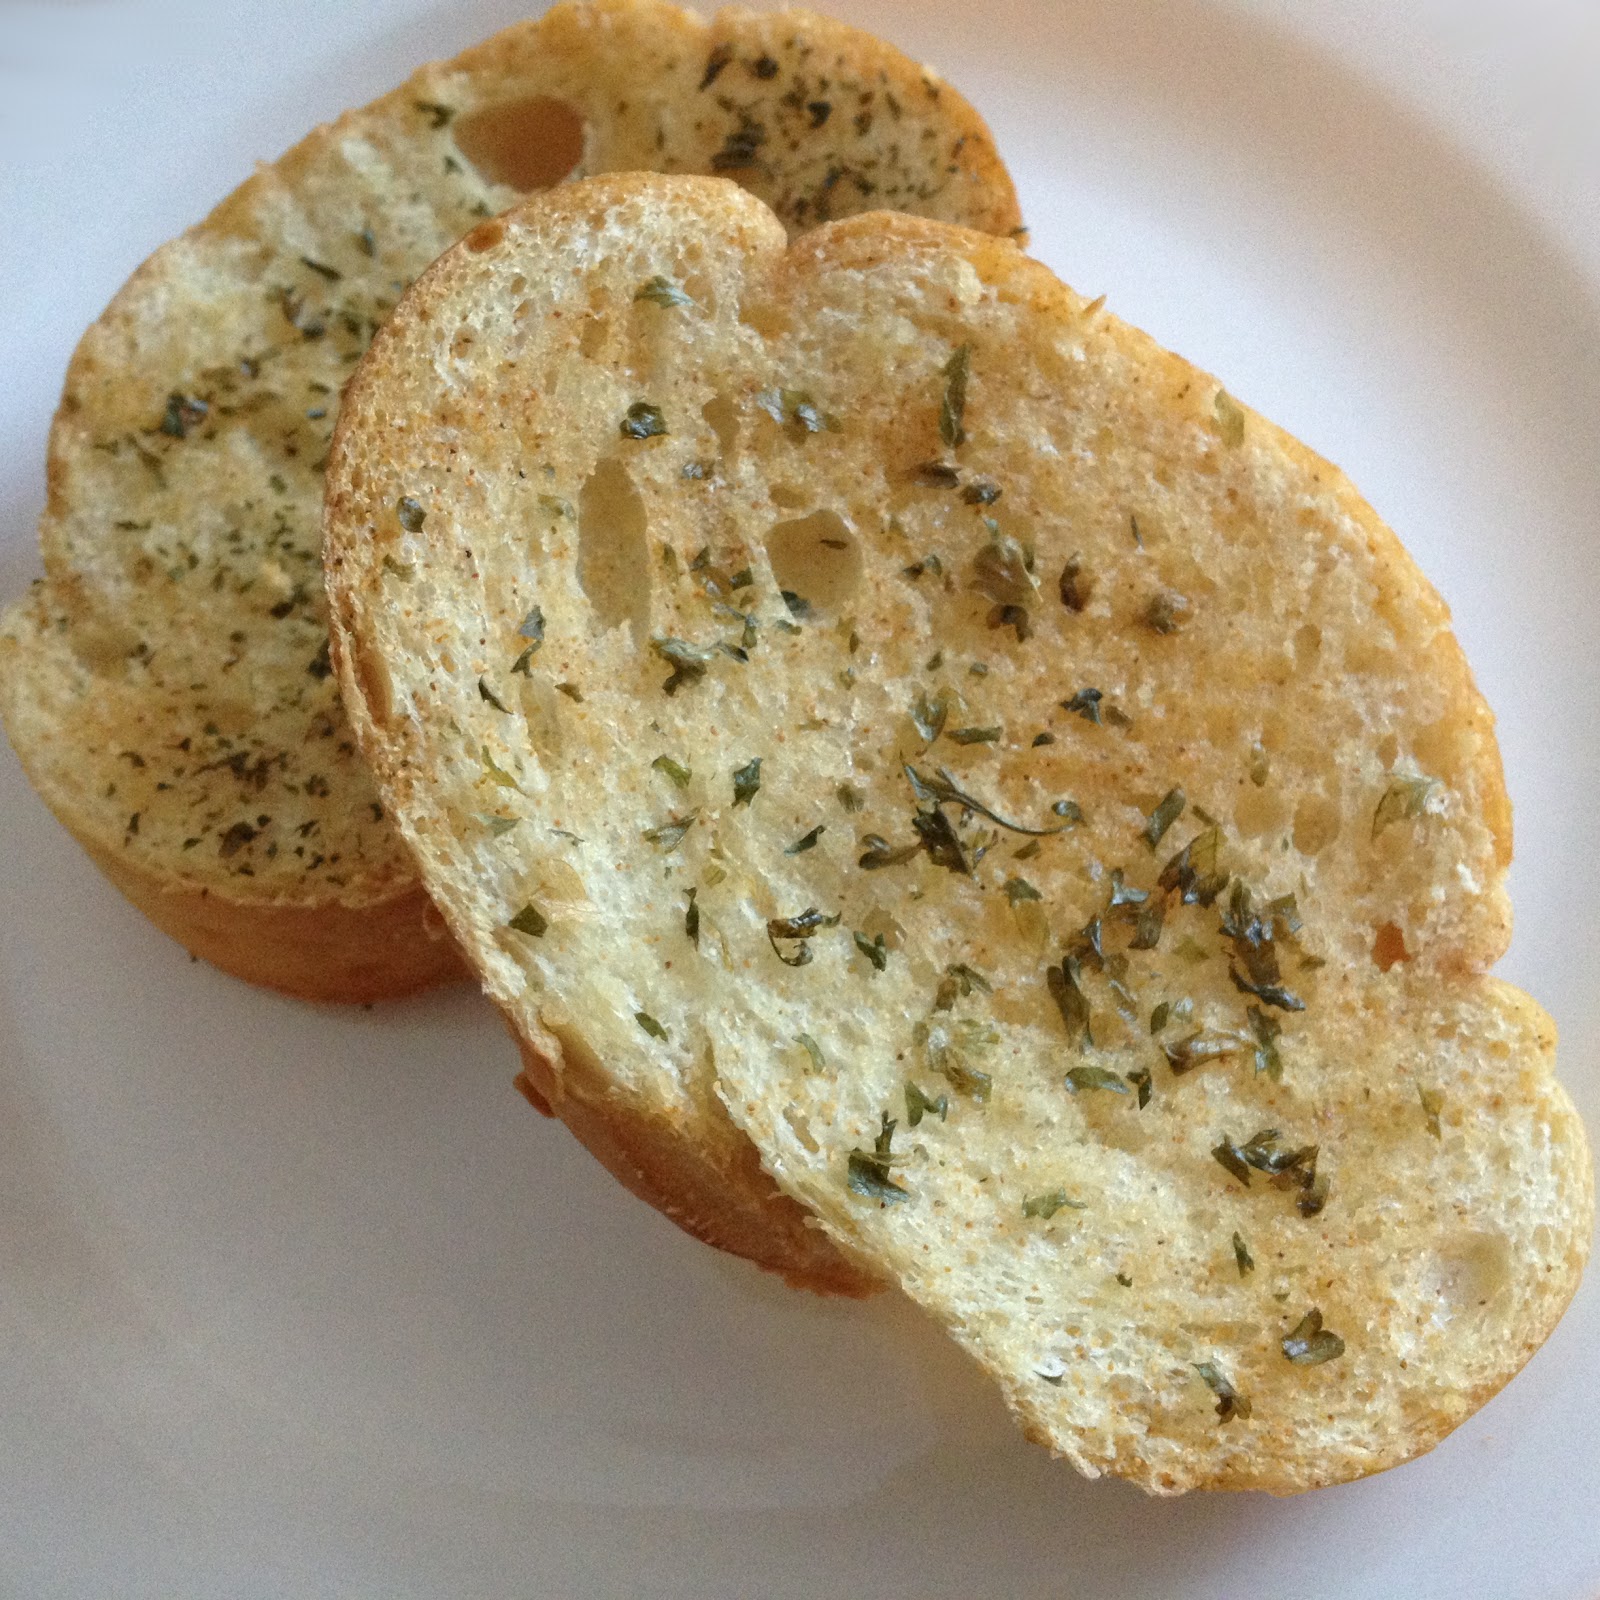

Ingredients:
1 loaf French bread (or other bread of choice)
Butter (or margarine, or olive oil)
Garlic powder
Parsley flakes (I used dried parsley flakes, but freshly chopped parsley would be even better)


Heat oven to 350°F.

Slice the bread into 1 inch thick slices. Generously spread butter or margarine (or brush with oil, as pictured) on one side of the slices. Liberally season with garlic powder, and then dust with parsley flakes. Place non-seasoned side down on a baking pan (no need to grease the pan, but you can line with foil or parchment paper if you wish).
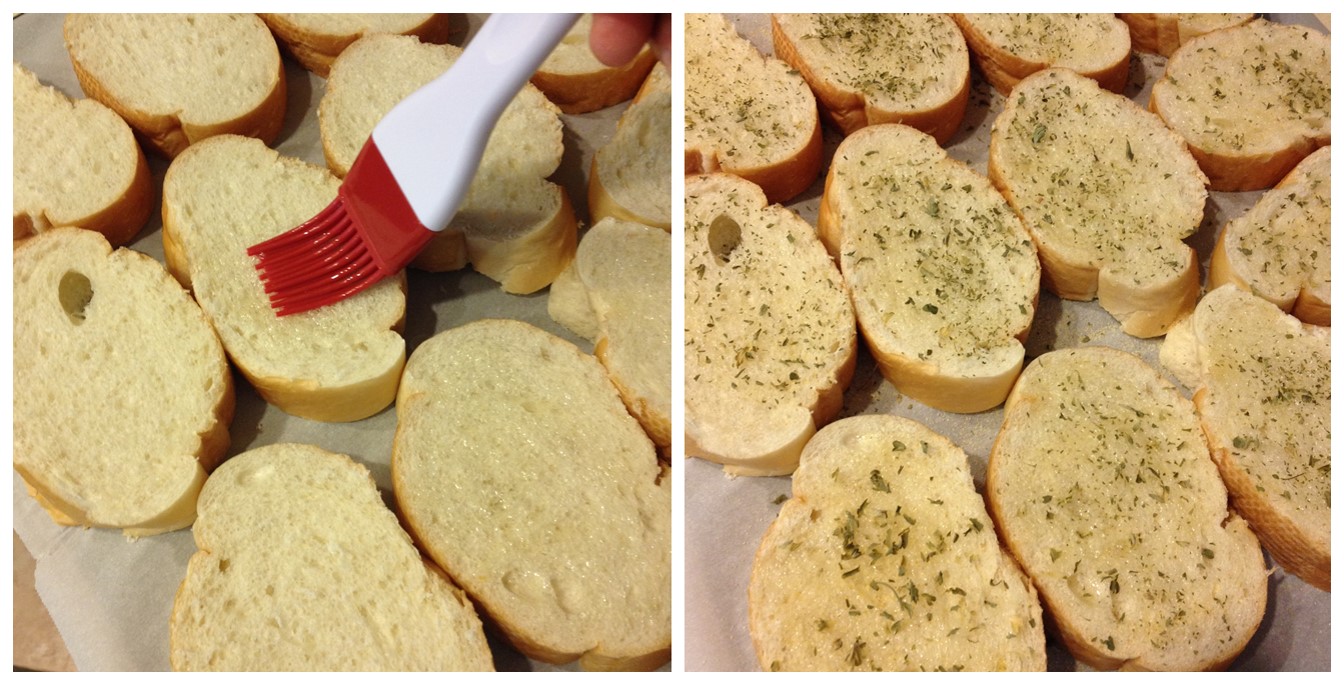

Bake 10-15 minutes, depending on your preferred level of crispiness. When cool enough to handle, serve with your main dish (if you can restrain yourself from sampling!).
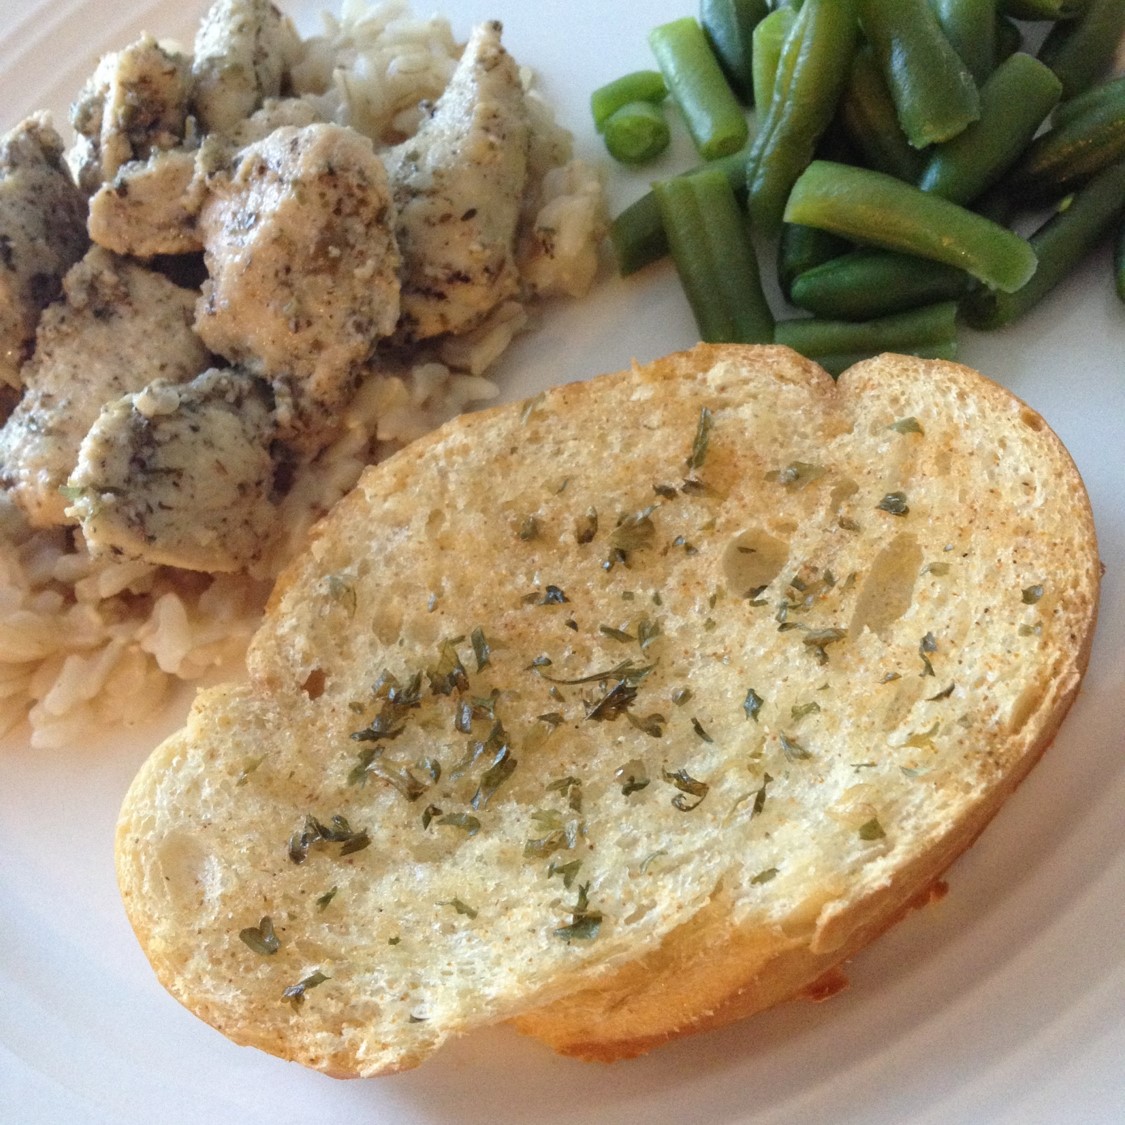

If you happen to have leftovers, refrigerate them in an airtight container. You can reheat them in a microwave (~5-10 seconds), but reheating in an oven will result in crispier toast. Enjoy!

~Karla

Find us on Facebook
 

Sunday, August 7, 2016

Savory Dill Cakes (Shepu Vadi)

Leafy greens are a good source of iron & calcium among other nutrients. I’m a big fan of most leafy vegetables, but they may not be everyone’s favorite. However one can always find ways to sneak them into various dishes. One such nutrient packed delicious snack is dill cakes. Dill (which is known as “shepu” in Marathi language) is used in India not just as an herb for flavoring, but also as a main ingredient in a lot of dishes. The dill cakes (or shepu vadi) can be served several ways - steamed, pan fried or deep fried. Steaming and then deep frying is a very common version, but to reduce the fat content, I prefer steaming and then pan frying if I really want the crispiness. The basic ingredients are dill and chickpea flour. Beyond that, spices and add-ins such as sesame seeds, caraway seeds (ajwain) etc. can be added based on taste preference.


Ingredients:
1 cup packed chopped fresh dill
~1 cup chickpea flour (besan) - sifted
1 tsp coriander powder
1 tsp cumin powder
~1 inch grated ginger (or to taste) - could use ginger powder
¼ tsp turmeric powder
1 tsp toasted sesame - optional
Salt to taste
1 small green chili - optional
½ tsp jaggery - optional
Water
Oil (optional for pan frying)


DSC_6580.JPG


In a bowl or large plate, mix all ingredients except water. Add water a couple teaspoons at a time to make a thick dough.


Roll the dough into a log. Bring water to boil, place the dill roll in a steamer and steam for 15-20 minutes, until completely cooked. You can check by inserting a knife or toothpick - once cooked, there should be hardly any crumbs sticking to the knife/toothpick. I also like to line the steamer with lettuce/cabbage leaves to prevent the dough from sticking to the steamer. Parchment paper could be used for the same, or you can grease the base of the steamer with some oil.


DSC_6585.JPG


Once slightly cooled, slice the steamed roll ~¼“ thick. These steamed dill cakes are ready to serve as is if you’d like the healthiest option. To make them even more delicious and add a nice crisp, I like to pan fry the slices with a few drops of oil until golden brown on both sides. Whichever way you choose, the taste won’t disappoint you!


DSC_6810.JPG


~Gayatri

Find us on Facebook:

Thursday, August 4, 2016

Mushroom Asparagus Quiche

What can I say about quiche that hasn’t already been said? It’s an easy-to-make dish, it can be customized however you like, and, with its filling of eggs, milk (or cream), and cheese, it is substantial enough to satisfy just about anyone. You can get super creative with assembling the various ingredients and produce works of art, but even fledgeling foodies can prepare a quiche that looks and tastes delicious. The main fillers in this quiche are mushroom and asparagus - which is a fairly misunderstood and underappreciated vegetable! For other tips and suggestions on how to cook asparagus, please visit our friends at Quick Easy Cook. Their blog is teeming with information on subjects ranging from kitchen utensils to specific ingredients and foods to chef apparel (think comfortable shoes!) - and has a plethora of quick and easy healthy recipes that even novice cooks can master.

Okay, back to the quiche - here's a simple dice-and-dump recipe for a hearty breakfast, lunch, or dinner!


Ingredients: (serves 6-8)
~8 asparagus spears
~4oz mushrooms
4 eggs
1 cup milk (I used 1%)
~1 cup + 3 TBSP shredded cheddar cheese
~2-3 cloves garlic, minced
Pepper, salt, paprika to taste
1 pie crust


Heat oven to 350°F.

Beat eggs in a bowl. Add milk and spices and mix well. Finely chop the asparagus and mushrooms.


Toss the chopped mushroom and asparagus with 1 cup of shredded cheese. Place pie crust in a 9” pie pan, spread veggie-cheese mixture into the pie crust, then pour in the egg-milk mixture. Sprinkle the remaining shredded cheese on top.

Bake 40-50 minutes, until a toothpick inserted in the center comes out clean. Let the quiche cool for 5-10 minutes, then dig in!


~ Karla

Find us on Facebook


Monday, August 1, 2016

Cabbage Soup

The unpredictability of midwestern weather is truly exemplified by the unexpected summer thunderstorms. It can pour down all morning making you walk through deep streams of water to get to work, and by the time you leave for home, the sun would have dried everything up so well, it’d make you wonder if the rain that had completely drenched you from head to toe, really happened - well, unless your feet are still frozen cold from wearing wet shoes all day! Oh well.. I really do like rain, so no complaints!

It’s those rainy days that make me crave a comforting bowl of soup. As much as I like indulging in creamy soups such as broccoli-cheddar or tomato basil bisque, nothing beats a delicious hot broth-based soup. I make cabbage soup often, adding whatever else I have on hand. Corn is one of my favorite things to add to this soup to get a burst of juicy sweetness every now and then. Sometimes I add broccoli to the same soup, even chunks of potato or some boiled chickpeas. The key to tying all these flavorful ingredients together is the broth that’s infused with ginger, garlic and bay leaves. You could also add peppercorns, or cloves if you prefer. I like to make my own vegetable stock*, but a readymade one or even water could be used in this soup.


DSC_6002.JPG


Ingredients: (~4-5 servings)
½ medium cabbage - chopped
½ - ¾ cup chopped onion
½ red pepper - chopped
1 small carrot - thinly sliced
¼ cup corn kernels (~½ ear of corn)
2 bay leaves
1 garlic clove - minced
½ inch piece of ginger - grated
Salt and/or soy sauce - to taste
~3 cups water/stock* (See note at the bottom for making homemade stock)
½ - 1 tsp oil
Chopped parsley for garnish (optional)


Heat a little bit of oil, add onions, pepper, ginger, garlic and bay leaves, and sauté over medium-high heat until onions are translucent. Add corn, pepper, cover and cook for a minute until veggies are slightly softened. Add cabbage, mix well and saute for a few minutes. Add 2 cups of vegetable stock or water, season with salt or soy sauce and ground black pepper. Soy sauce is especially a good choice if you’re using water instead of stock. Increase the heat, let the soup come to a boil and add more stock as necessary. Add chopped parsley if desired.
 
Serve hot alongside some hearty toasted bread or a light salad with fresh greens.


DSC_6000.JPG


~Gayatri


*Note: An easy way to make vegetable stock at home is to save vegetable scraps in an airtight bag or container in the freezer. That way, when you need some stock, all you have to do is add them to water, let it boil and reduce for some time, strain and use in your recipe. I’ve even used ice cube trays to freeze extra stock. The good thing about this is that you can control what you put in it and can even flavor it as you like - I like to add ginger and/or some whole spices when I’m making the stock.

Find us on Facebook: